
Before we drove into Grand Teton National Park, we had one big project to finish. The backup camera that came with our Brinkley barely showed what was behind us, so we swapped it for a four-camera wireless system. It took two days, one drill and a lot of electrical tape. And one of the four cameras would not turn on.
We could have cut that part out and pretended everything was fine. That is not our style.
Full disclosure: this video is sponsored. AUTO-VOX sent us the CampSync kit for free and paid us to feature it, and we earn a commission if you buy through our link, at no extra cost to you.
Our old backup camera
Our first backup camera was the Furrion system that came with our Brinkley Model Z 3515, with a screen that sits on the dash. It is the one you see in a lot of our videos. The picture was not great, and the angle was the bigger problem. It pointed so far down that you could not see a car behind the trailer. It was fine for backing into a campsite and not much else.
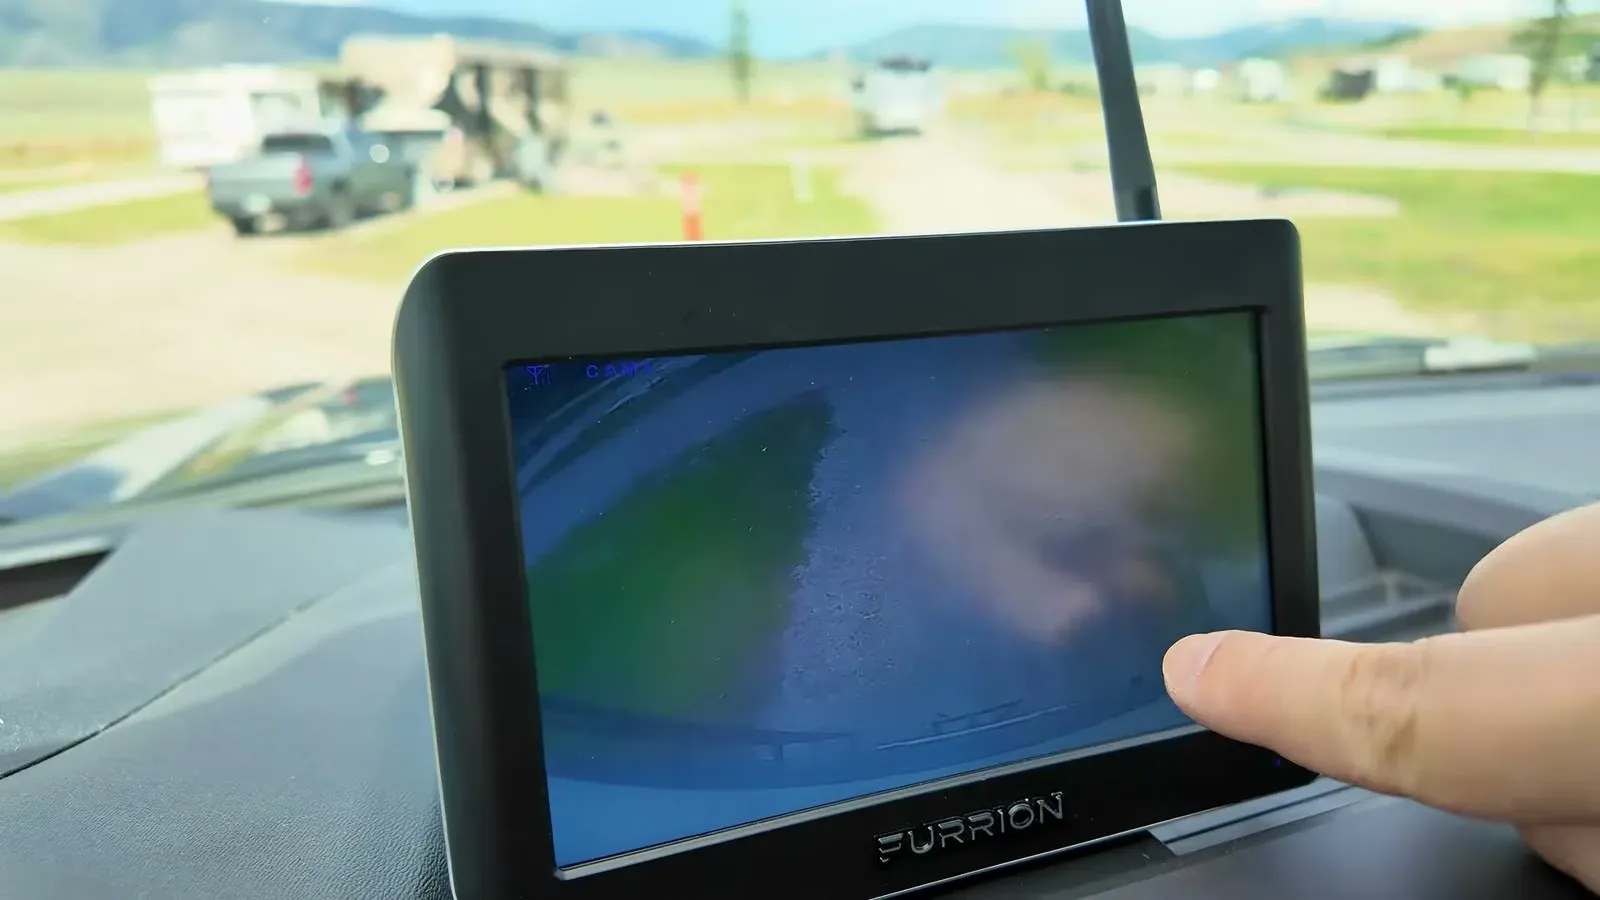
It also has a habit of switching itself off. When we went out to the truck to film it for this video, it had been working a minute earlier and then showed nothing. We tried the lights off and on. Still nothing. Good timing for a replacement.
We put that camera on the back of the rig in our first days with it, which you can see in our first time hauling the Brinkley.
What is in the CampSync kit
AUTO-VOX's CampSync is four cameras. The rear unit holds two of them: one looks down at the space right behind the trailer, and the other looks farther back so you can watch traffic. The other two are side cameras that replace the marker lights on each side of the rig. They are lights too, so they stay lit whenever your running lights are on.
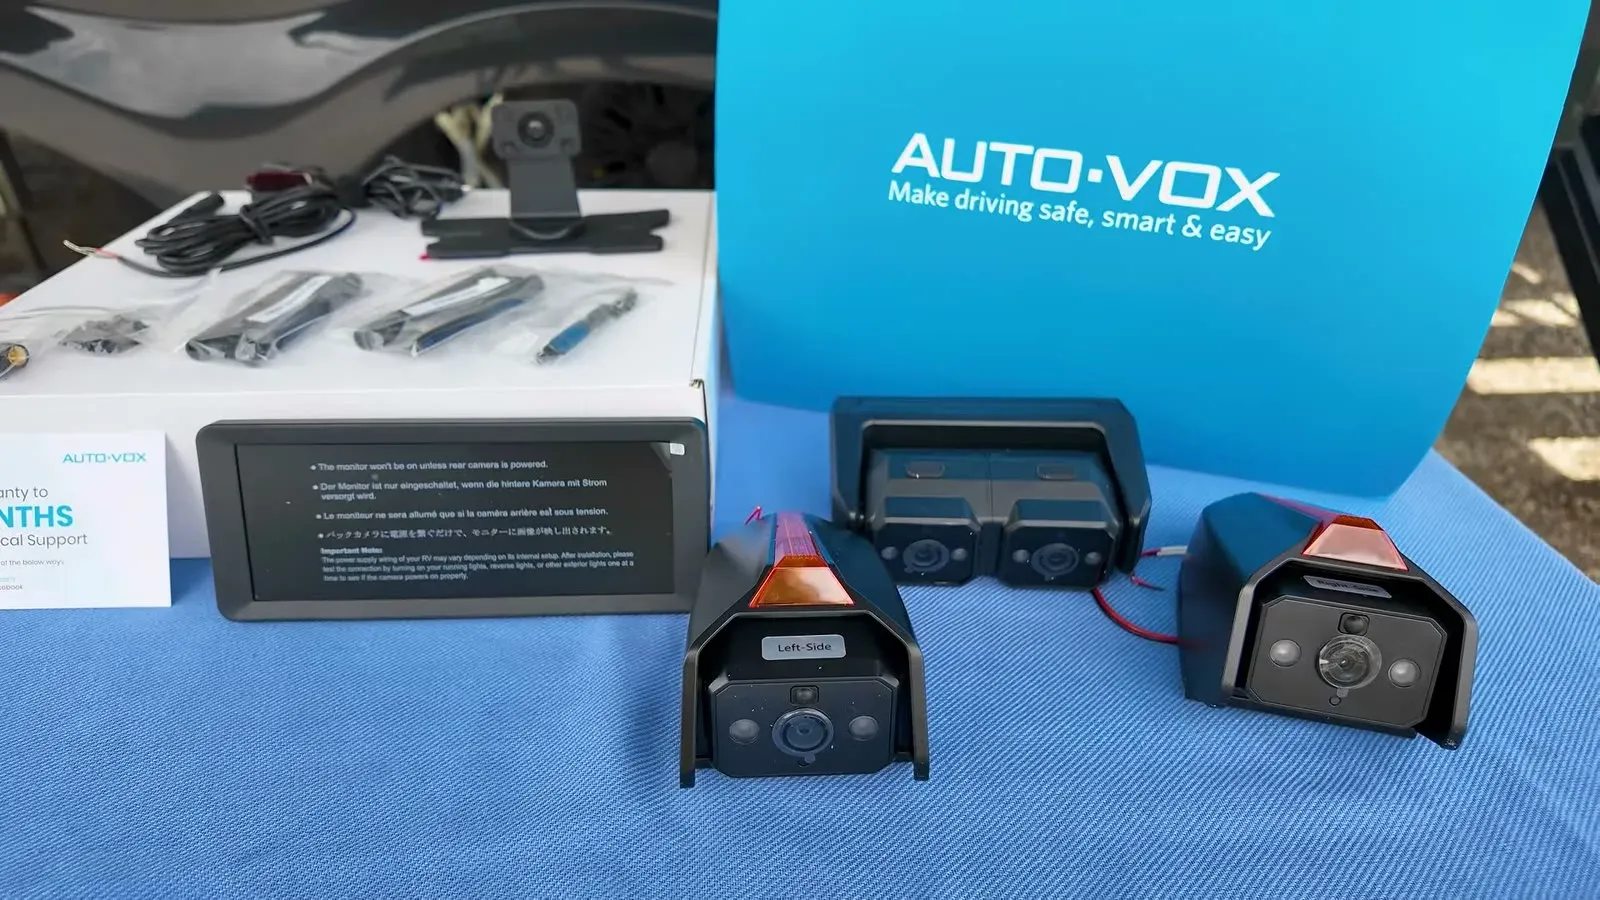
There is a monitor for the truck, and the cameras talk to it wirelessly. Each camera has a small antenna. We had a lot of winding mountain roads ahead of us on the way to Jackson Hole, so this was going to get tested right away.
Taking off the old rear camera
On our Brinkley the old rear camera came off with four screws. There was a rubber plate behind it, and rather than unscrew everything, Nathan cut through the rubber.
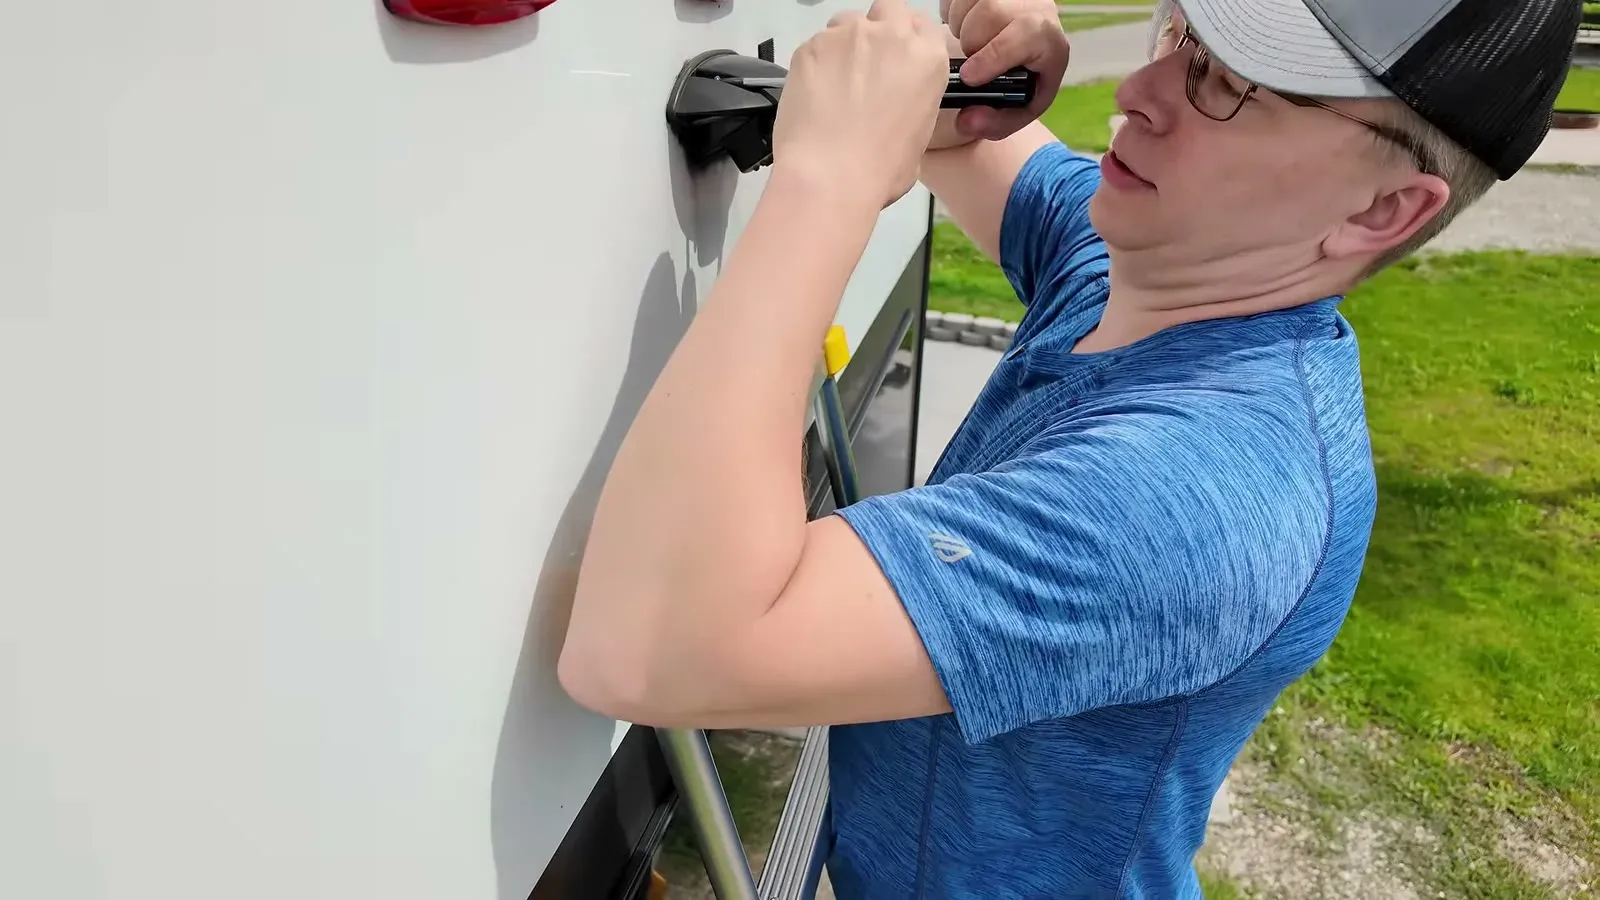
The new camera separates from its base, which makes mounting easier. What did not work was the old screw holes. None of the four lined up with the new mount, so we had to drill four new holes. That was the first time we had drilled into our RV.
The sealant mistake
New holes mean the old ones need sealing, so Nathan asked an AI assistant what to use. It recommended a self-leveling sealant.
The hardware store, a Do It Best, was about half an hour away, but roadwork made it closer to an hour each way. Two hours later, the person helping Nathan there pointed out the problem. Self-leveling sealant is for roofs. Put it on a vertical wall and it runs straight down the side. What you want on the back of a rig is a non-sag sealant, so that is what we bought, along with a caulking gun and a quick lesson in how to use one.
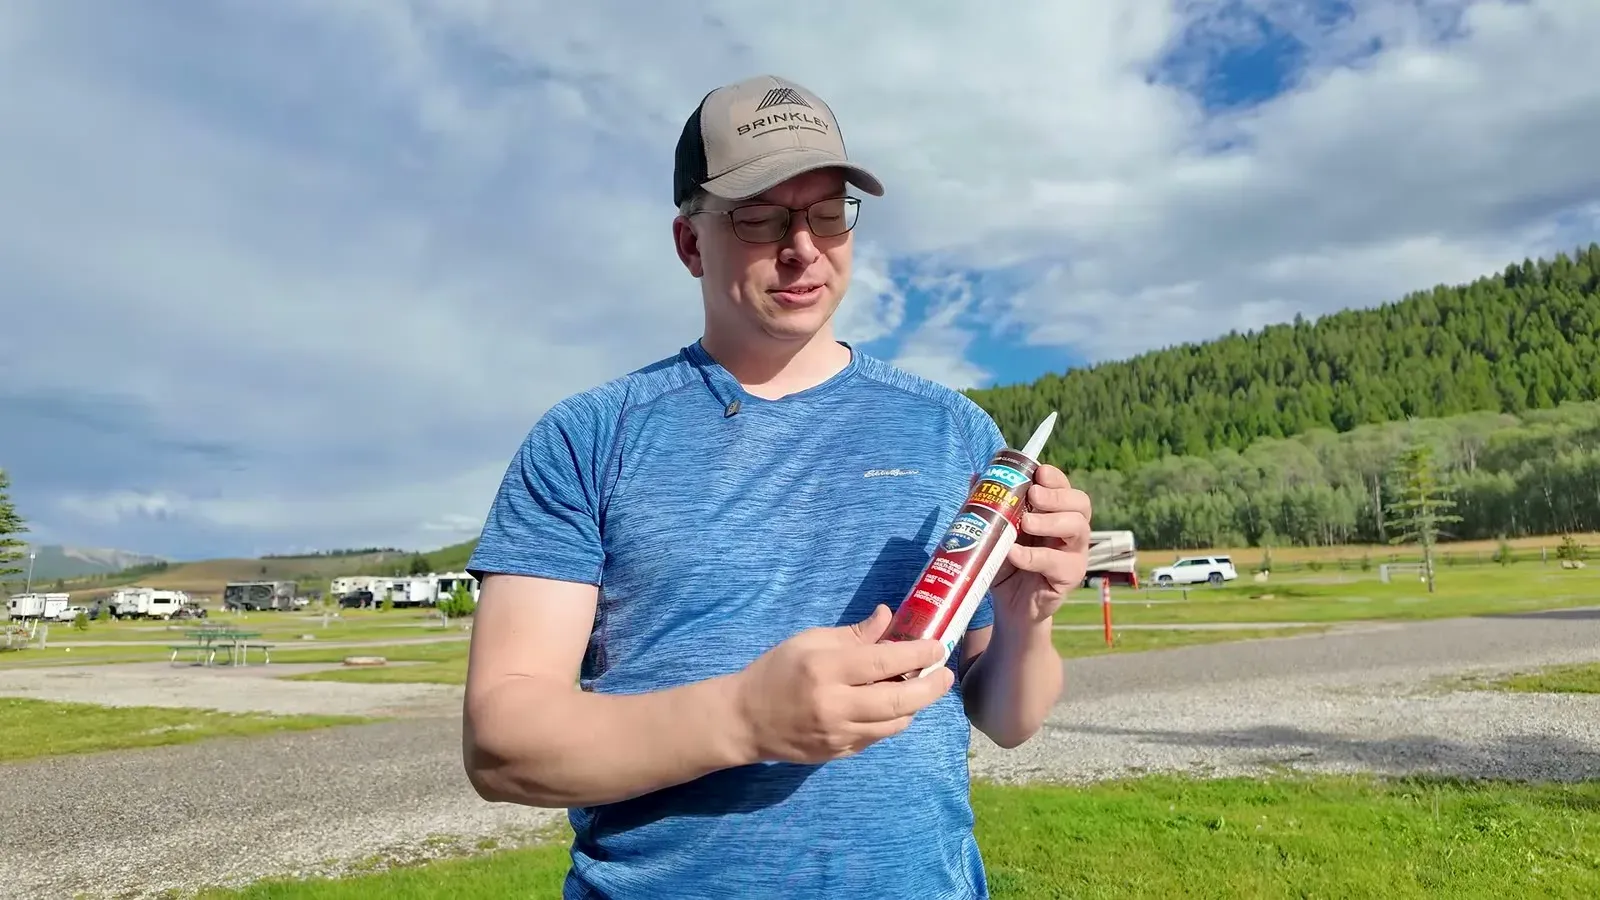
While he was there he also grabbed a pack of spare 15 amp fuses, which had been on our shopping list for ages. We have not blown one yet. Now we are ready when we do.
Mounting the rear camera
Getting the old mount off left a lot of adhesive behind, so we cleaned it up with adhesive remover and a rag. The old Furrion had a recess for its extra cable, and the new camera does not, so Nathan worked a stiff rubber plug out of the wall and pushed the cable inside. Tip: do not lose that plug. You need it to close the hole again.
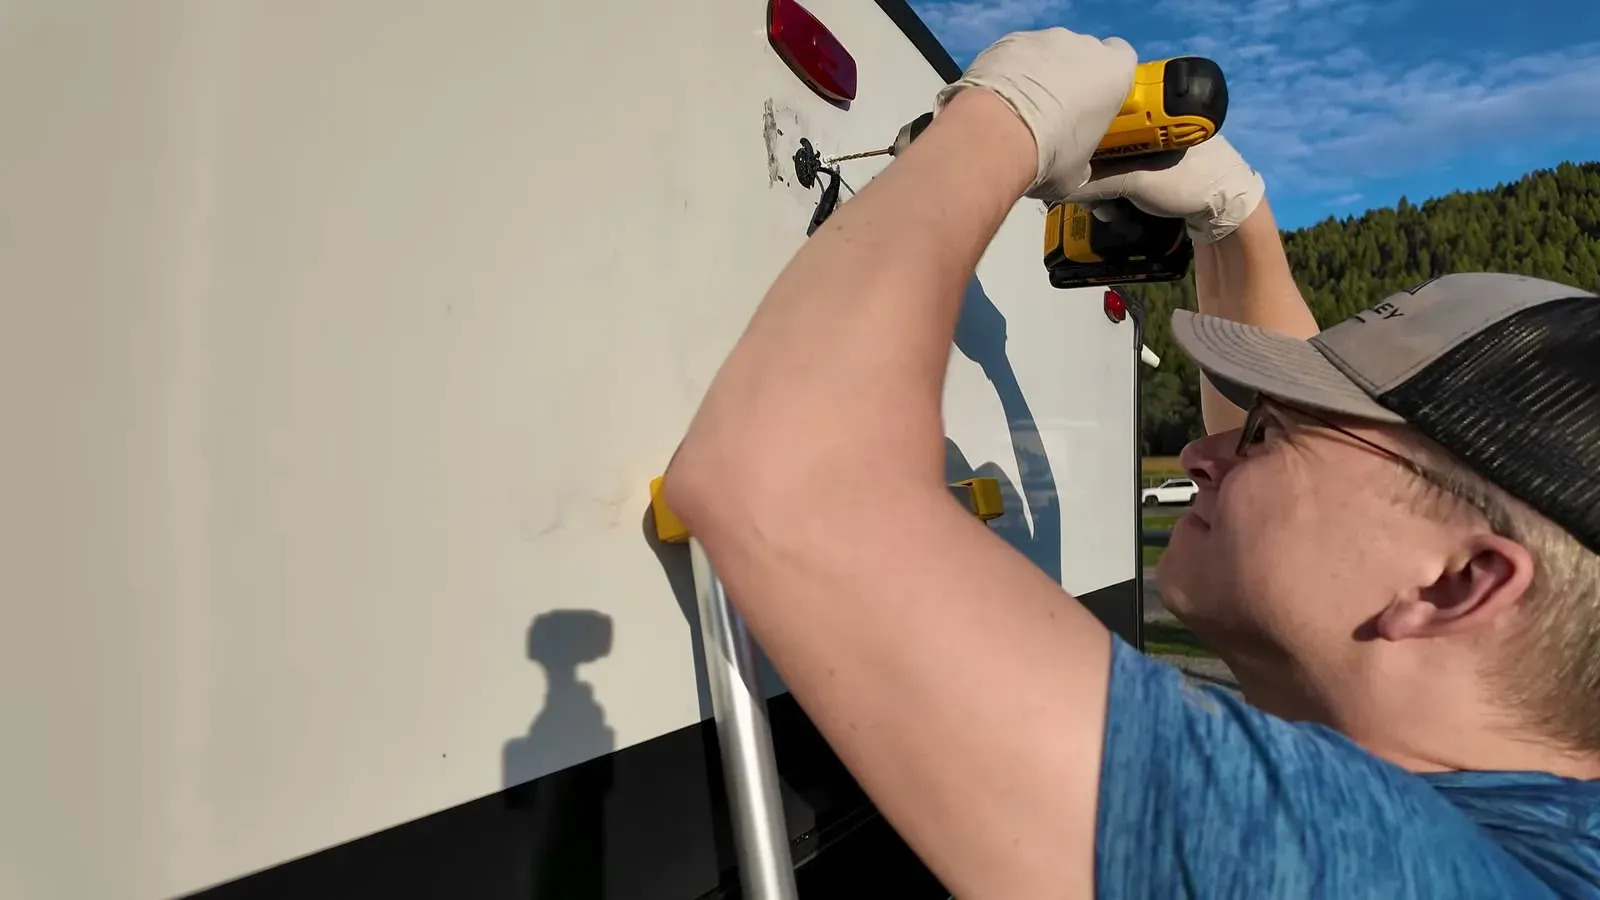
Then the part we would do differently. The rear camera has two buttons, and Nathan mounted it with the buttons on top. That puts the camera upside down, and everything on the monitor comes out upside down too. So, advice for everyone: when you install this, the buttons go on the bottom. It is much better to know that before you screw it to the wall.
By then the light was going, so the side cameras had to wait for day two.
Day two: the first test on the monitor
Before sealing anything for good, Nathan wanted to know the rear camera actually worked with the truck. The instructions point out one thing we wish we had known years ago: the monitor will not turn on until the rear camera has power, and the rear camera gets its power from the trailer's running lights. In one of our older videos we could not get our backup camera to work at all. It just needed the headlights on.
And yes, the first try on day two failed for exactly that reason. Lights on, and there it was: a clear view behind us. With the rear camera confirmed, we went back out and sealed around it so no water gets into the back wall.
A detour into a Ford toolkit
While Nathan was under the trailer, he found a cover on the underside that was hanging open. It is held with Velcro and a single screw, and nothing we owned fit that screw.
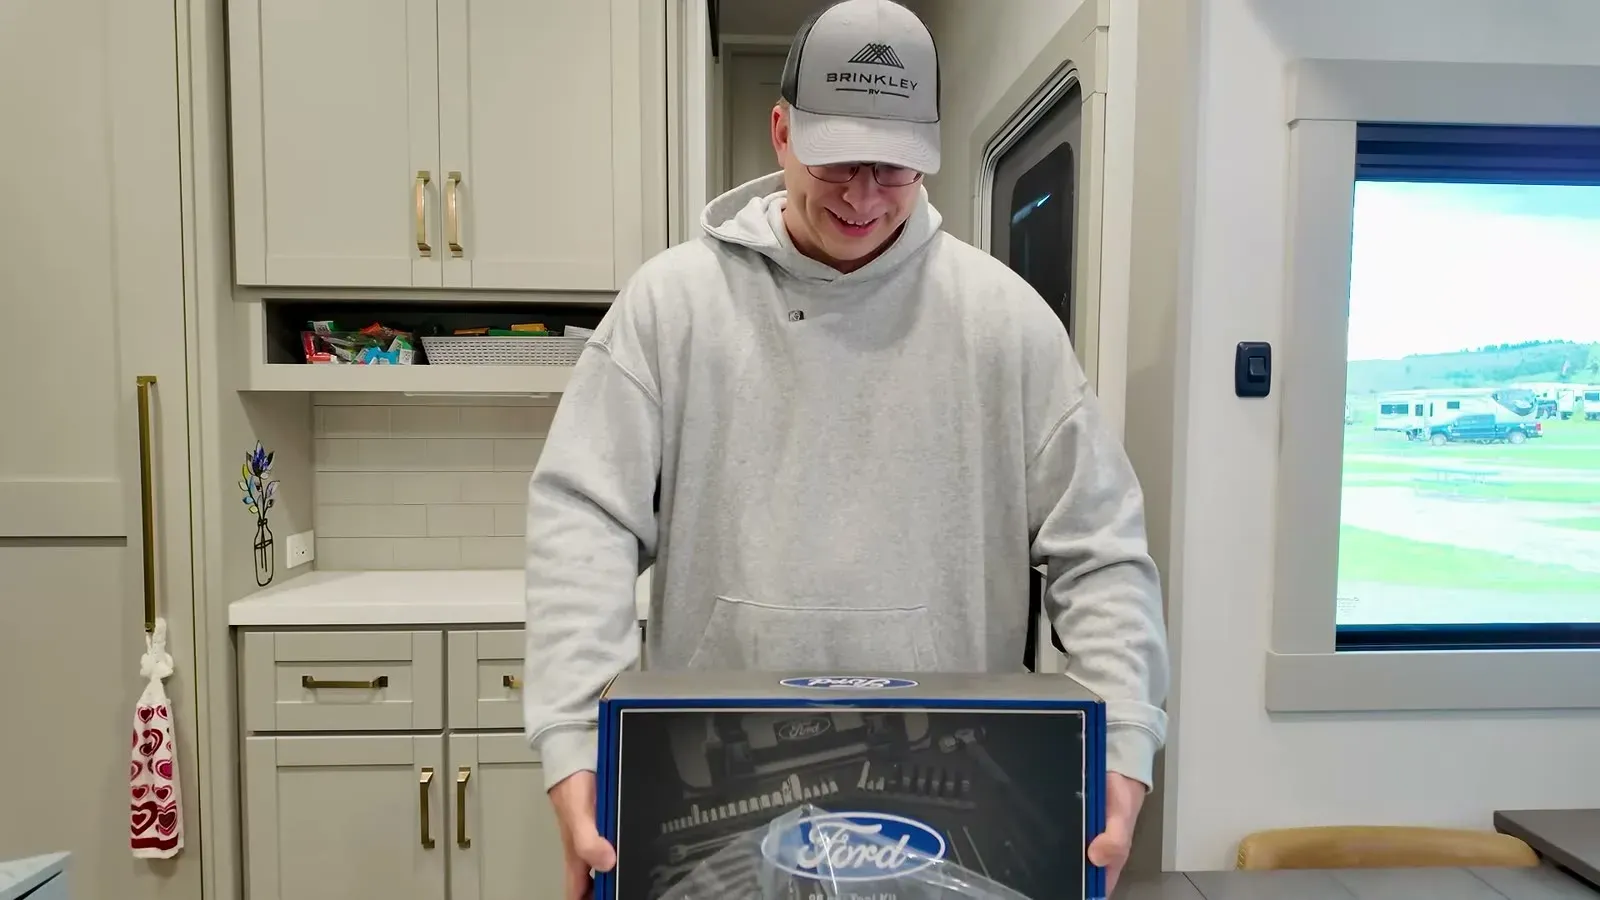
So it was time to open something that had been sitting unopened for about six months: an 86-piece Ford toolkit he had picked up with points from Ford. Screwdrivers, socket wrenches, sizes he cannot name, all marked Ford. Once the rain stopped, he went back under and closed it up.
Swapping the side marker lights for cameras
The side cameras go where the marker lights are. Nathan expected screws behind them. There were none. Those were not bolts, they were rivets. The fix is to drill out the center with a bit slightly smaller than the rivet body, and the head comes off on its own.
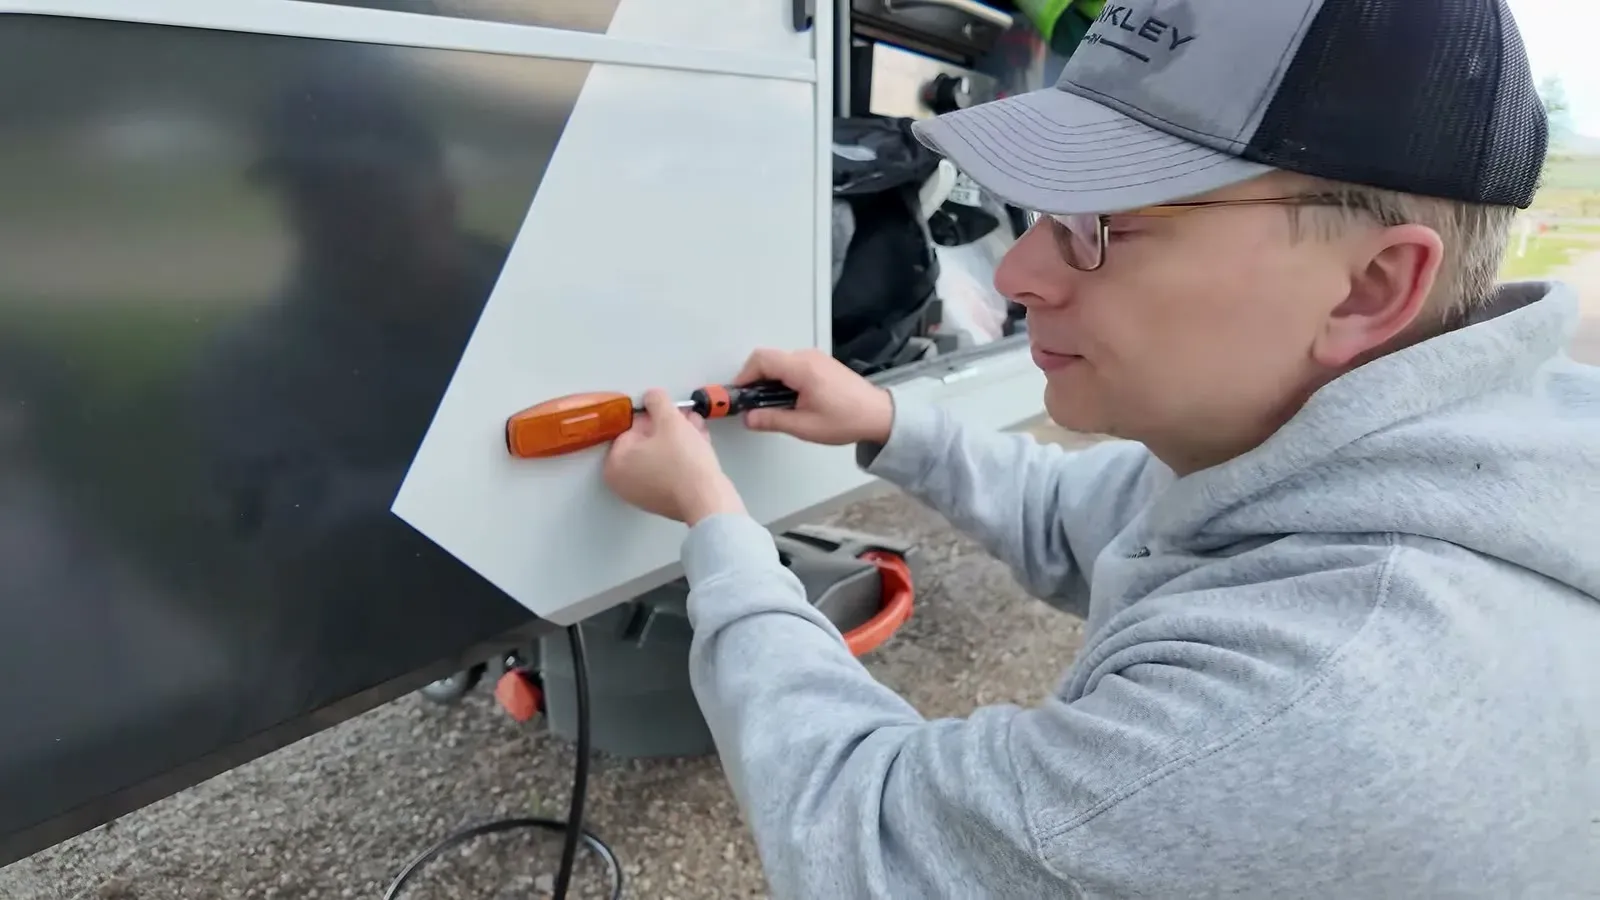
On our rig there is nothing but the underside behind those lights, so water getting in was not a worry there. If yours sit in a wall, seal them. And this is where the non-sag lesson comes back: on a vertical surface, a self-leveling sealant just runs off.
Before touching any wiring, we unplugged the RV from the truck so the 12 volt circuit had no power. Each side camera has 12 volt power (red) and ground (black). On our rig the black went to the white wire, according to what we found online. Double check yours.
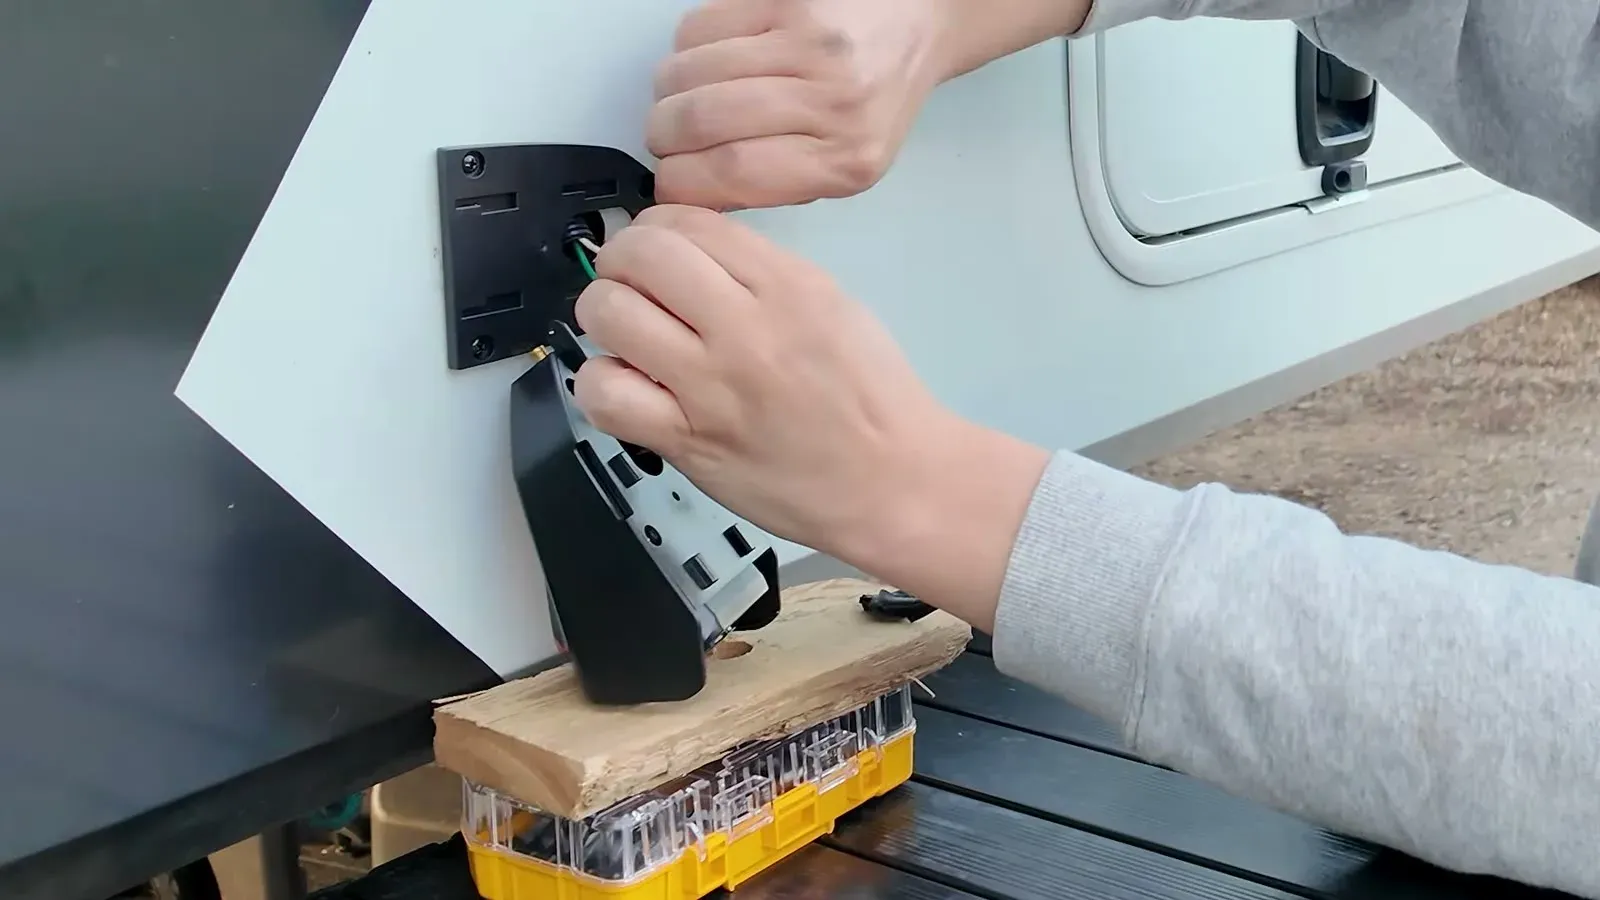
We joined the wires with electrical tape, a lot of it, as a temporary fix until we could get proper connectors. Nathan's knees started complaining around here, until Fabiola reminded him he had bought knee pads back in Marquette and never opened them. Each side camera also gets an anti-theft locking screw and its small antenna.
Pairing, and one camera that would not
The rear camera showed up on the monitor right away. The side cameras need to be paired, using the camera control button on each one.
The left camera paired. Both rear cameras worked. The right one would not show up at all, and its lights were not on either, which pointed to a power problem rather than a pairing one. Nathan redid the wiring, then redid it again. Still nothing.
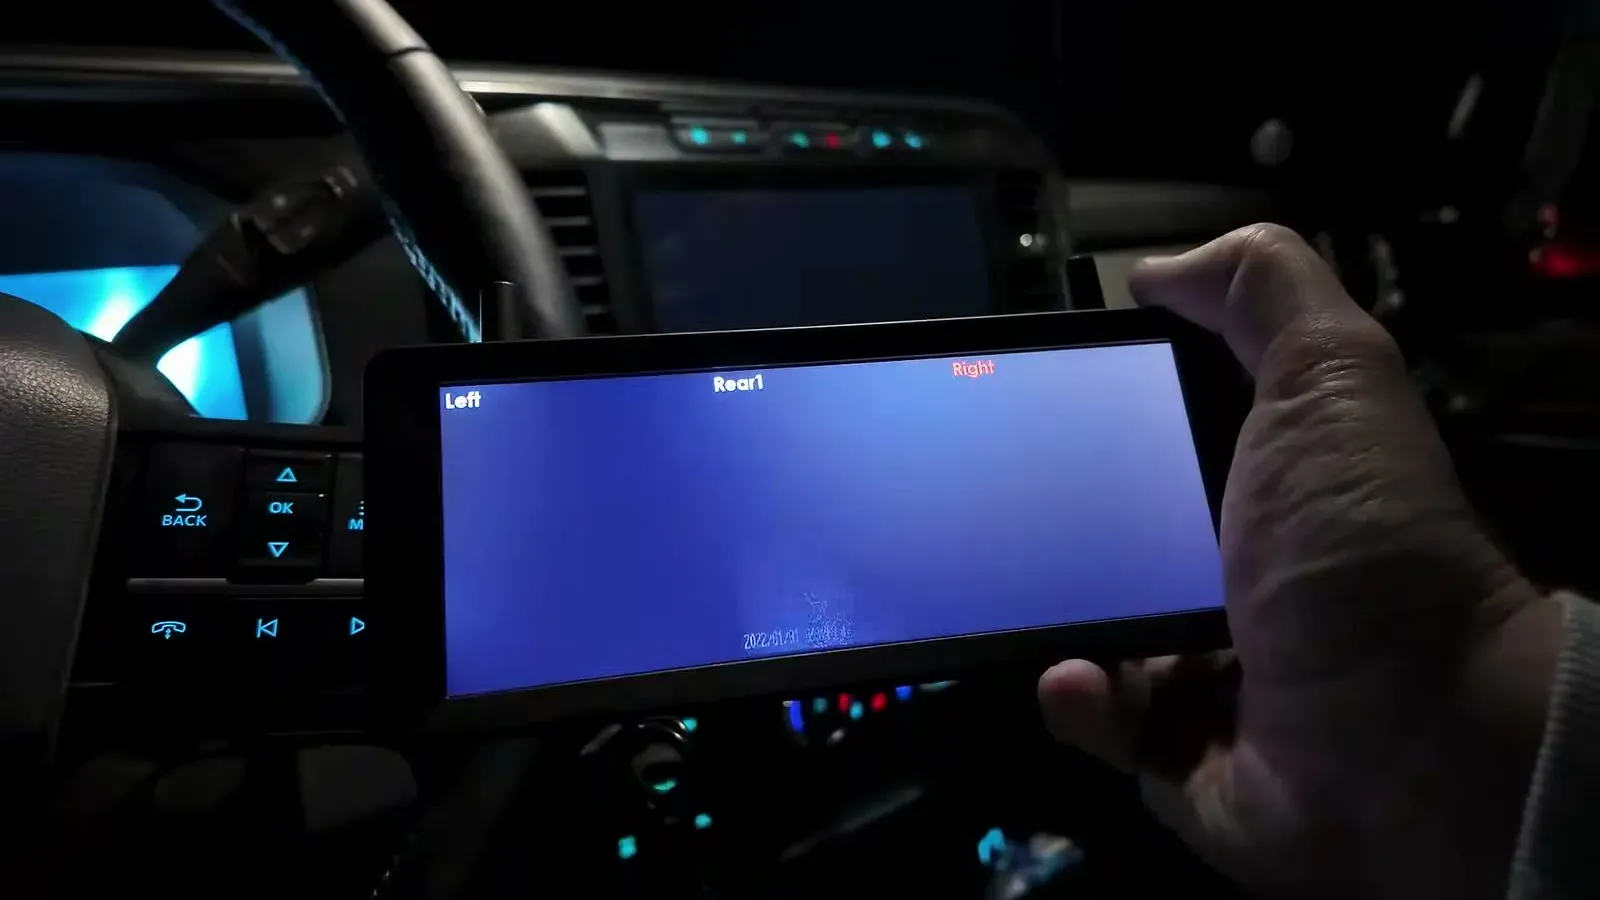
It was dark by then, so we did get to see the night vision on the cameras that worked. The right side is the one you need most when you back up, which made it extra frustrating. But we were still leaving in the morning, with three cameras out of four.
Travel day toward Jackson Hole
"Were the cameras working?" was Fabiola's first question on travel day. Mostly. The right one still was not.
Before we left we checked the tires: some read 115 and the other two read 120, so Nathan topped them up. Do it while the tires are cold, before they heat up on the road. Our tire monitor did not help this time, because we plugged it in and drove off before it had finished turning on. (Our towing and hitching gear has the gauge we use.)
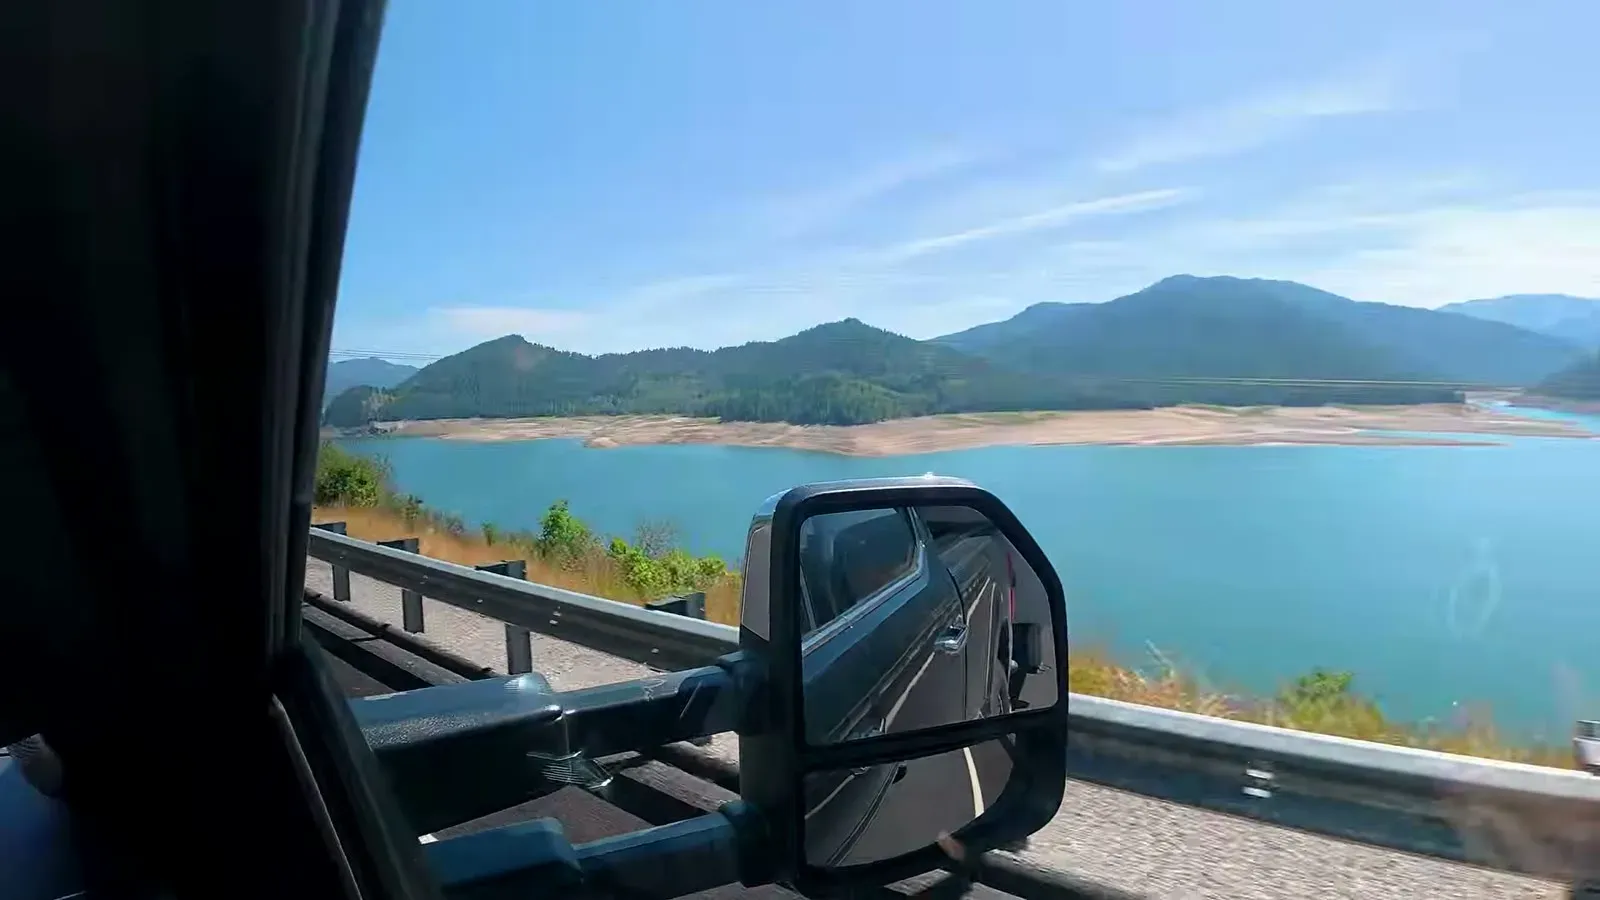
A little way in we stopped to adjust the side cameras, which you can angle, so they show less of the side of the RV and more of the road. We also found the protective film still on one of the lenses. The picture got better once it was off.
We did not take Teton Pass. It climbs to 8,431 feet on grades of about 10%, and while the F-350 is a good truck, a fifth wheel is heavy. We decided not to take chances. The road we did take was plenty: winding, up and down, with drivers passing on curves and ending up in our lane. Our ears kept popping the whole way.
The surprise on the road
About 15 minutes from the campground, the right camera came on by itself.
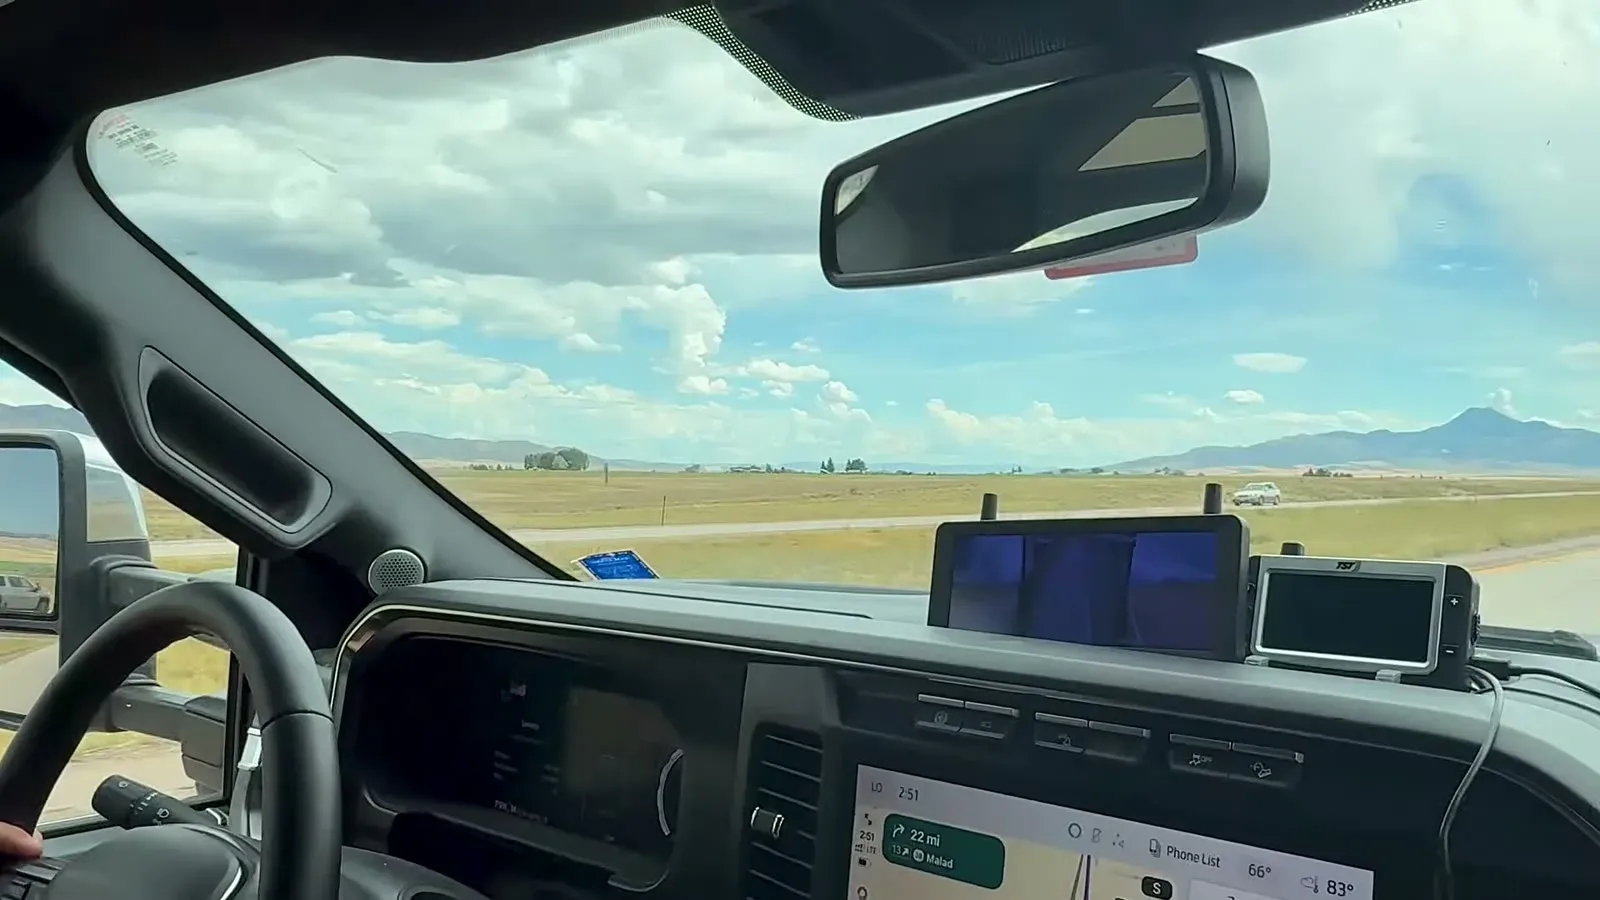
Nathan's theory is a loose connection in his taped splice that a bump in the road pushed back together. That means the fault was most likely our wiring, not the camera. The plan now is real connectors instead of tape. If you install one of these, start with the connectors.
Jackson Hole: our campground and downtown
We had booked Virginian RV Park the week before. The listing said the site was 40 feet, and our rig is 40 feet, so it looked perfect. Then we found out that 40 feet was for motorhomes, and trailers got 36. We called, and they had a spot that fits us. Worth knowing: a posted site length might mean the RV alone or the whole hitched rig. Measure from truck to bumper, then ask.
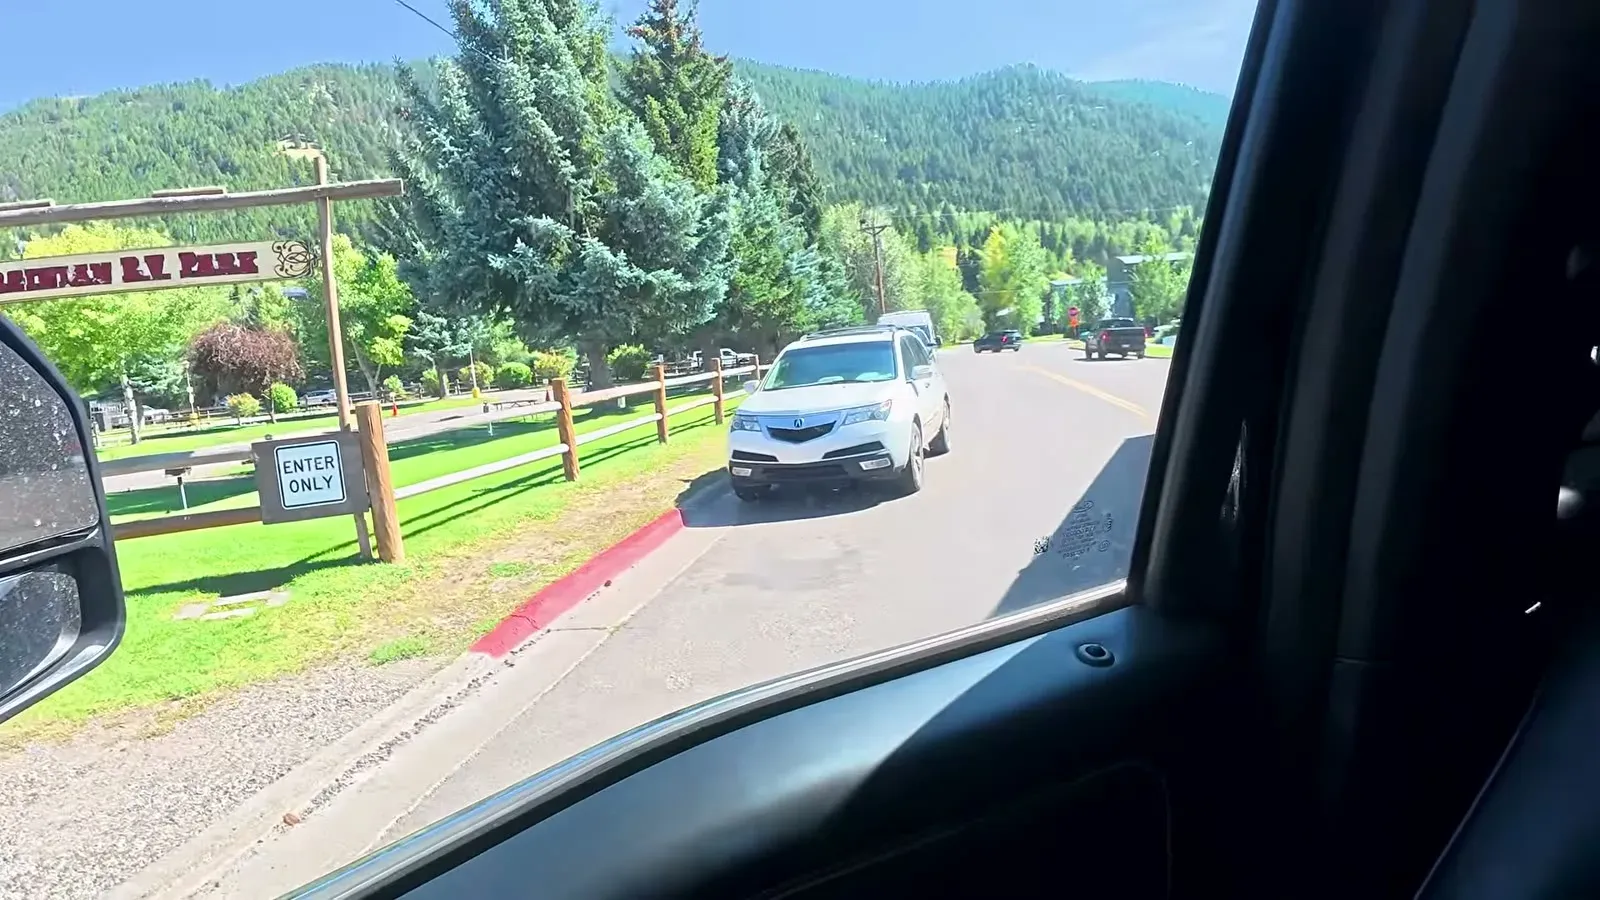
Since we were in the mountains, we added a lock on the GEN-Y hitch for extra security. The campground is about five minutes from downtown Jackson, so we went straight in. Dinner first: fried brisket bites and fried okra, a beer for Nathan, and a cowboy hat for Fabiola, a gift from Nathan.
Then we caught the Town Square Shootout, which has run on summer evenings since 1957 and bills itself as America's longest-running gunfight show. We saw a shootout in Deadwood too, and this one was much better.
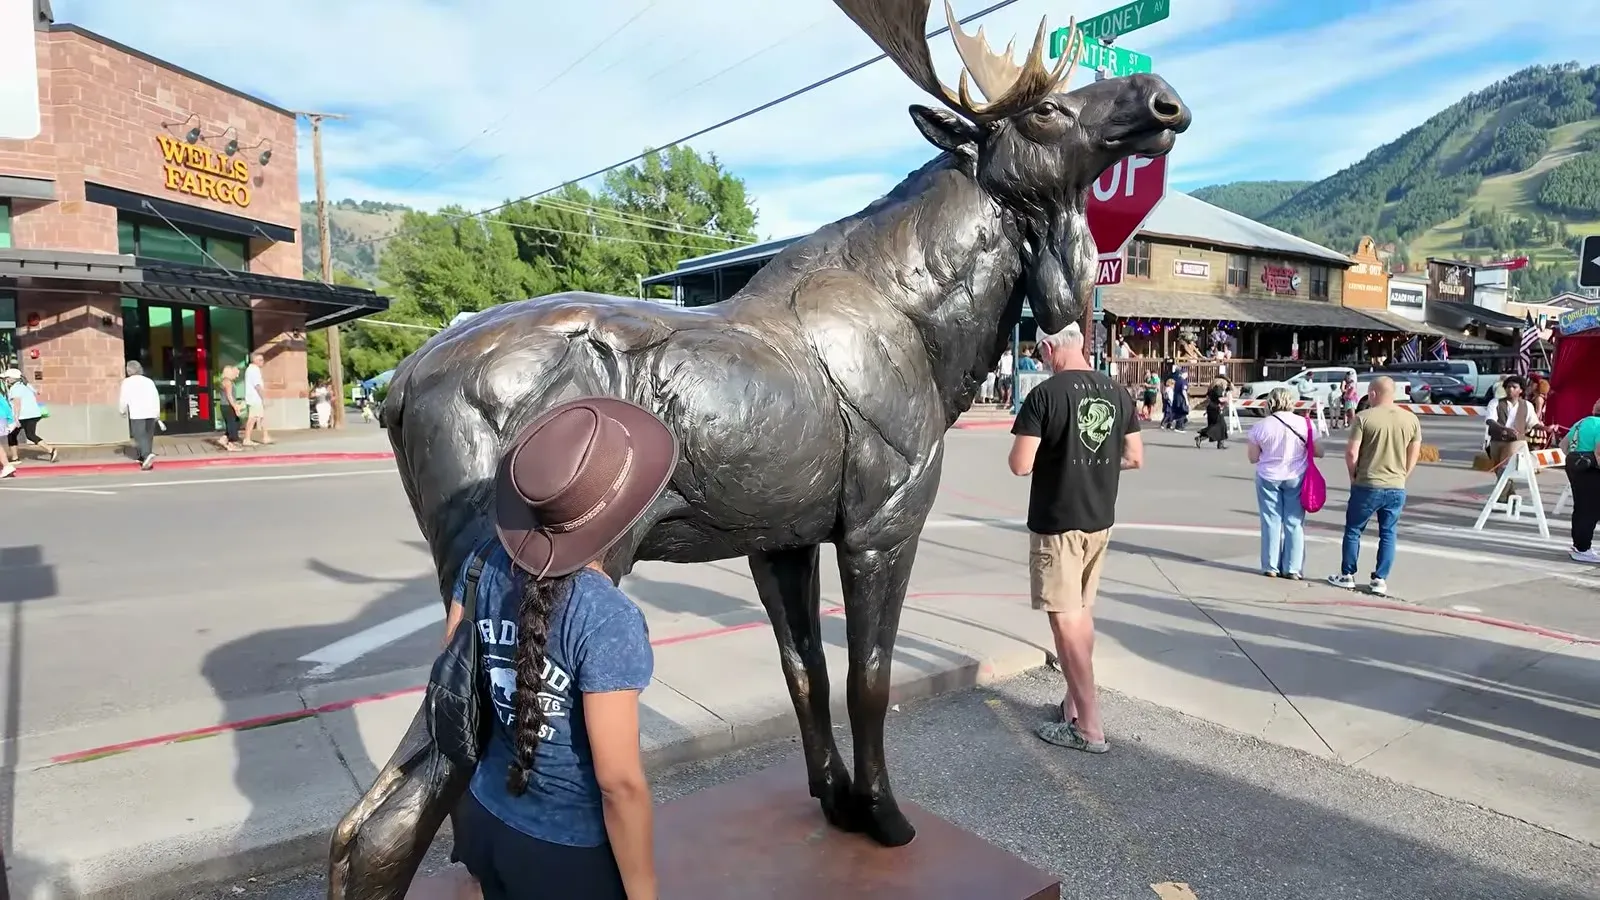
Downtown has a lot of bronze statues, including a moose about the size of a bison, and a seated figure we eventually agreed was Mark Twain. The trash cans are bear-proof. This is bear country. We ended the night at a cowboy bar, and next up is Grand Teton.
So, was the four-camera system worth it?
For us, the big change is seeing traffic behind the trailer and down both sides, which the old camera never showed. The install was harder than the videos we watched made it look, and the one real problem turned out to be our own wiring.
Our full write-up of the AUTO-VOX CampSync has the install tips, what we would do differently, and our code NOMADA88 for AUTO-VOX's current discount. It sits alongside the rest of our RV safety and monitoring gear.
If you missed the trip right before this one, our last day in Yellowstone is up too. We also send a short weekly newsletter with where we are and what we are working on.
What is the RV project that took you way longer than it should have? Tell us in the comments on the video.