
The backup camera that came with our Brinkley did one job, badly. It pointed almost straight down, so it was fine for reversing into a site and useless for seeing the car sitting behind us on the highway. Some days it would not come on at all.
So before we drove into the mountains around Grand Teton, we replaced it with AUTO-VOX's CampSync, a four-camera wireless system built for bigger rigs. It took two days, one drill, a hardware store run and more electrical tape than either of us would like to admit. This is what we learned.
Get the AUTO-VOX CampSync
Our code: NOMADA88 for 10% off. Valid October 1 to 31, 2026.
- Open the kit on Amazon with our link.
- Add it to your cart and go to checkout.
- Enter NOMADA88 in the gift card or promotion code box and apply it.
AUTO-VOX tells us the code can be combined with Amazon's own sale price, including Amazon's fall sale on October 6 and 7. If you are reading this after October 31, the code has ended, but the link still goes straight to the kit.
Full disclosure, because it matters with a review. AUTO-VOX sent us this kit for free and paid us to feature it in a video, and we earn a commission if you buy through our link, at no extra cost to you. They checked our video for factual accuracy only. What we say about it is ours, including the part that did not go to plan.
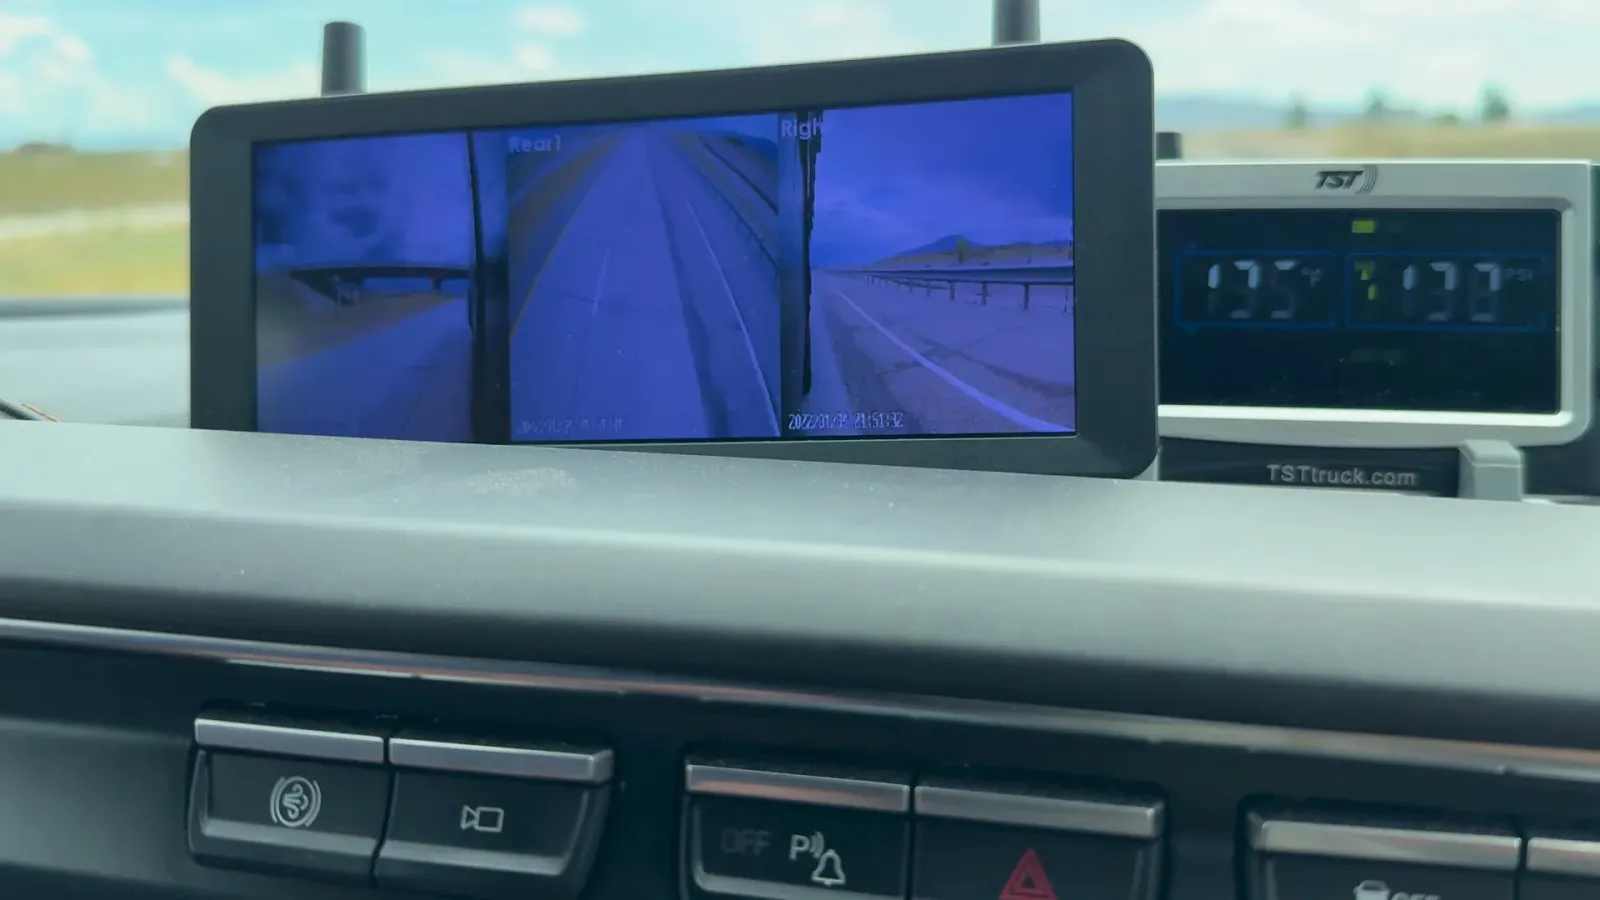
What is in the kit
- A rear unit with two cameras. One looks down at what is right behind the RV, for backing up. The other looks further back, so you can see traffic while you drive. That second view is the one our old camera never had.
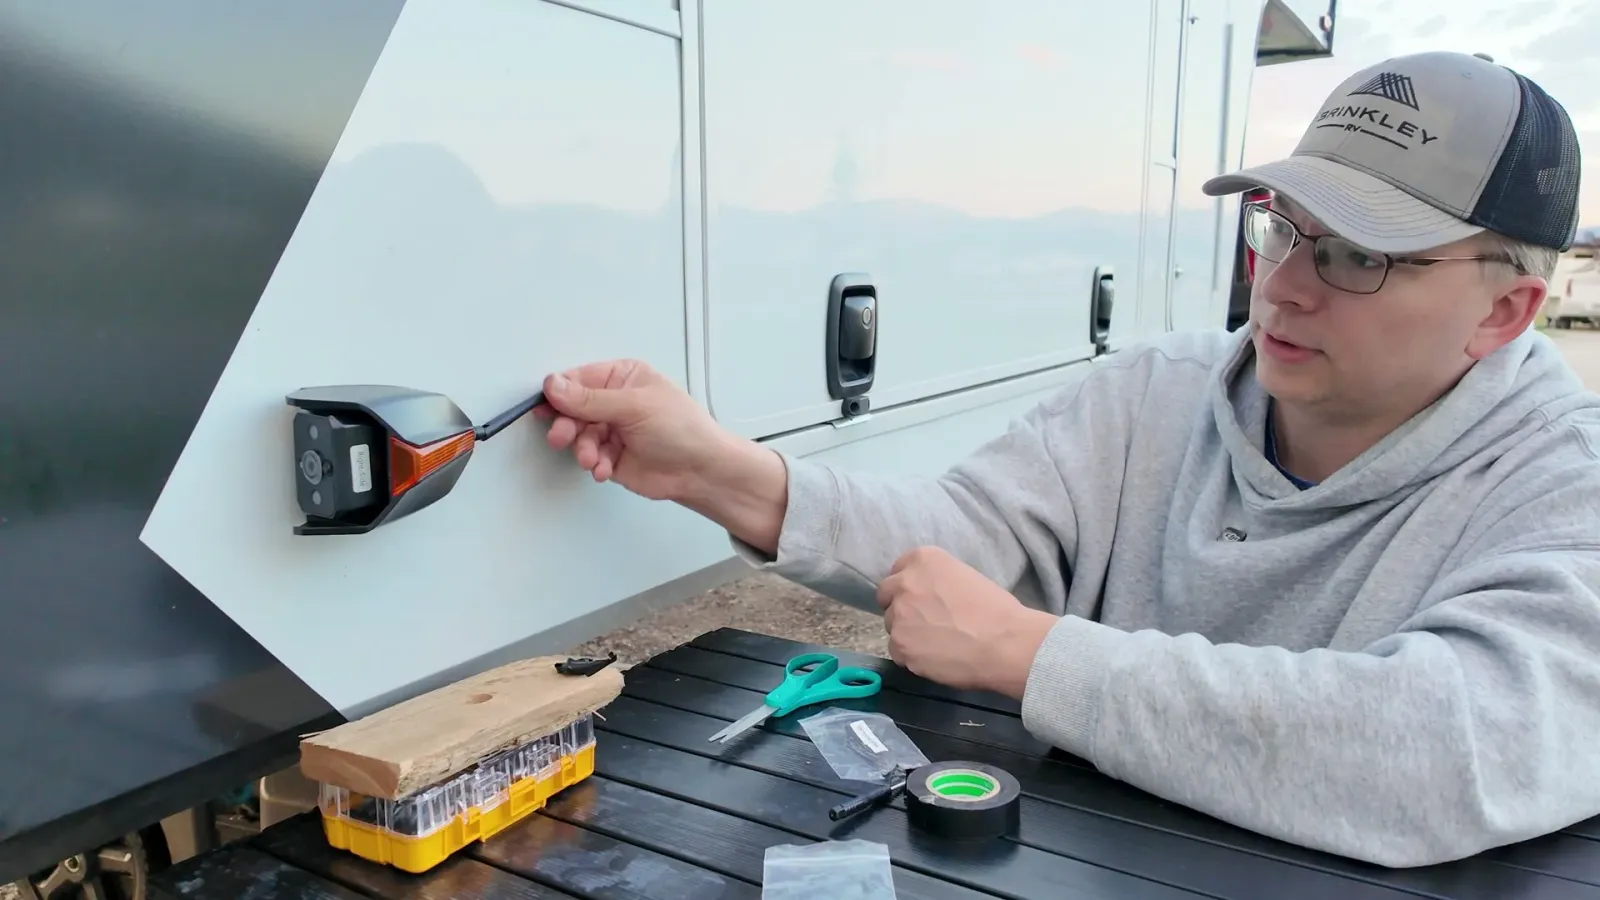
- Two side cameras that replace the marker lights on the sides of the rig, so you can see down both sides of a long trailer. They are lights as well as cameras, and they stay lit when your running lights are on.
- A monitor for the truck that can show several feeds at once.
- It is wireless between the cameras and the monitor. Each camera has a small antenna, and the side units have a locking screw that makes them harder to steal.
A detail we liked: the instructions point out that the monitor only comes on when the rear camera has power, and the rear camera is powered by the trailer's running lights. Our old system worked the same way and never said so. In one of our older videos we could not get our backup camera to work at all, and it turns out it just needed the headlights on.
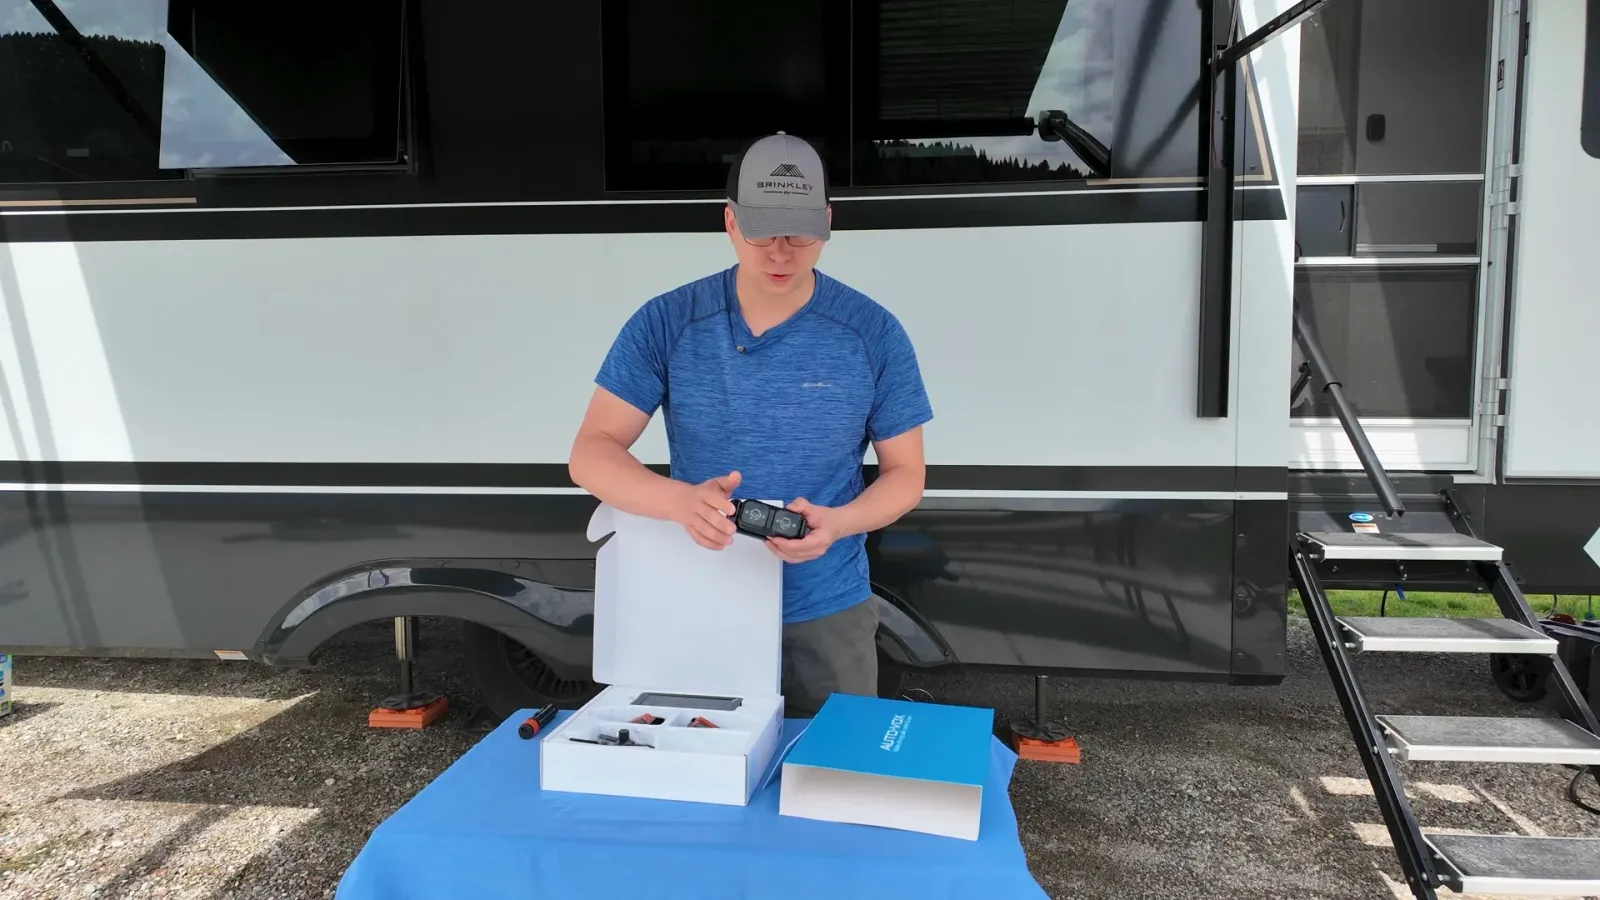
What the install was really like
Nathan is not a wiring person, so take this as the view of somebody doing it for the first time. Most of it was straightforward. These are the parts that were not.
The rear camera needed new holes
On our Brinkley the old rear camera came off with four screws, but the new mount's holes did not line up with the old ones, so we drilled four new ones. That leaves the old holes to seal.
Here is where AI advice let us down. It recommended a self-leveling sealant. The person at the hardware store pointed out that self-leveling sealant is for roofs: put it on a vertical wall and it runs straight down. What you want on the side or back of a rig is a non-sag sealant.
Buttons on the bottom
The rear camera can go on upside down, which means everything on your monitor is upside down too. The buttons go on the bottom. We learned this after mounting it.
The side cameras replace the marker lights
Our marker lights were held on with pop rivets, not screws. You drill out the centre of each rivet and the head comes off. Each side camera then takes 12 volt power and ground from the old light's wiring.
Unplug the RV from the truck before you touch that wiring. We joined ours with electrical tape as a stopgap, and we would not recommend it as the permanent answer, for reasons you are about to read.
Pairing
The rear camera showed up on the monitor straight away. The side cameras need pairing: there is a camera control button, and holding it for about three seconds starts it. Also peel the protective film off each lens. On travel day we stopped to adjust a side camera and found the film still on it.
The camera that did not work
When we finished, three of the four cameras worked. The right side camera would not show up, and of course that is the side you most need when you are backing up. We left on travel day without it, said so on camera, and planned to see how AUTO-VOX's support would handle it.
We never needed them. Partway through a drive, the right side feed just appeared on the monitor. Our best guess is a loose connection in our own taped splice that a bump in the road pushed back together, rather than a fault in the camera. If you install one, use proper wire connectors instead of tape.
Should you install one yourself?
If you are comfortable with a drill and basic 12 volt wiring, yes. Budget a weekend rather than an afternoon, have non-sag sealant and real wire connectors on hand before you start, and take your time on the rear mount. The whole install, mistakes included, is in our video.
Ready to get one? Open the CampSync on Amazon and use code NOMADA88 at checkout for 10% off, valid October 1 to 31, 2026.
The CampSync sits alongside the rest of our RV safety and monitoring gear. If you want to know what it is mounted on, here is our Brinkley Model Z 3515 and the F-350 that pulls it, plus our towing and hitching gear.