
A leveled fifth wheel is not a still fifth wheel. Ours sits on hydraulic jacks that hold it dead level, and it still moves in two different ways when somebody walks through it. Side to side, because the tandem tires can rock against their suspension. And up and down at the nose, because the entire front of a 40-foot trailer is balanced on two landing gear legs.
So we stabilize it. On our Brinkley Model Z 3515 that takes three kinds of stabilizer and four pieces of gear:
- Two X-Chocks, one on each side, between the tandem tires. They handle the side-to-side rocking.
- A Camco Eaz-Lift gooseneck tripod at the front, under the pin box. It handles the bounce in the nose.
- An Atesilor hitch-mount stabilizer at the back, in the rear bumper receiver. It's the newest of the three.
Some links on this page are affiliate links, including Amazon links. As Amazon Associates we earn from qualifying purchases, at no extra cost to you. We only list gear we actually own and use.
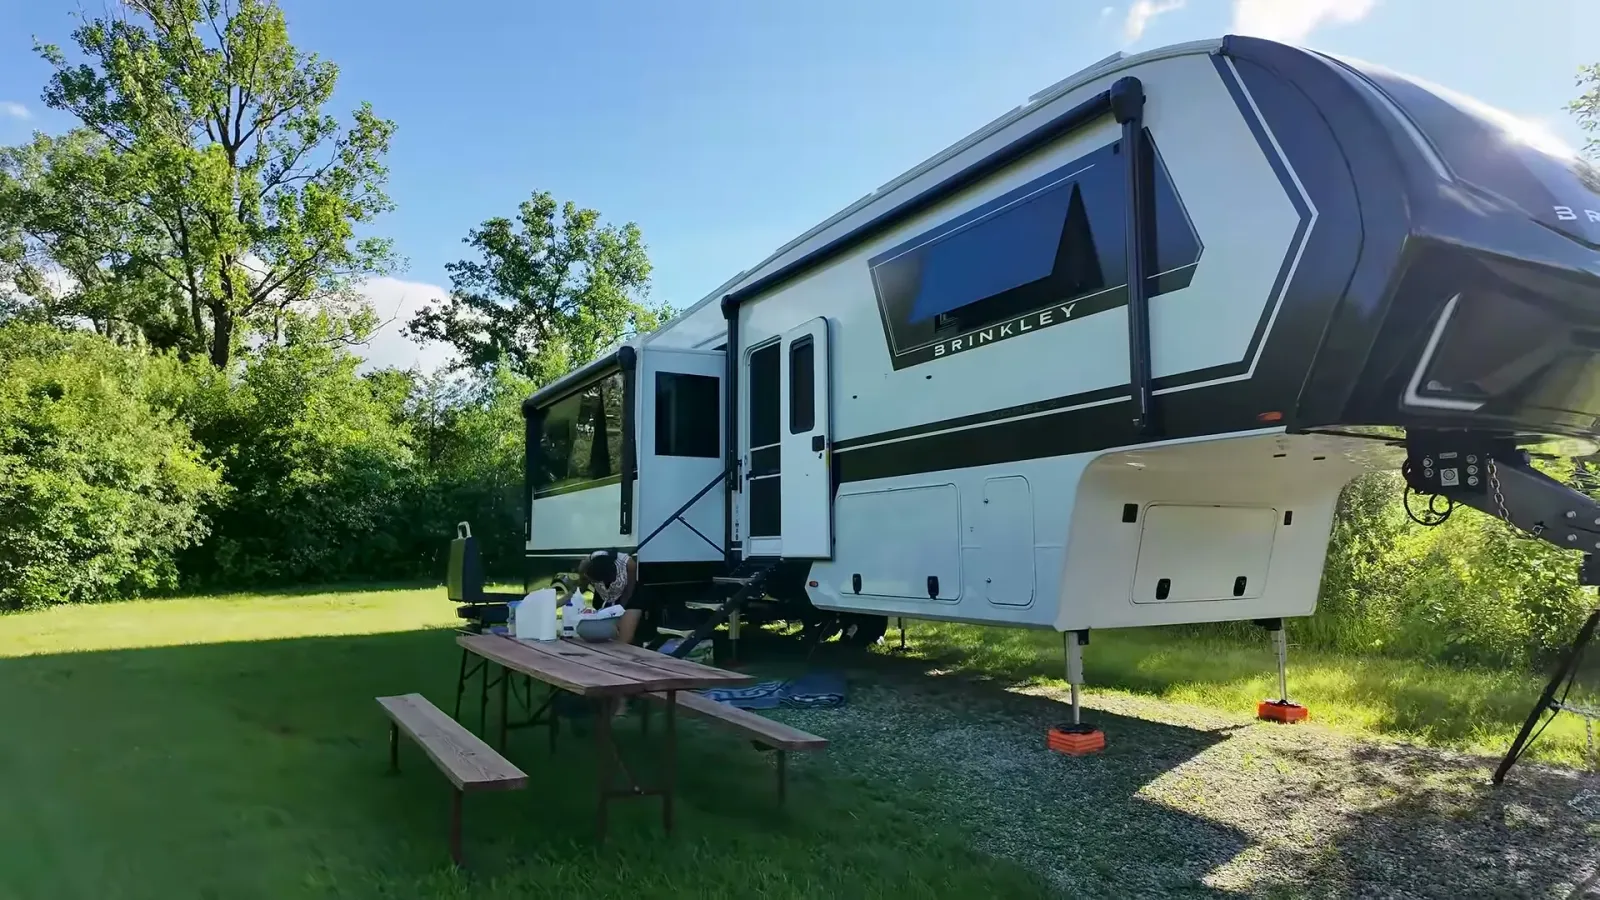
First, the safety part nobody should skip
X-Chocks are not chocks. The name says chock, they go by the tires, and they will not stop a trailer from rolling. They are a stabilizer that expands between the two tires on one side and clamps them against each other, which takes the play out of the suspension. Nothing about that keeps several tons of trailer from moving down a slope.
None of the stabilizers on this page are chocks. So the real chocks go in first, before anything else, and before the pin ever comes loose. We use MaxxHaul solid rubber chocks, front and back of a tire on each side. They're heavy and they don't slide on wet pavement. That happens while the truck is still hitched and holding everything, which is the whole point.
Everything below assumes those are already in.
X-Chocks: the side-to-side rock
We run two X-Chocks, one per side, each one between the two tandem tires on that side. Ours go in from the outside, ratcheted until they're firm against both treads. Firm, not cranked. You are taking up slack, not trying to lift anything.
The gooseneck tripod: the bounce in the nose
The gooseneck tripod is a folding jack that snugs up under the pin box and gives the nose a third leg. We use the Camco Eaz-Lift, which takes about two minutes to set and folds down small enough to live in the basement.
Snug it up until it takes a little pressure and stop. The tripod is there to stiffen the nose, not to lift it. The landing gear is still doing the actual work.
The difference shows up most in our bedroom, which sits directly over the pin box. Before the tripod, one of us getting up at night moved the whole front of the rig. After, it doesn't.
The rear hitch-mount stabilizer
The newest piece is a stabilizer that slides into the 2 inch receiver on our rear bumper. Ours is the Atesilor 17-26" hitch mount RV stabilizer. It adjusts from 17 to 26 inches, tightens with a ratchet, and the listing rates it at 20,000 pounds load-bearing.
We put it on for the first time boondocking on the Badlands rim, on the evening another storm came through and shook everything. Ours sits taller than the instructions really picture, but it made a real difference in how much the RV moved in the wind.
Our arrival order
- Park, then rubber chocks in while we're still hitched.
- Lower just the two front jacks, the landing gear, until both are on the ground.
- Pull the release to unhitch from the truck.
- Keep raising the front.
- Once it's detached, pull the truck out.
- Run the auto-level.
- X-Chocks in.
- Slides out.
- Tripod under the pin box, and the hitch-mount stabilizer into the rear receiver.
The auto-level waits until the truck is gone. We never auto-level while still hitched, because the trailer is still attached to the truck, and that's no good.
The other two things worth explaining are why the X-Chocks go in that early and why the tripod goes in that late.
X-Chocks go in right after the auto-level
Once the truck is out from under the pin and the auto-level has run, the trailer is standing on its own and the suspension is carrying its share again. That is the moment to put the X-Chocks in. Do it before the slides run, not after.
The reason is access, not physics. Once the slides are out, the rooms hang over the side of the trailer and the tandems sit underneath them. You end up crouched under a slide, working the ratchet by feel in bad light. With the slides still in, the whole side of the rig is open and it's a thirty second job on each side.
The tripod goes in last, after the slides
It goes in dead last, after the slides are out, and the rear hitch-mount stabilizer goes in at the same time. The slides move a lot of weight around, and you want the trailer to finish settling before you put a leg under the nose. Set it too early and the rig moves out from under it.
Teardown, in reverse
- Tripod and rear hitch-mount stabilizer out and stowed.
- Slides in.
- X-Chocks out.
- Jacks and landing gear up, then back the truck under and hitch.
The tripod comes out before the slides come in, which mirrors why it went in last, and the rear hitch-mount stabilizer comes out with it. On travel days when we know we're leaving early, Nathan will often pull the tripod and the rear stabilizer the night before. Pulling the slides in first and then the two stabilizers is fine too, but we usually do the stabilizers first.
The X-Chocks come out before any part of the hitching process starts, and specifically before the jacks move. That order is the one that bites people, us included.
The mistake: chocks that won't come out
Before a CAT scale run, we went to pull the X-Chocks and they would not budge. The ratchet had nothing left to give and we were not going anywhere. We spent a genuinely comical stretch of a morning getting un-chocked before that weigh-in.
What causes it is the jacks. Moving them shifts the trailer's weight around between the jacks and the tires, and the wheels move a little as that happens. They don't move much. They move enough to close the gap you set the chock into and wedge it against both treads, and at that point you are trying to pull a metal wedge out from under several tons of trailer.
So pull them while the rig is still sitting exactly the way it sat all week, before you touch the jack controls. If they're already wedged, don't fight it with the ratchet handle, because that's how you bend one. Move the jacks again to shift the weight off the tires and the chock will usually come loose on its own.
When we skip all of this
A one-night stop where we stay hitched to the truck doesn't get the X-Chocks or the tripod. The truck is still under the pin, the rig can't rock much, and neither one is worth unpacking for eight hours. On those nights we drop the trailer's built-in rear jacks lightly and leave it there, the same as we do on a Walmart overnight. Our full routine for deciding whether a site passes that test is in how we stay hitched overnight.
Rubber chocks still go in on those nights. Those are never optional.
What it actually feels like
None of this turns a trailer into a house. You will still feel your partner walk past the bed. What the X-Chocks and the tripod do is take the movement from noticeable to ignorable, and the tripod was the bigger jump of the two for us, because the nose was where most of our motion lived. We added it at a boondocking site in Florida and noticed the difference the first evening.
Everything on this page, in one place
- X-Chocks, two of them, one per side
- Camco Eaz-Lift gooseneck tripod, under the pin box
- Atesilor 17-26" hitch mount stabilizer, for a 2 inch rear receiver
- MaxxHaul solid rubber chocks, the real chocks that go in before any of it
The rest of what rides in our basement on travel days, from the hitch to the tire gauge, is on our towing, hitching and setup gear list.
This guide describes how we do it on our own rig. We are not RV technicians, and this post may contain mistakes or steps that don't apply to your setup. Proceed at your own risk, and double-check anything safety-critical with a professional.