
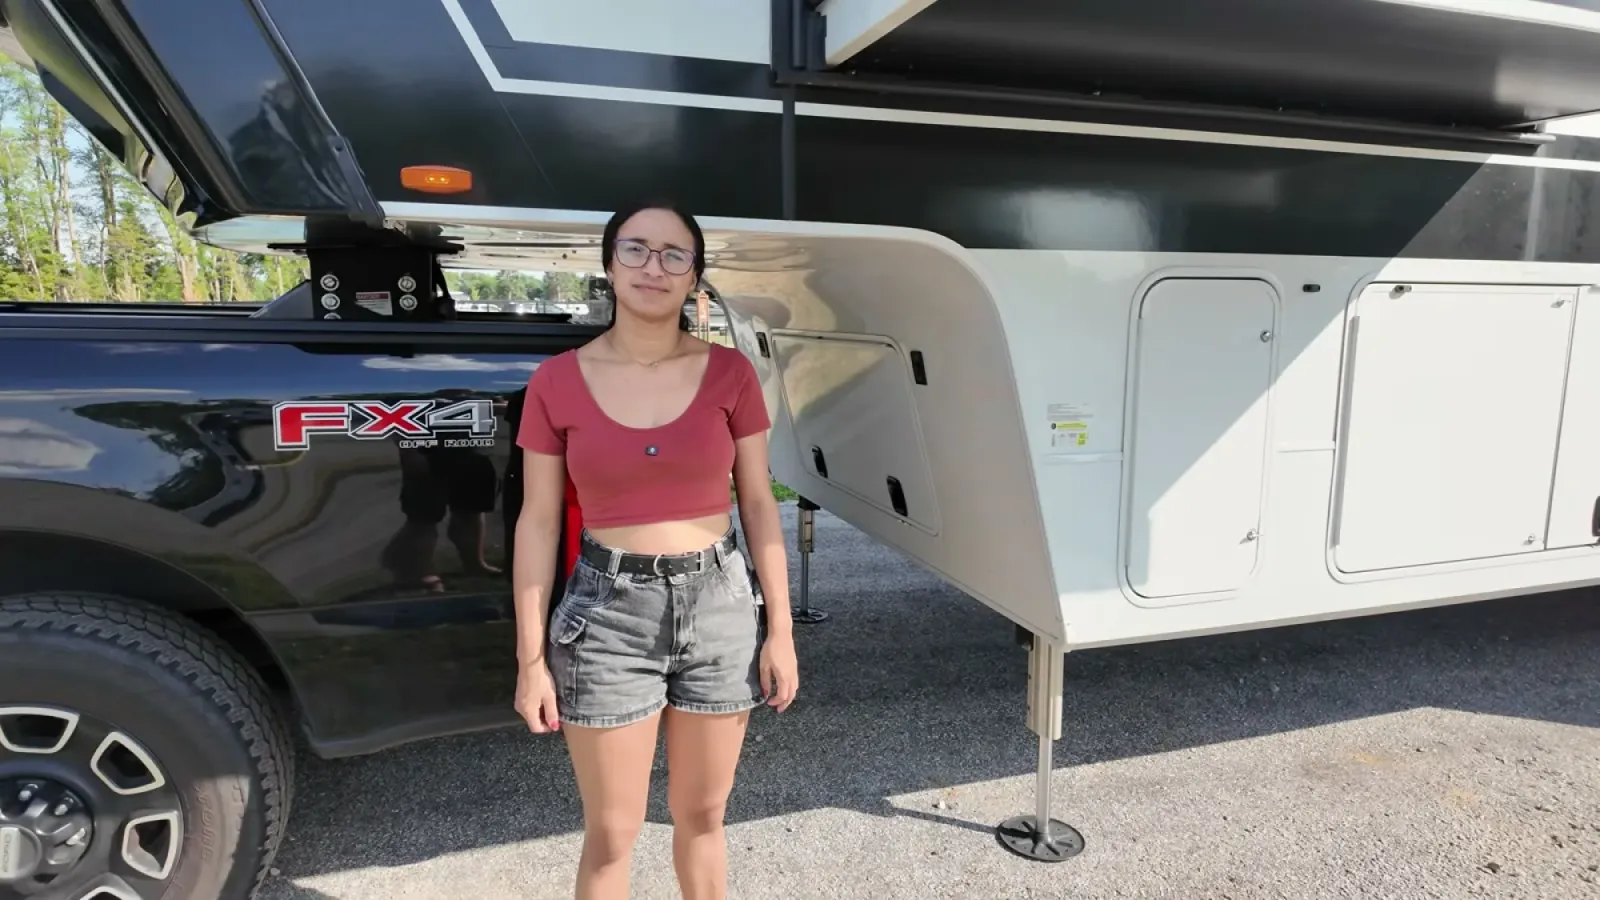
A one-night stop only pays off if you can skip the full setup. Unhitching a fifth wheel, auto-leveling, and hitching back up the next morning eats close to an hour of a travel day. So on overnight stops we run one test before anything else: are we level enough, right where we parked, to stay connected to the truck? We filmed the whole routine at a Love's RV Stop with our Brinkley Model Z 3515, and it was also the first time we ever overnighted with the slides out. Here is how the decision works, including the parts we would do differently now.
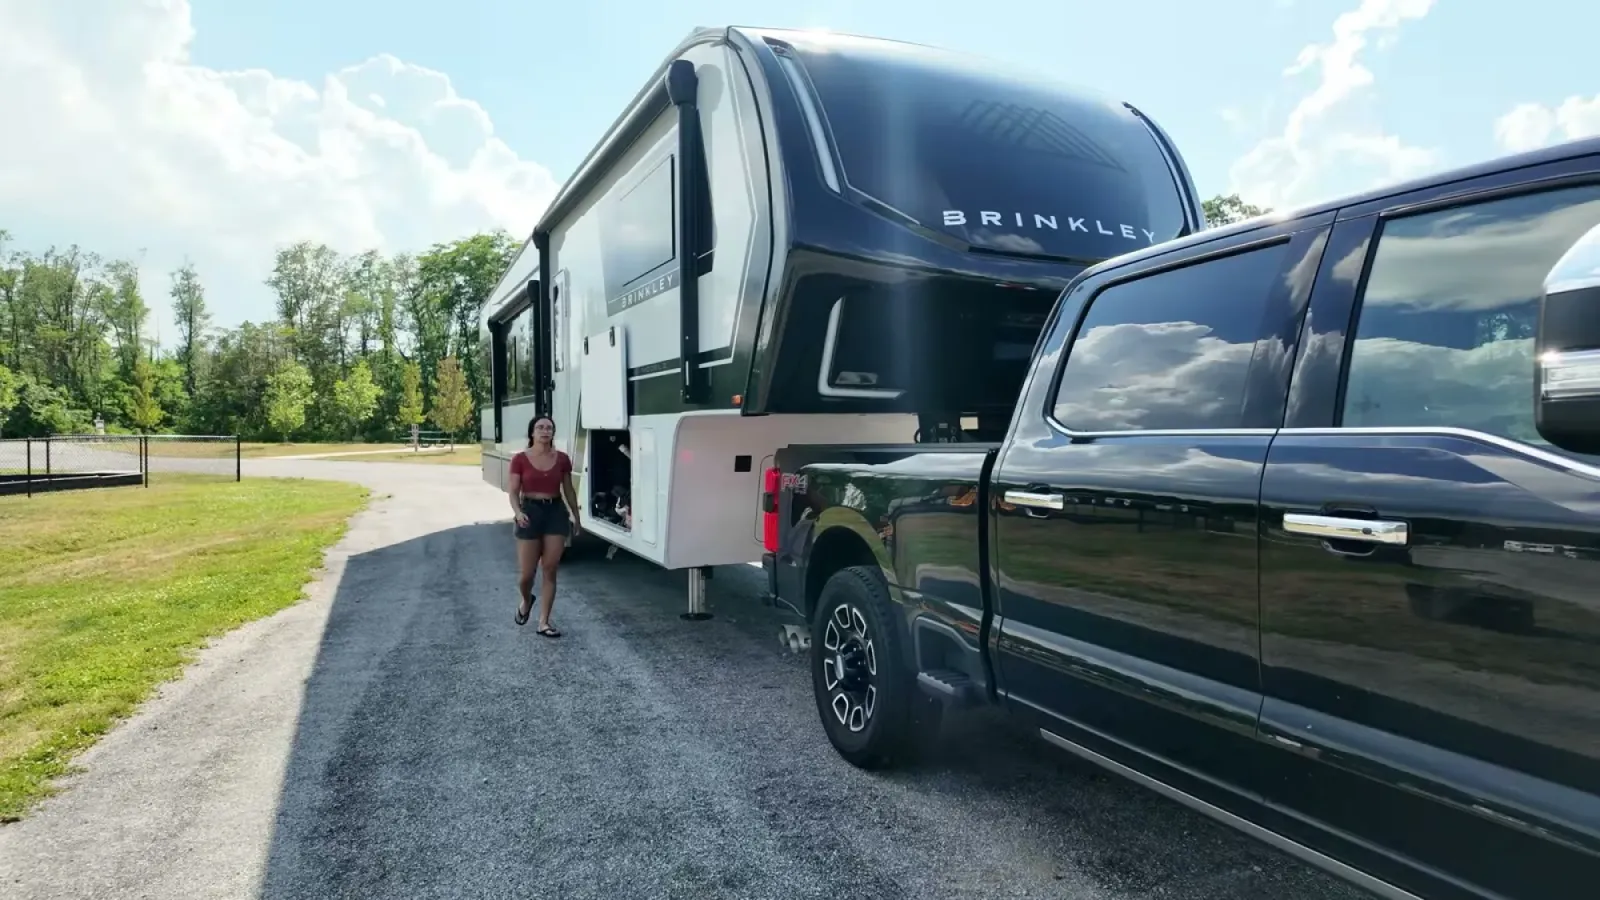
Step 1: Read your actual numbers before touching anything
Eyeballing the rig tells you almost nothing. Our Lippert leveling control panel has a manual mode that shows how far off we are side to side and front to back, with a blinking light on the low side. Park in the spot, leave everything hitched, and read the numbers first. At Love's, the panel showed us about 1.1 degrees off side to side and a few tenths front to back, low on one side, but close enough that fixing it looked possible without dropping the pin. If you don't have a digital readout, a bubble level inside the rig works; you just get less precision on which way and how much.
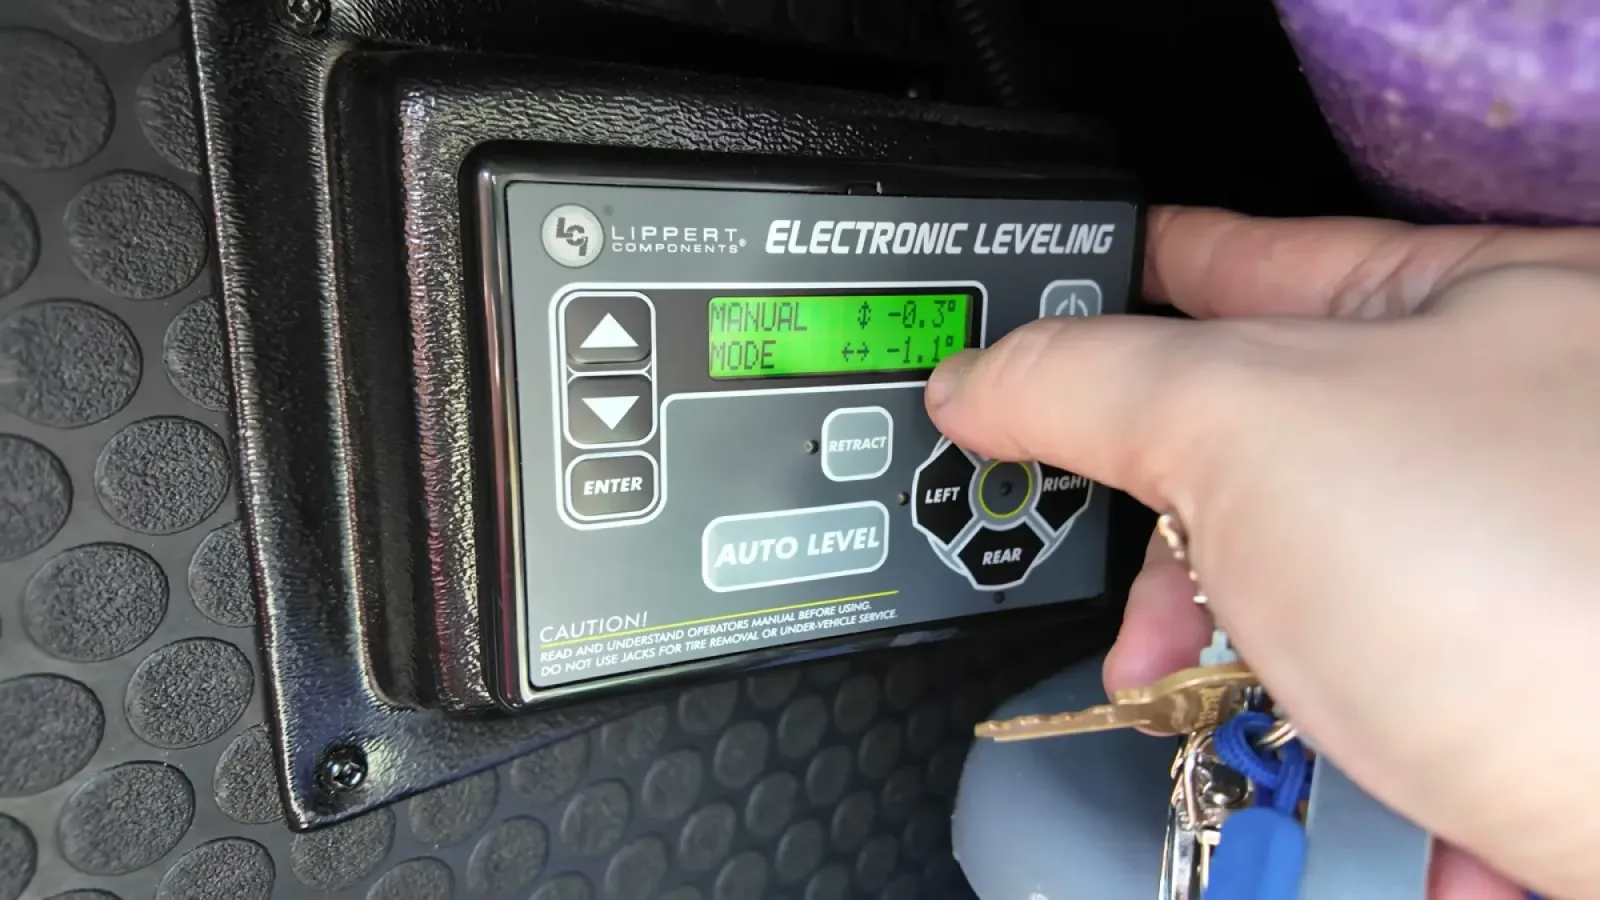
Step 2: Know the tolerances that actually matter
Two systems care about level. The first is the refrigerator, if yours is an absorption fridge (the propane and electric kind). Norcold's guidance is no more than 3 degrees off side to side and 6 degrees front to back, because the ammonia in the cooling unit relies on gravity to circulate; run it tilted past that for hours and you risk permanent damage. Truck Camper Adventure has a good breakdown of the numbers, including the practical rule that half a bubble is fine for one night. Our Brinkley has a residential-style fridge, which is far less fussy about level, but check which type you have before you copy us.
The second is the slides. Lippert's slide-out manual tells you to park on solid, level ground before running the room, and "level the unit" is literally step one of its extend procedure. There is no published degree tolerance, so the safe read is: if you're close to level and the ground is firm, you're inside what the slides were designed for. If you're visibly leaning, fix that first or leave the slides in.
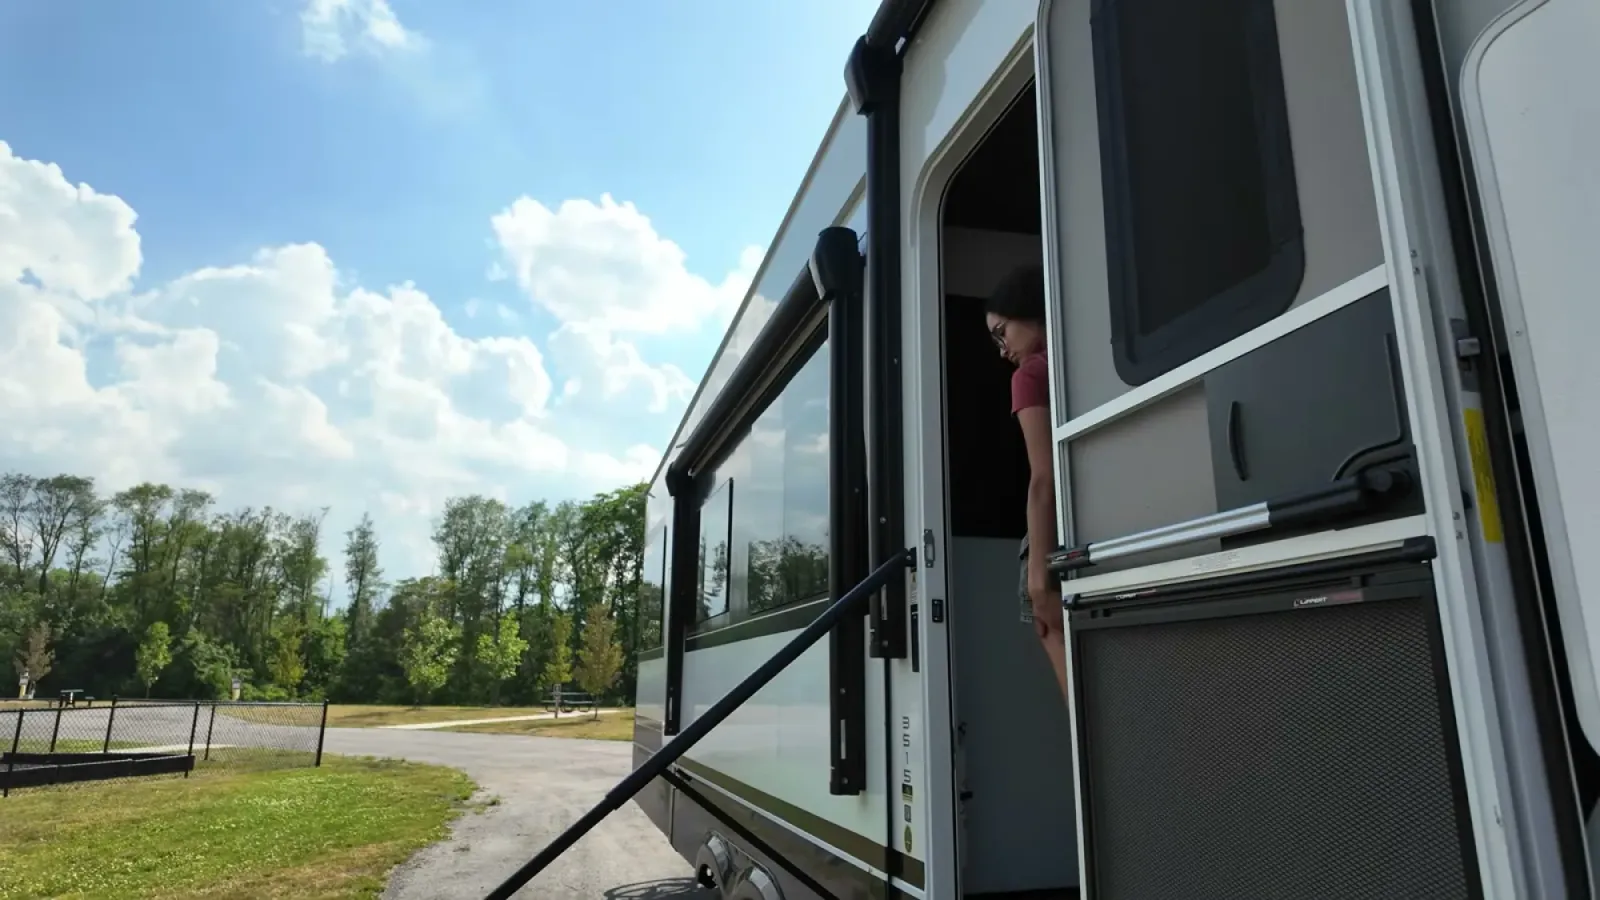
Step 3: Fix a small lean with blocks, then re-check
We were low on one side, so out came our drive-on leveling blocks for the low-side tires, still hitched. After setting up and re-checking the panel, we went from over a degree off to readings of 0.3 and 0.4. Nothing blinking. That is the whole trick. A side-to-side lean is the one you can fix while hitched, because blocks under the wheels raise the low side without involving the pin at all. Front-to-back lean is mostly set by your truck's hitch height, and there is not much you can safely do about it while connected, which is why some sites simply fail the test.
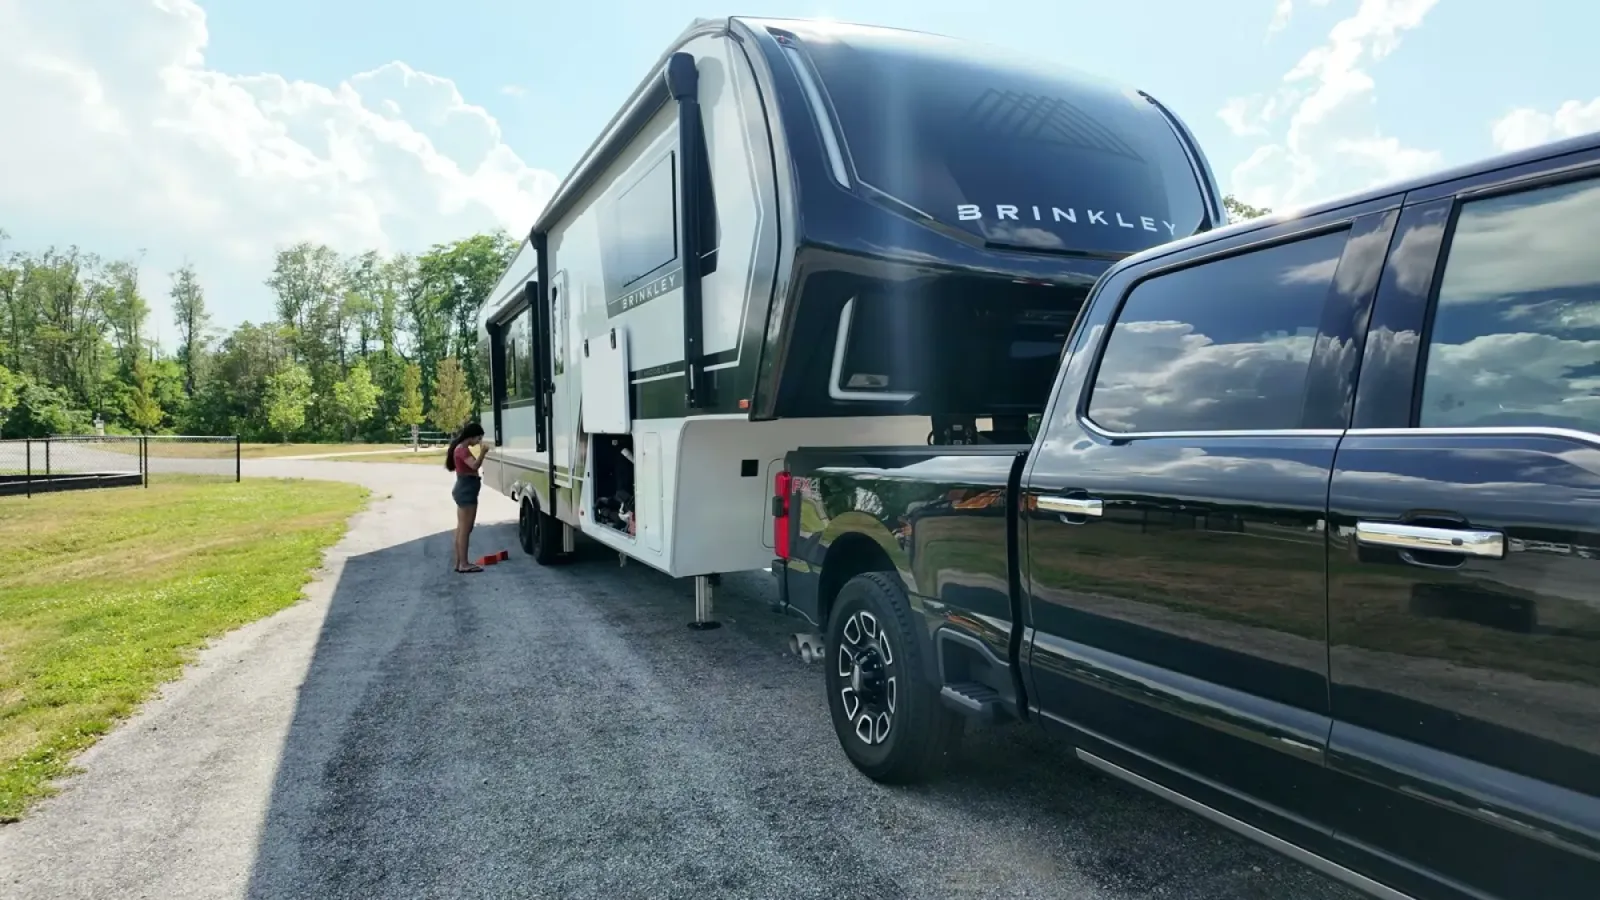
Step 4: Chock the wheels and set the parking brake
Here is the step the forums hammer on, and for good reason: even hitched, chock the trailer tires and set the truck's parking brake firmly. Hitched overnight, the only things keeping several tons of trailer still are the truck's transmission, its brake, and friction. Long-running threads on the Forest River forums treat chocks as non-negotiable for exactly this case, because parking mechanisms can fail. Chocks cost almost nothing and take thirty seconds.
Step 5: Landing gear down to touch, not to lift
With the numbers good, we ran the front landing gear down until it just took a little pressure off the truck, watching the readout the whole time so we didn't tilt anything. That got us to 0.2. The rule here: the wheels and the pin carry the trailer, and the landing gear only relieves some load and stiffens the rig. Never run the gear far enough to lift the truck's rear end through the pin. We also dropped the rear stabilizers lightly, the same way we do on a Walmart overnight, purely to cut the wobble when we walk around inside. Then we ran the slides out and were done: full stop-to-settled in minutes instead of the better part of an hour. Expect a bit more shake than usual overnight; stabilizers help, but a hitched rig is never as planted as one on its legs.
What we got wrong
Honesty section, because we were figuring this out on camera.
- We didn't chock. We talked through blocks, jacks, and level readings on camera, but the wheels never got chocked; we leaned on the truck to hold everything still. Every credible guide says to chock anyway, because parking mechanisms fail. Next time the chocks go in first.
- We didn't know the fridge numbers. We called ourselves "level enough" by looking at the panel, not because we knew what 3 degrees side to side actually meant for a fridge. Our residential fridge forgave us; an absorption fridge might not have.
- We ran the slides out trusting the panel's green light. That is a reasonable thing to trust, but at the time we didn't know what tolerance that green actually represents or what the slide manufacturer allows. We turned out to be within a few tenths of a degree, comfortably inside spec. Knowing the numbers beats finding out afterward.
The morning reverse took about as long as making coffee: slides in, landing gear up, hose and cords stowed, everything inside locked down for travel. That speed is the entire reason this test is worth running. You can watch the whole stay, including the level check and what we found in the campground water, in our post about the night we paid $74 to stay at a Love's RV Stop. We also cover travel-day routines like this in our weekly newsletter.
This guide describes how we did it on our own rig. We are not RV technicians, and this post may contain mistakes or steps that don't apply to your setup. Proceed at your own risk, and double-check anything safety-critical with a professional.