
We learned this one the hard way in January 2026. After six weeks in Brazil we came back to our Brinkley Model Z 3515 and found droppings on the mats, chew marks on things that should not have chew marks, and, within the first hour, an actual live mouse. What followed was four days of traps, baits, and crawling around the underbelly. A lot of RVers travel with pets, so along the way we also note which of the standard options are risky if you do. Here is what we would do, in order, knowing what we know now.
Step 1: Follow the droppings and map the traffic
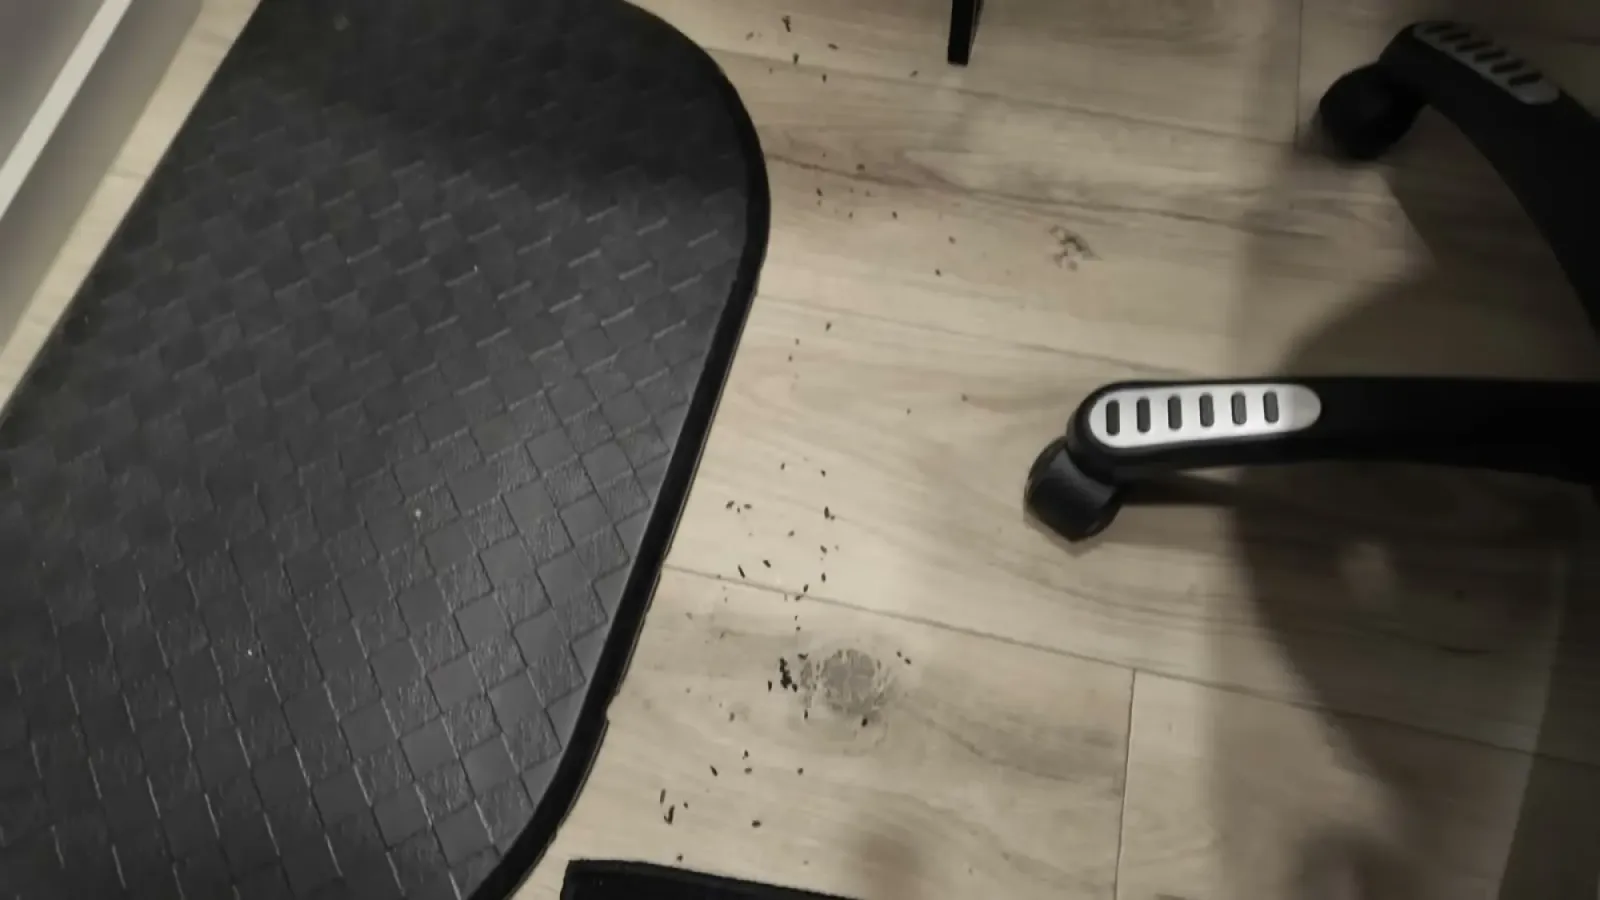
Mice poop constantly, so the droppings draw you a map. Ours ran through the main living area, into the cabinets, and down into the pass-through storage bay, which turned out to be the transit hub of the whole operation. Before you buy a single trap, walk the rig and note where the evidence concentrates. Those are the travel routes, and everything else you do keys off them.
One thing we did too casually: cleanup. The standard advice is to wear gloves, spray droppings with disinfectant, and wipe them up with paper towels rather than sweeping or vacuuming them dry, because dried droppings can carry disease. We wiped down surfaces, but we were not as careful as we should have been.
Step 2: Cut off the food
Mice moved in because the rig offered shelter and, somewhere, calories. Get everything edible into glass or metal, or out of the RV entirely. Victor's RV guide is blunt about this for storage: remove food completely, because mice will chew straight through plastic containers, and clean out every crumb before you leave the rig. Six weeks of an untouched, food-adjacent RV was exactly the invitation ours needed.
Step 3: Put traps on the travel routes, not the open floor
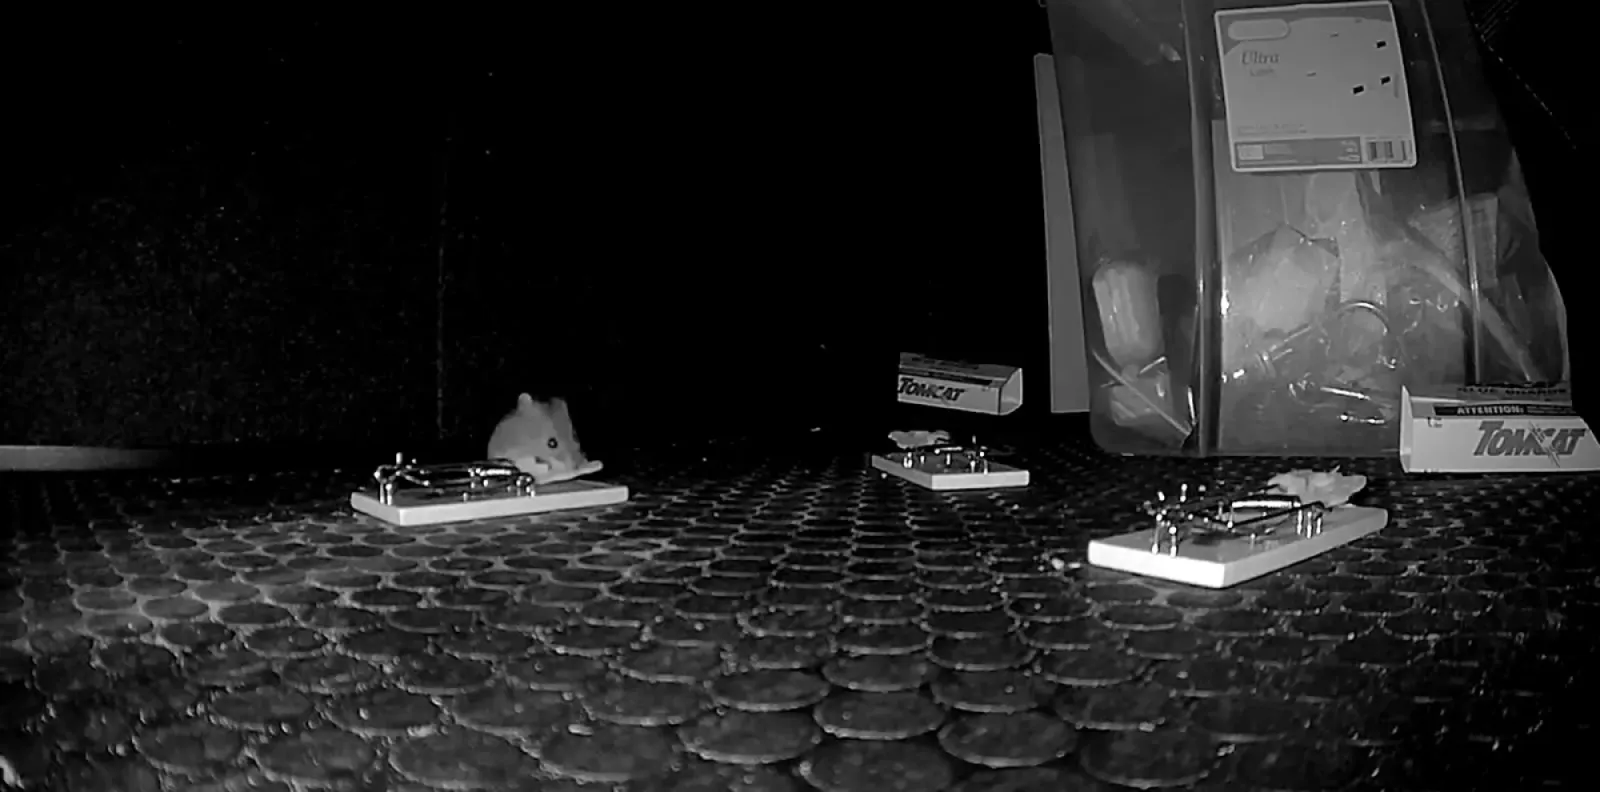
We bought basically everything the store had and spread it around, and the results after four days were clear: placement mattered far more than bait. Traps along walls, in the pass-through, and near the entry evidence produced. Traps in open floor space sat untouched the whole time.
The recommended placement, which matches what we saw, is to set snap traps perpendicular to the wall with the trigger end touching it, since mice hug walls rather than crossing open space. A pea-sized smear of peanut butter is the usual bait advice, and it outperformed most of what we tried. Set more traps than feels reasonable, check them every morning, and if one area keeps producing, that is also your biggest clue about where they are getting in.
Step 4: Know what not to use when you travel with a pet
If you travel with a pet, a lot of standard rodent control is off the table:
- No poison baits. Anticoagulant rodenticides kill pets every year, both when the pet eats the bait directly and when it eats a poisoned mouse. Preventive Vet's guide to pet-safe rodent control covers why even hidden bait stations are a secondary poisoning risk once the mouse wanders off to die.
- Skip glue traps. A curious cat can end up stuck to one, and pulling a panicked cat off a glue board is nobody's good day.
- Be careful with peppermint oil. It gets recommended constantly as the natural repellent, but essential oils, peppermint included, are toxic to cats, per the Pet Poison Helpline. A diffuser or soaked cotton balls in a small sealed RV is a bad combination with a cat aboard.
What is left is still plenty: snap traps placed where your pet physically cannot go (storage bays, inside latched cabinets, the underbelly), fully enclosed electronic traps, and catch-and-release traps.
Step 5: Seal the entry points from underneath
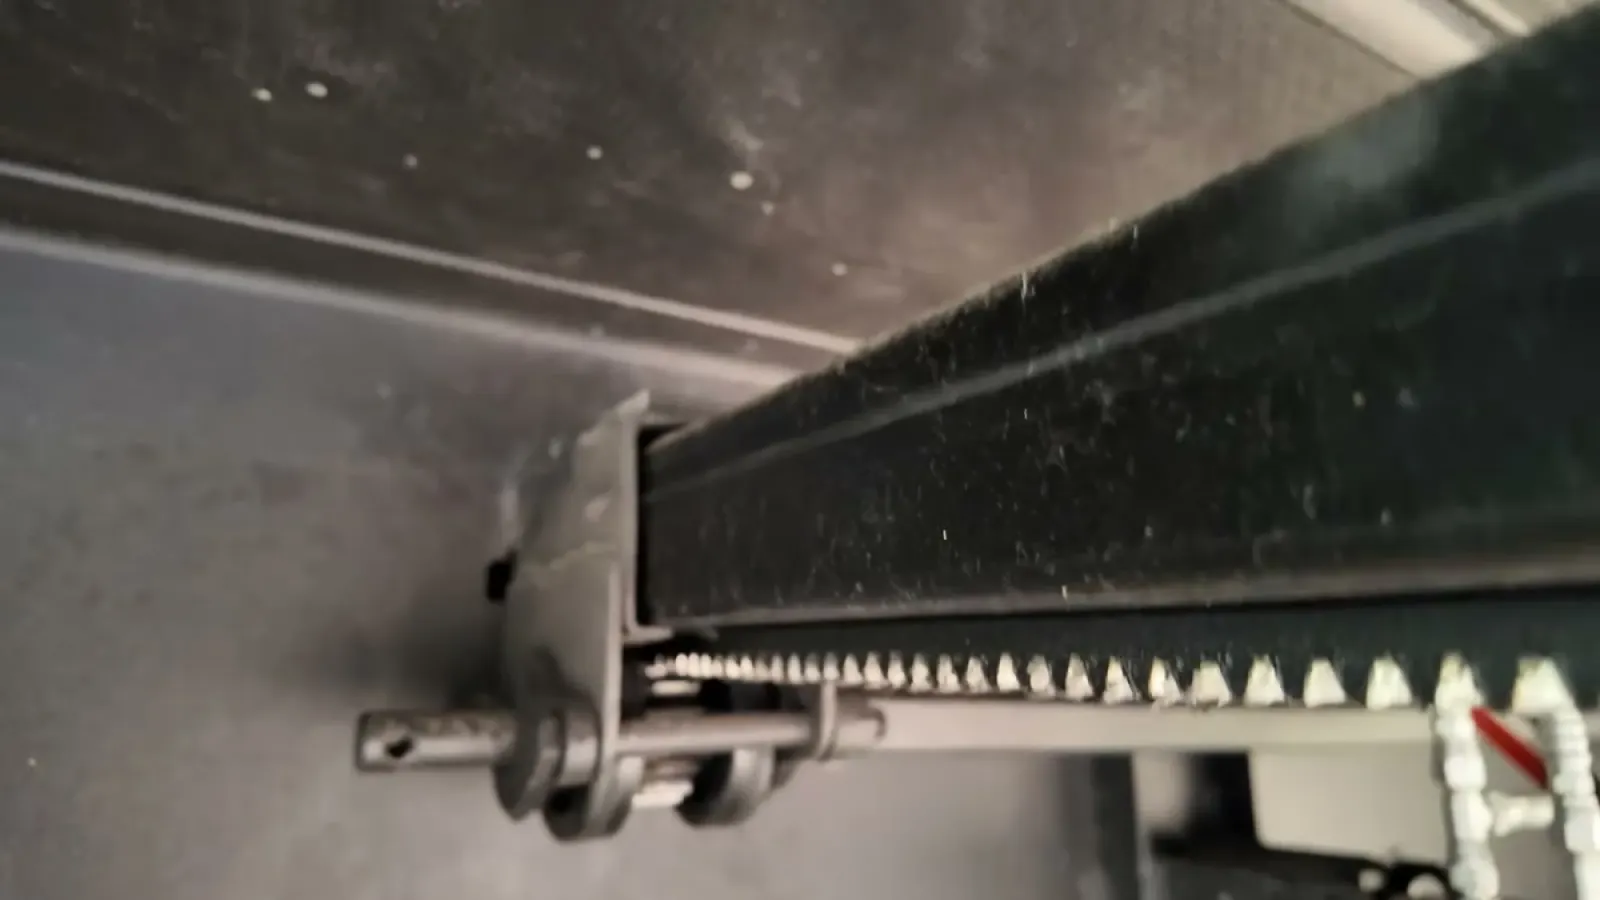
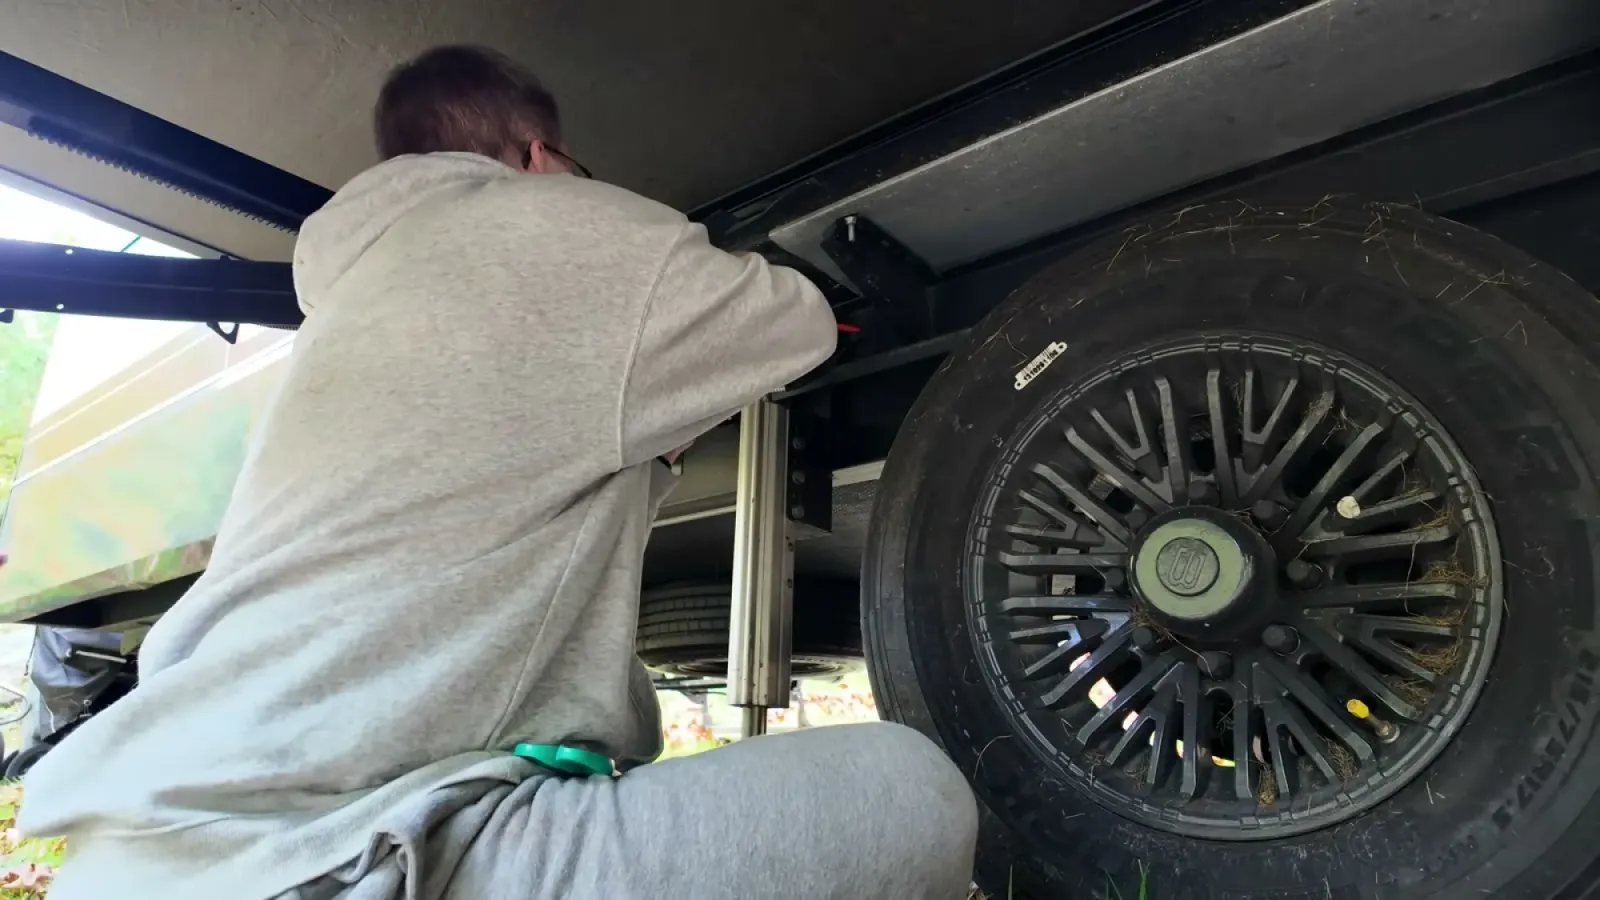
Killing the mice you have is half the job. We went under the rig and into the underbelly and found more candidates than we would have liked: gaps around the slide mechanisms, penetrations where plumbing and wiring pass through the floor, and corners where the underbelly material does not seal tight. A mouse fits through a hole the size of a dime, so nothing is too small to count.
The fix that holds is a two-part one: stuff the gap with coarse steel wool or copper mesh, which mice will not chew through, then cap it with sealant or expanding foam so the wool stays put. Foam alone is not enough, since mice chew through it. From inside, Victor's RV article suggests looking for daylight around plumbing and wiring on a sunny day. Anywhere light gets in, a mouse can too.
Does steel wool actually stop mice?
Yes, and it is the one material we would not skip. It works for a reason worth understanding, because the reason tells you how to use it.
Can mice chew through steel wool? Not really, and not because it is hard. Steel wool is abrasive. A mouse that tries to gnaw it gets a mouthful of shredded metal fibers and gives up. What a mouse can do is pull at it, and a loosely packed plug of fine steel wool will get tugged out strand by strand until there is a hole again. So the failure mode is not chewing. It is the plug coming loose.
That leads to the three things that make it work:
- Use a coarse grade. The fine 0000 wool sold for polishing is too soft to fight back. You want the coarse stuff, or copper mesh.
- Pack it tight, then cap it. Stuff the gap hard, then seal over it with caulk or expanding foam so it cannot be worked loose. Foam on its own is useless, mice chew straight through it. The wool stops the teeth and the sealant stops the pulling.
- Remember a mouse fits through a dime-sized hole. If you can slide a pencil in, so can they. Nothing is too small to bother with.
Copper mesh lasts longer
Steel wool rusts, and an RV underbelly is a damp place. Ours picks up road spray and condensation, and steel that has been sitting in that for a season is weaker and messier than it was going in. Copper mesh does not corrode the same way, costs a little more, and is what we would buy first for anything we do not want to redo next year. Steel wool is fine for a fast fix or somewhere dry.
One safety note nobody mentions
Do not pack steel wool anywhere it can touch wiring or a battery terminal. Steel wool conducts, and fine steel wool bridged across a live circuit is genuinely a fire starter, which is exactly why it turns up in survival videos as a way to light tinder from a nine volt battery. An RV underbelly is full of wiring runs. Where a gap sits near a harness, use copper mesh and keep it clear of the conductors, or seal that one with sealant alone.
Where it goes on an RV
The spots that produced for us were the gaps around the slide mechanisms, the penetrations where plumbing and wiring pass through the floor, and the corners where the underbelly material does not sit tight against the frame. Go under on a bright day and look for daylight from the inside. Anywhere light gets through, pack it.
Step 6: Keep them out between trips
Prevention is mostly storage discipline. Park on pavement or gravel rather than against grass or treelines when you can, strip out all food, and check on the rig during long storage stretches instead of finding out six weeks later like we did. We seal, we set a couple of enclosed traps in the bays as sentries, and we look for fresh droppings every time we open up.
How to keep mice out of a camper: everything we have tried
Clearing out the mice you have is one job. Keeping the next ones out is a different one, and it is the one that matters if your rig ever sits. Here is everything we have used, with an honest note on each about what we can and cannot vouch for.
- Sealing entry points with steel wool and foam. This is where we would start. Pack every gap you find underneath with steel wool, then cap it with expanding foam so the plug cannot be pulled out. The details, including why copper mesh is the better buy for damp spots and why steel wool has to stay away from wiring, are in the steel wool section above.
- Lights under the rig. We have run lights underneath the RV. We have tried it, and that is as far as we can honestly take it. We cannot tell you it kept anything out.
- Ultrasonic repellers. Same verdict as in our list of mistakes below: tried, and we cannot credit one with anything.
- Snap traps. We used plenty of them during the infestation, and where we put them mattered far more than the bait.
- Glue traps. Tried. They never caught anything for us, and they are a hazard if you travel with a pet.
- A metal box trap with peanut butter inside. The one that has worked best for us: the Victor Tin Cat with the clear lid. More on it next.
What has worked best for us: a metal box trap and peanut butter
Of everything on that list, the metal box trap with peanut butter inside has worked best for us. Ours is the Victor Tin Cat, the metal catch-and-release box with a clear lid, so you can see whether anything is inside without opening it.
Two things carry over from the rest of this guide. The bait goes inside the box, and the box goes where the droppings told you the mice travel: against a wall, in a bay, along the route they already use. A trap in open floor space is the same wasted trap whether it is a snap trap or a box.
See the Victor Tin Cat on Amazon
That is an Amazon affiliate link: as an Amazon Associate we earn from qualifying purchases, at no extra cost to you.
Keeping mice out of an RV: FAQ
How do you keep mice out of a camper?
Seal the gaps from underneath first: coarse steel wool or copper mesh packed into every opening, capped with expanding foam or sealant. Then take away the reason to come in by getting food out of the rig or into glass or metal, park on pavement or gravel instead of against grass when you can, and keep a trap or two set in the bays so you find out early if one gets through.
How do mice get into an RV?
Mostly from below. On our fifth wheel the openings were around the slide mechanisms, where plumbing and wiring pass through the floor, and at underbelly corners that do not sit tight against the frame. A mouse fits through a hole the size of a dime, so a gap that looks too small to matter is not.
What is the best bait for mice in an RV?
Peanut butter, in a small amount. It outperformed most of what we tried, and it is what we put inside the metal box trap that has worked best for us, a Victor Tin Cat (affiliate link).
Do ultrasonic repellers or lights under the RV keep mice away?
We have tried both, and we cannot credit either one with keeping mice out. Treat them as extras at most, never as a replacement for sealing gaps and setting traps.
Can mice chew through expanding foam?
Yes. Foam on its own will not stop them. Pack steel wool or copper mesh into the gap first, then use the foam to hold it in place.
Are glue traps a good idea in an RV?
We would skip them. Ours never caught anything, and a cat or dog can get stuck to one. Snap traps or a box trap placed on the travel routes are a better bet.
What we got wrong
Honesty section, because we were figuring this out on camera:
- We bought glue traps on reflex at the store. They never produced anything for us, and most guidance points you to snap traps on the travel routes instead.
- Most of our traps did sit on the runways, but the ones we put in the open basement floor space never saw a visitor. Location beat bait every single time.
- We installed an ultrasonic repeller and honestly cannot credit it with anything. The evidence for these devices is thin, and four days told us nothing. Do not let one substitute for traps and sealing.
- We handled droppings cleanup more casually than the disinfectant-first advice calls for.
- Most of all, we had no idea how many open holes the RV's undercarriage had until we went looking. Wiring and plumbing penetrations we had never inspected were the real invitation, and six weeks in storage with no rodent prep gave them plenty of time to use it.
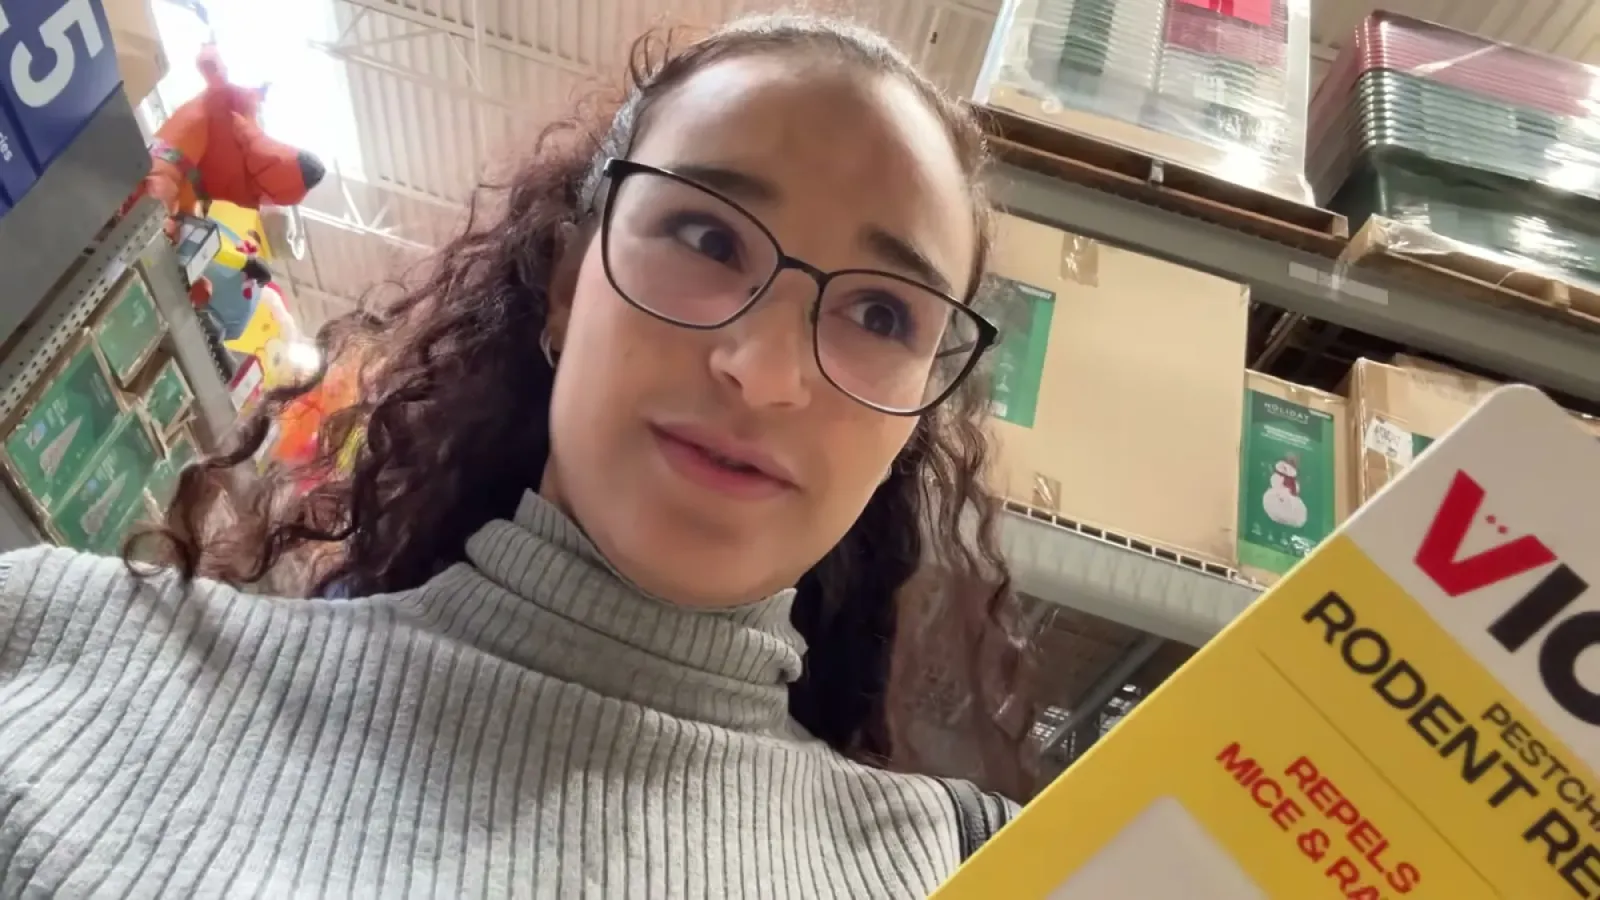
You can watch the whole four-day battle, droppings and all, in our mouse infestation episode. If you have fought mice in an RV, we still want your tips, especially entry points you have found on Brinkley rigs. And if you want to hear how the sealing holds up, we cover follow-ups like that in our newsletter.
This guide describes how we did it on our own rig. We are not RV technicians, and this post may contain mistakes or steps that don't apply to your setup. Proceed at your own risk, and double-check anything safety-critical with a professional.