
Wet bolts are the greaseable pivot bolts in a trailer's leaf spring suspension. Each one has a zerk fitting on the head and a channel drilled through the middle, so grease pumped into the fitting comes out inside the bushing where the suspension actually pivots. Keep them greased and the bushings last. Let them run dry and they wear oval, your suspension develops slop, and the fix is a shop visit instead of a twenty-minute job on your back in the gravel.
We learned this routine on our Brinkley Model Z 3515 during a maintenance day we filmed, and we got parts of it wrong on camera. This guide walks through the undercarriage check the way the manufacturers describe it, with our mistakes flagged so you can skip them.
Step 1: Check every tire pressure, cold
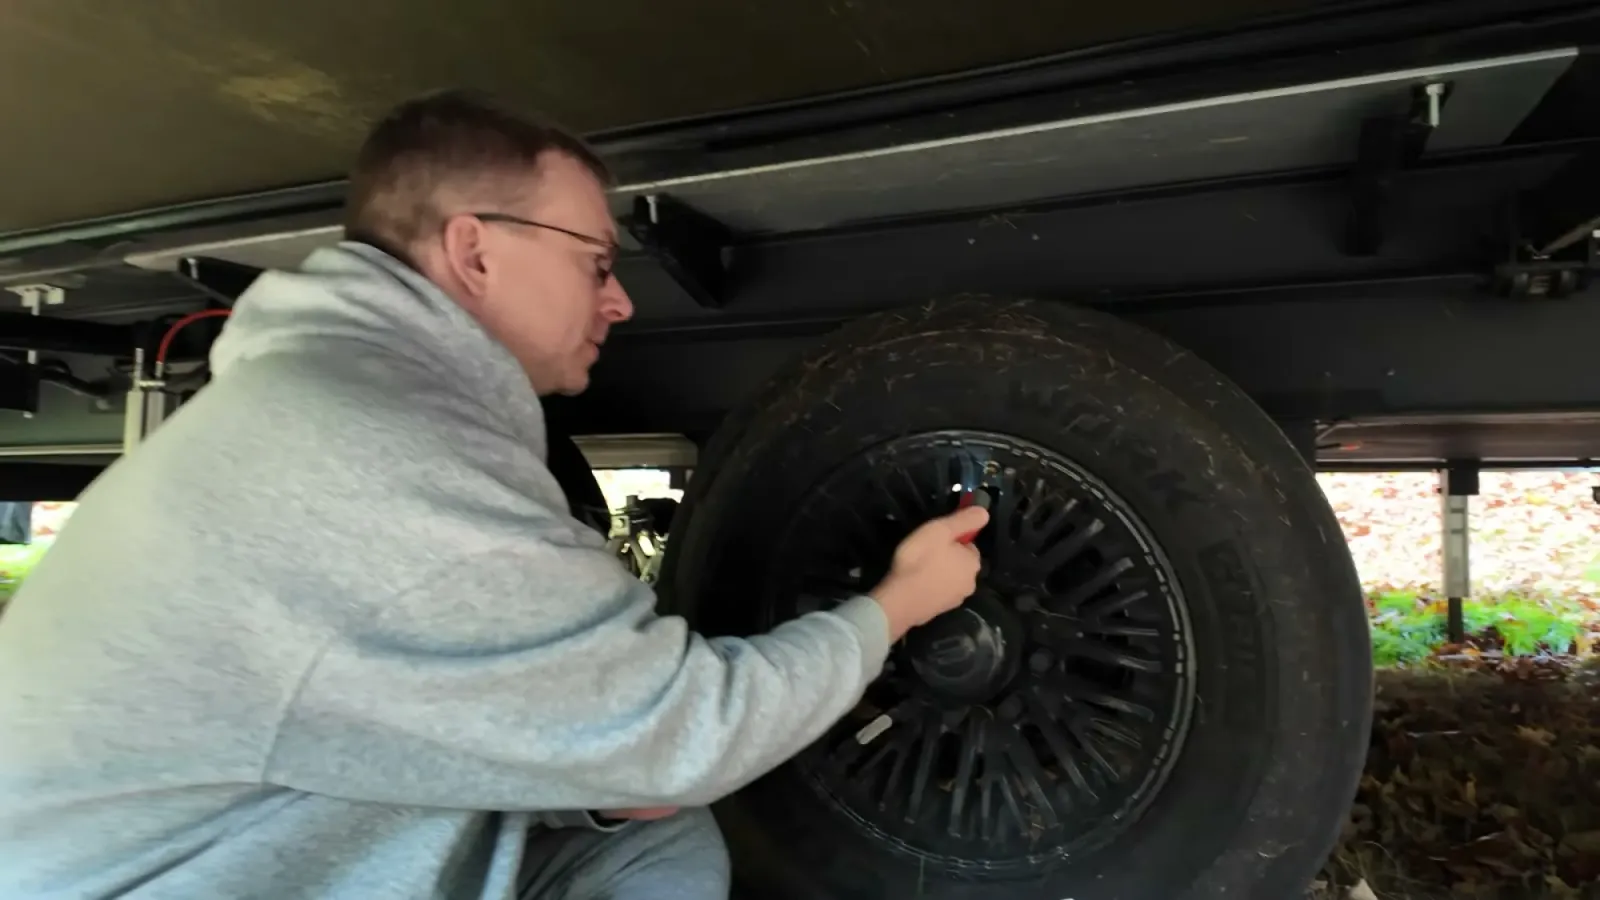
Before you crawl under the rig, check the tires. Fifth wheel tires run close to their maximum load rating, and pressure drifts down over time whether you drive or not. When we checked ours after a few months parked, several tires were well below spec, and nothing about them looked wrong from the outside.
Check pressure cold, meaning before you tow and before the sun has been on the tires, and check against the pressure on your trailer's tire placard or the tire maker's load and inflation chart, not a guess. Many ST trailer tires need the full sidewall pressure to carry their rated load. etrailer's guide on this recommends checking before every trip, or monthly at minimum. Use one decent digital gauge and stick with it; gas station gauges disagree with each other by several PSI.
Step 2: Air up with a real compressor
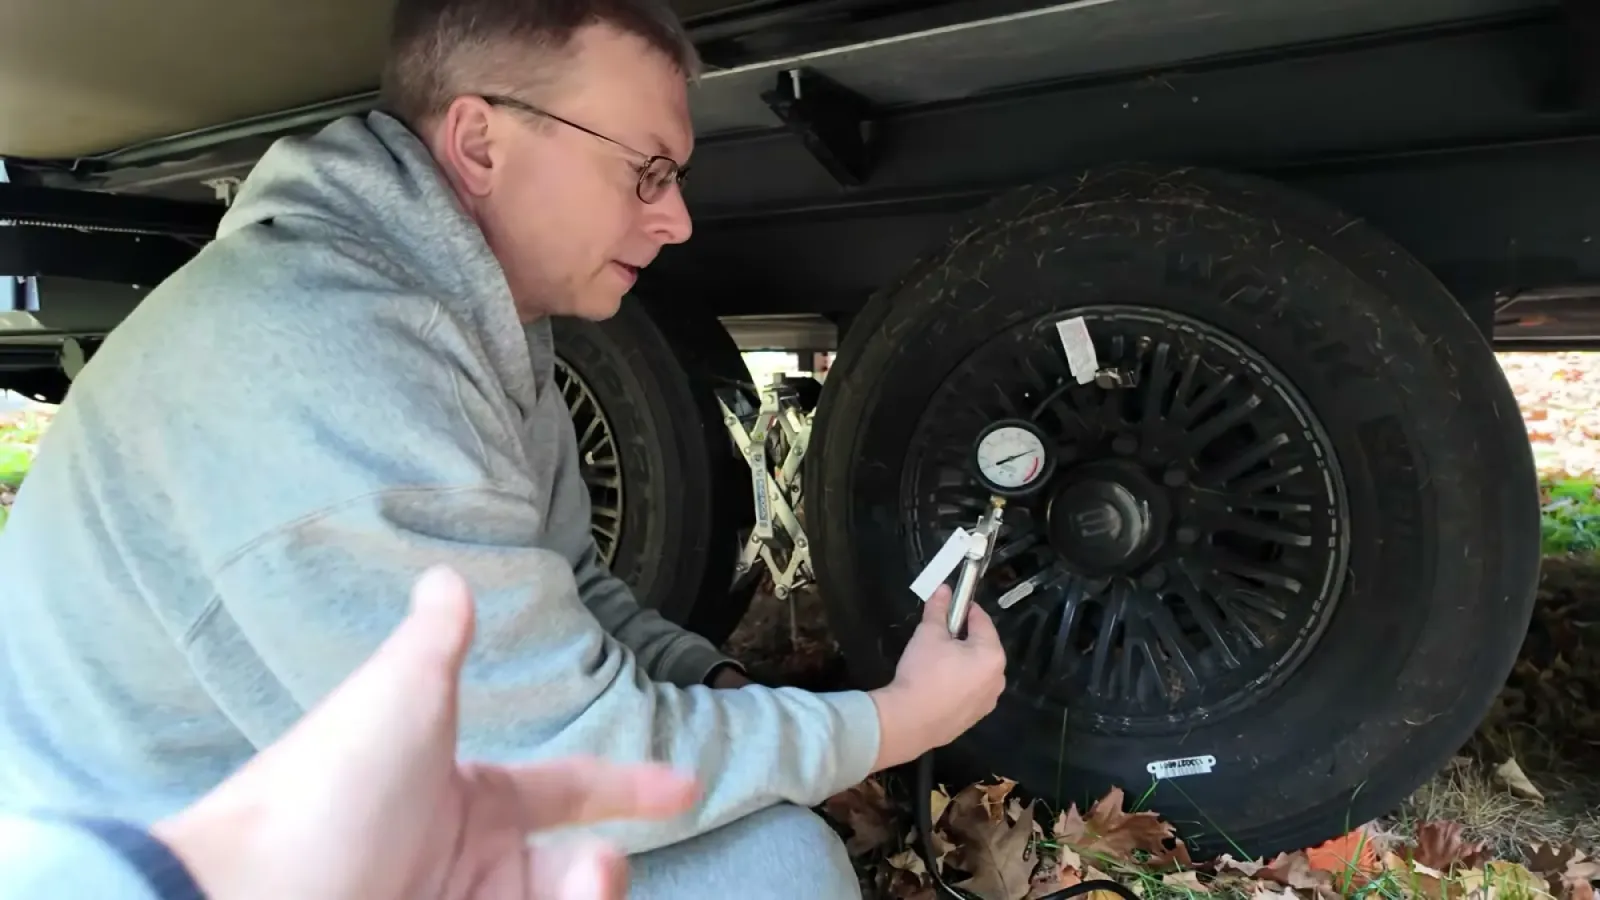
Low tires only get fixed if airing them up isn't a chore. A cigarette-lighter pump takes so long on a big trailer tire that you'll find reasons to skip it. We carry a VIAIR portable compressor, and it fills a trailer tire in a few minutes, handles the truck tires too, and shuts off at the target pressure. This was the single upgrade that turned our tire checks from occasional to every travel day.
Step 3: Find every zerk fitting
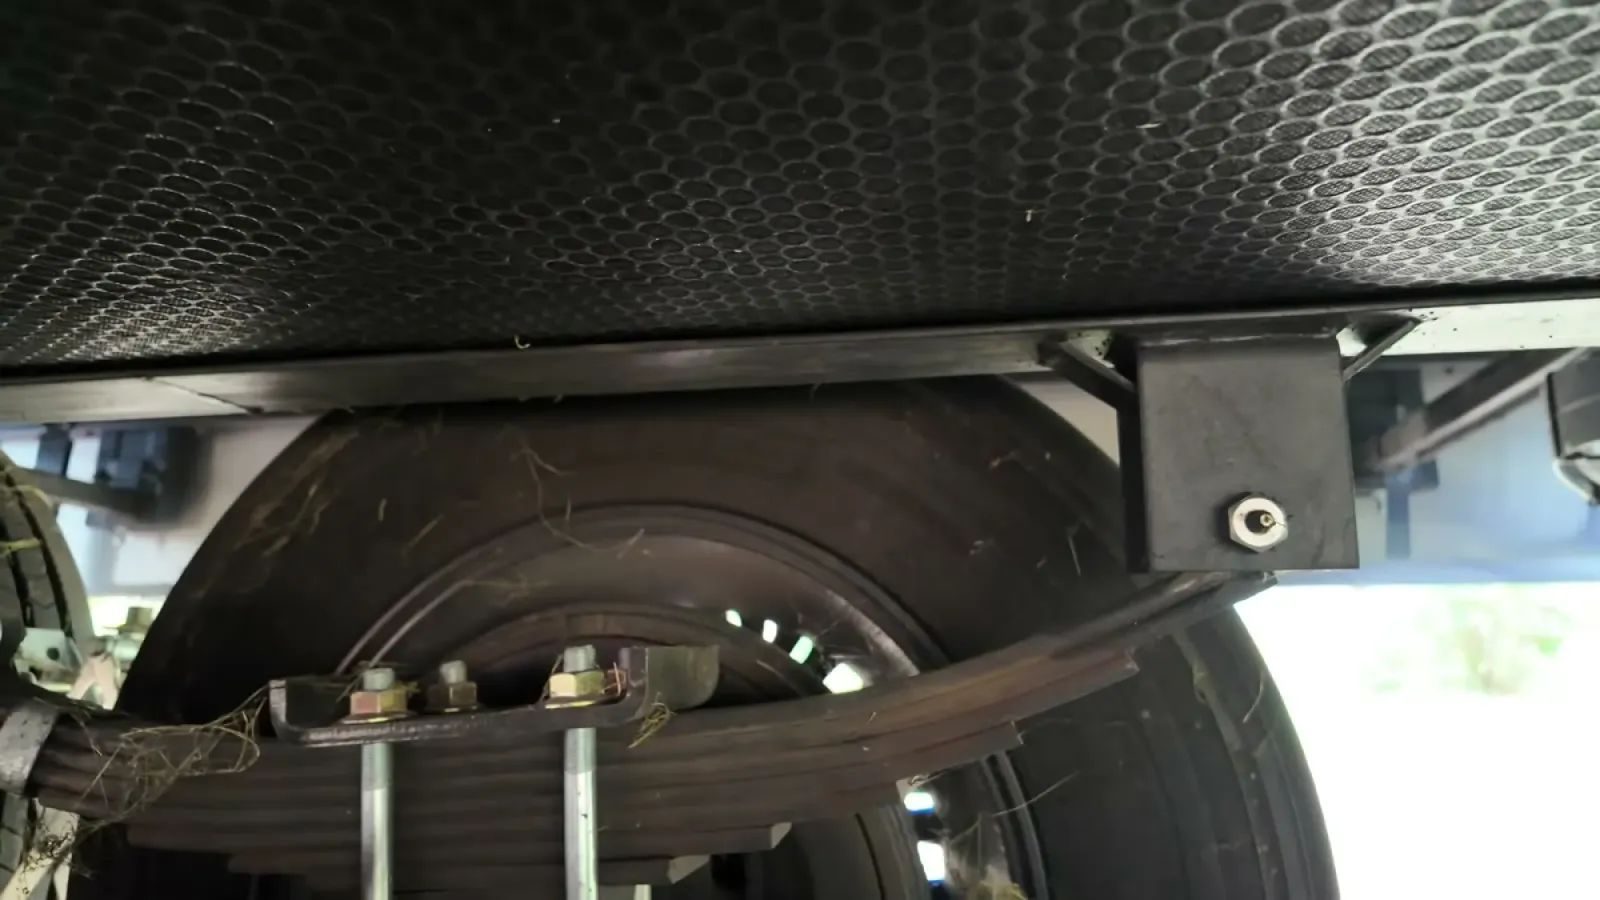
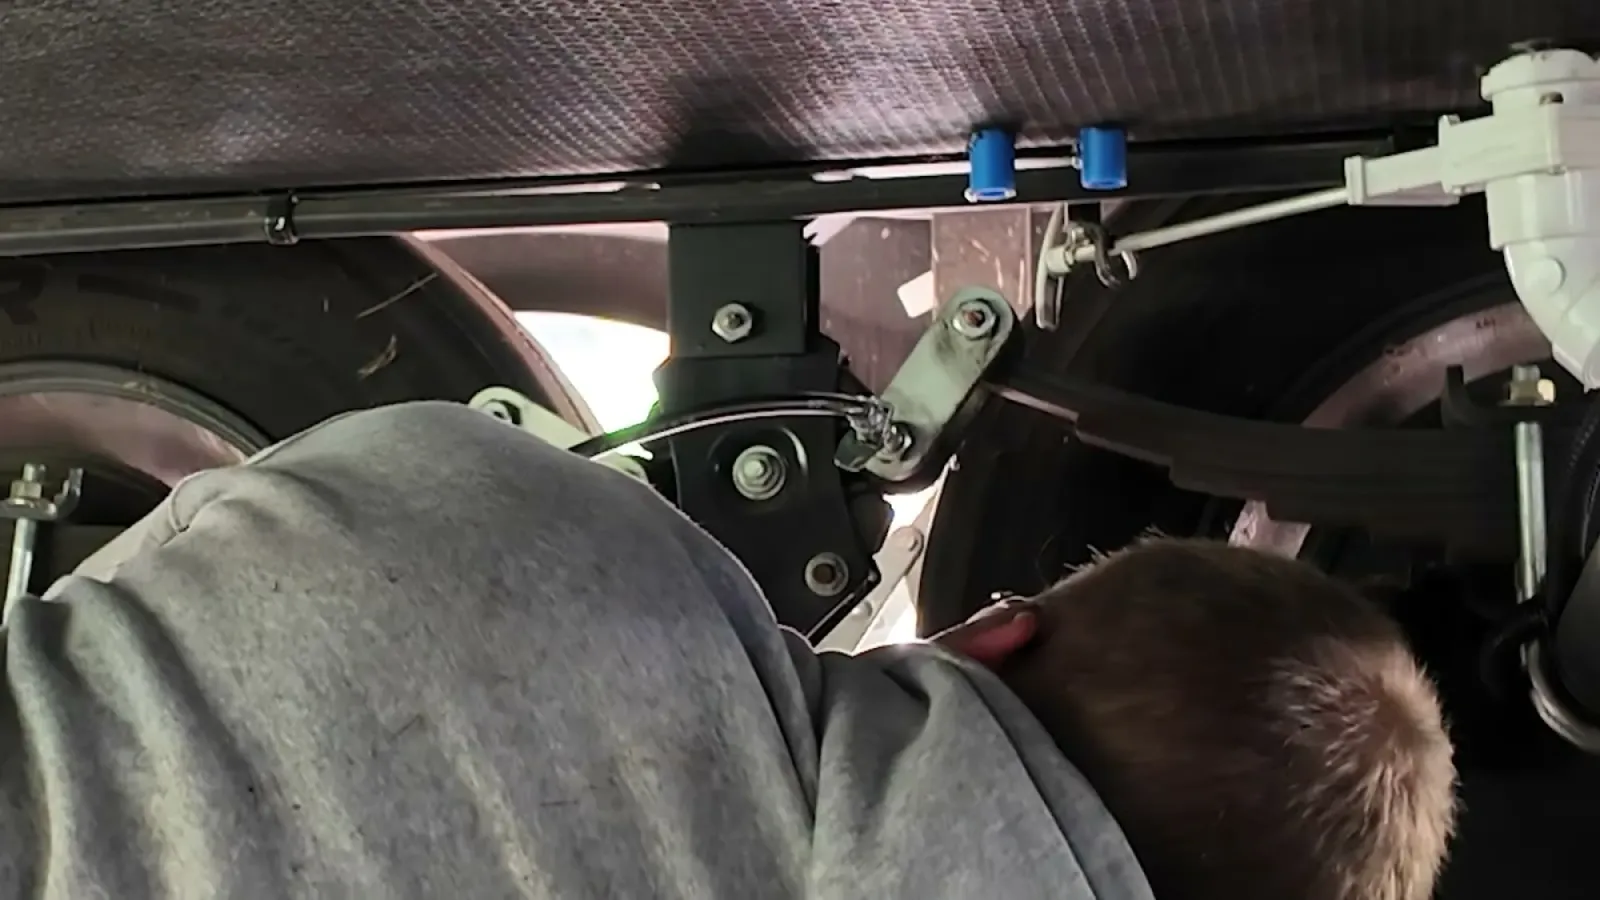
Get under the trailer and find the suspension: the leaf springs, the shackle links at the spring ends, and the equalizer between the axles. On a wet bolt setup, each pivot bolt has a small grease zerk on its head. Count them all before you start; a tandem axle rig has more than a dozen, and it's easy to miss the ones tucked behind the tires. Missing a fitting is the same as never greasing it.
Step 4: Load the gun with the right grease
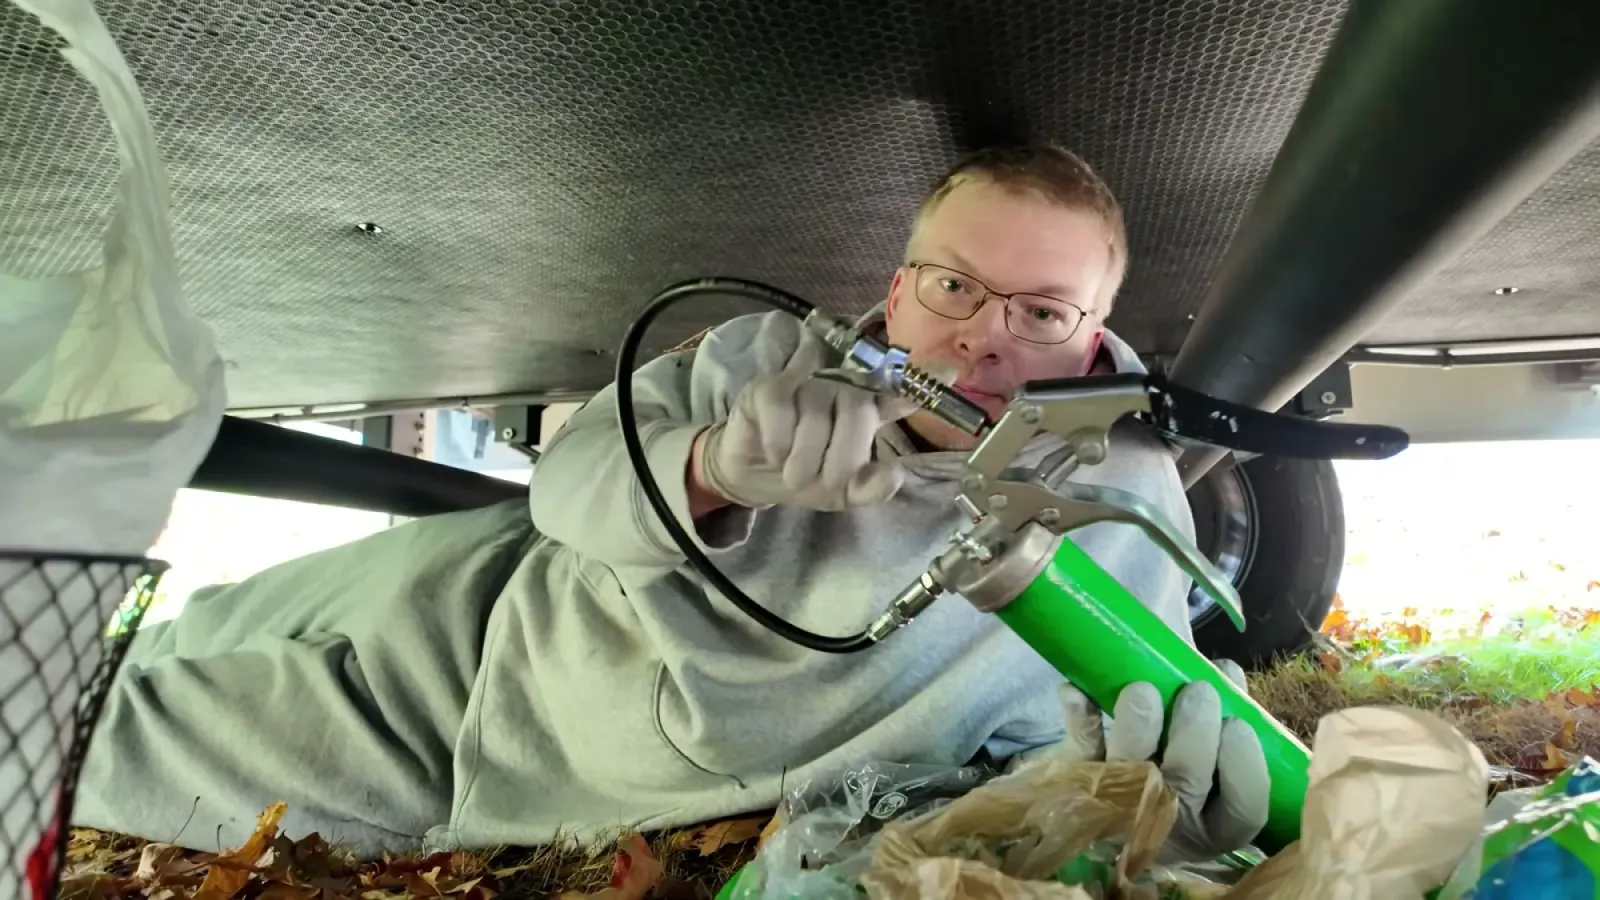
Lippert's technical instruction TI-340 calls for a multipurpose grease with the NLGI GC-LB rating, and Dexter's service manual recommends a lithium complex NLGI No. 2 grease. In practice that's a standard heavy duty automotive chassis grease; check the tube for the GC-LB mark. We use Lucas Red N Tacky in a LockNLube grease gun, and the locking coupler earns its keep here because the fittings are in awkward spots and a coupler that pops off mid-pump gets grease everywhere except the bushing.
Before you start, pump a little grease through the nozzle so you know it's flowing, and wipe the nozzle and each zerk clean. Dirt pumped into a bushing grinds like sandpaper.
Step 5: Pump until fresh grease pushes out
This is the step we botched the first time. Lock the coupler onto the zerk and pump. Lippert says roughly two pumps, continuing until grease overflows out of the bolt. That overflow is the whole point: fresh grease squeezing out at the bushing edges is your proof the new grease traveled through the bolt and displaced the old, dirty grease in the joint. If you stop when the handle gets firm but nothing has appeared, the joint may still be running on whatever was in there before.
If a fitting flat refuses to take grease, Lippert's instructions note that the trailer's weight can press the bushing tight against the bolt's exit hole and block the flow, and the fix is to take the weight off the suspension by lifting the frame. Don't just crank harder until the zerk blows out.
Wipe off the excess with a rag, then move to the next fitting and repeat until you've done every single one.
Step 6: Put it on a schedule and inspect while you're down there
Dexter's service manual puts suspension lubrication at every 3,000 miles, alongside inspecting the shackles, bushings, and spring eyes for wear. For full-timers that comes around fast. While you're under there anyway, look for shiny wear marks, rust streaks from moving parts, and any bolt that looks loose or off-center in its bushing. Five extra minutes with a flashlight is the cheapest suspension inspection you'll ever get.
What we got wrong
We filmed this whole day, mistakes included, so here's the honest list. The first time we greased our wet bolts we stopped pumping too early on about half the fittings, before fresh grease appeared, which does almost nothing for the bushing. We also let the trailer sit for months without a tire pressure check and paid for it with several tires well under spec. And we greased everything with the trailer's full weight on the suspension; it worked for us, but Lippert's own instructions say a loaded bushing can block the grease path, so if a fitting won't take grease, that's why. Finally, we didn't have a mileage log for any of this. We now note the date and odometer-equivalent miles every time, because "sometime last spring" is not a maintenance schedule.
You can watch the full maintenance day, including the parts where we get it wrong, in our undercarriage maintenance video post.
Sources: Lippert's TI-340 wet bolt greasing instructions, Dexter's axle operation and maintenance manual, and etrailer's tire pressure guide.
This guide describes how we did it on our own rig. We are not RV technicians, and this post may contain mistakes or steps that don't apply to your setup. Proceed at your own risk, and double-check anything safety-critical with a professional.