
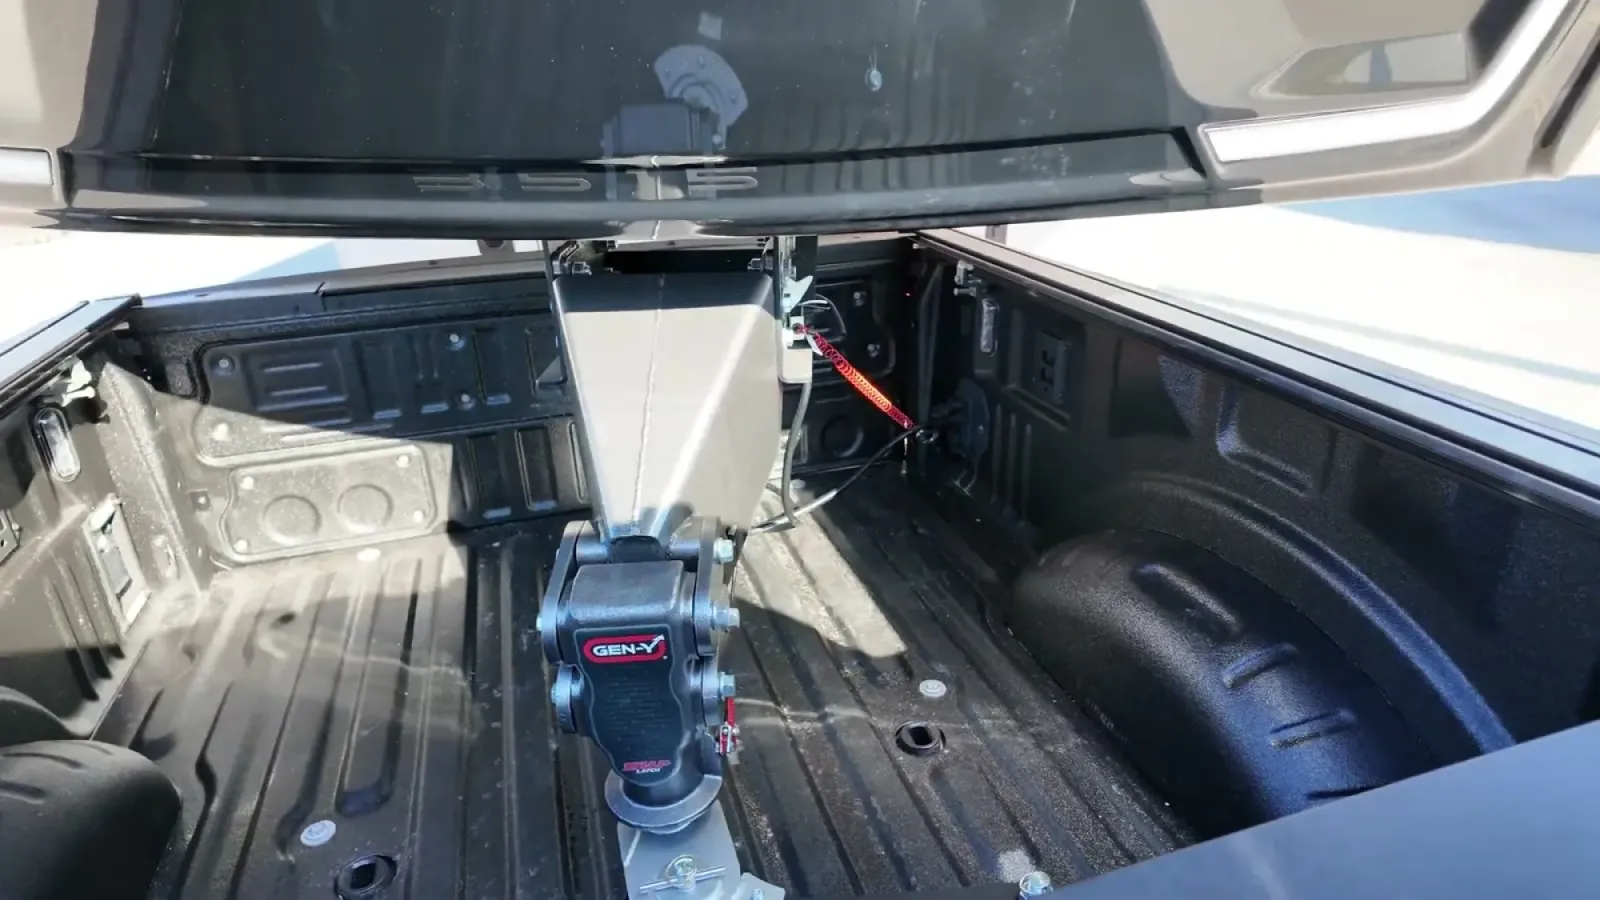
Instead of bolting a fifth wheel hitch into our truck bed, we tow our Brinkley Model Z 3515 with a GEN-Y pin box that couples to a plain gooseneck ball. The bed stays empty when we're not towing, and the torsion box smooths out the ride. The catch is that the hookup is its own procedure, and we learned it the hard way: our first connection happened in a dealer lot with a General RV tech walking us through it, and our first solo attempt that same night ended with us giving up in the dark. Here is the routine, done the way the manufacturer says to do it rather than the way we fumbled it on camera.
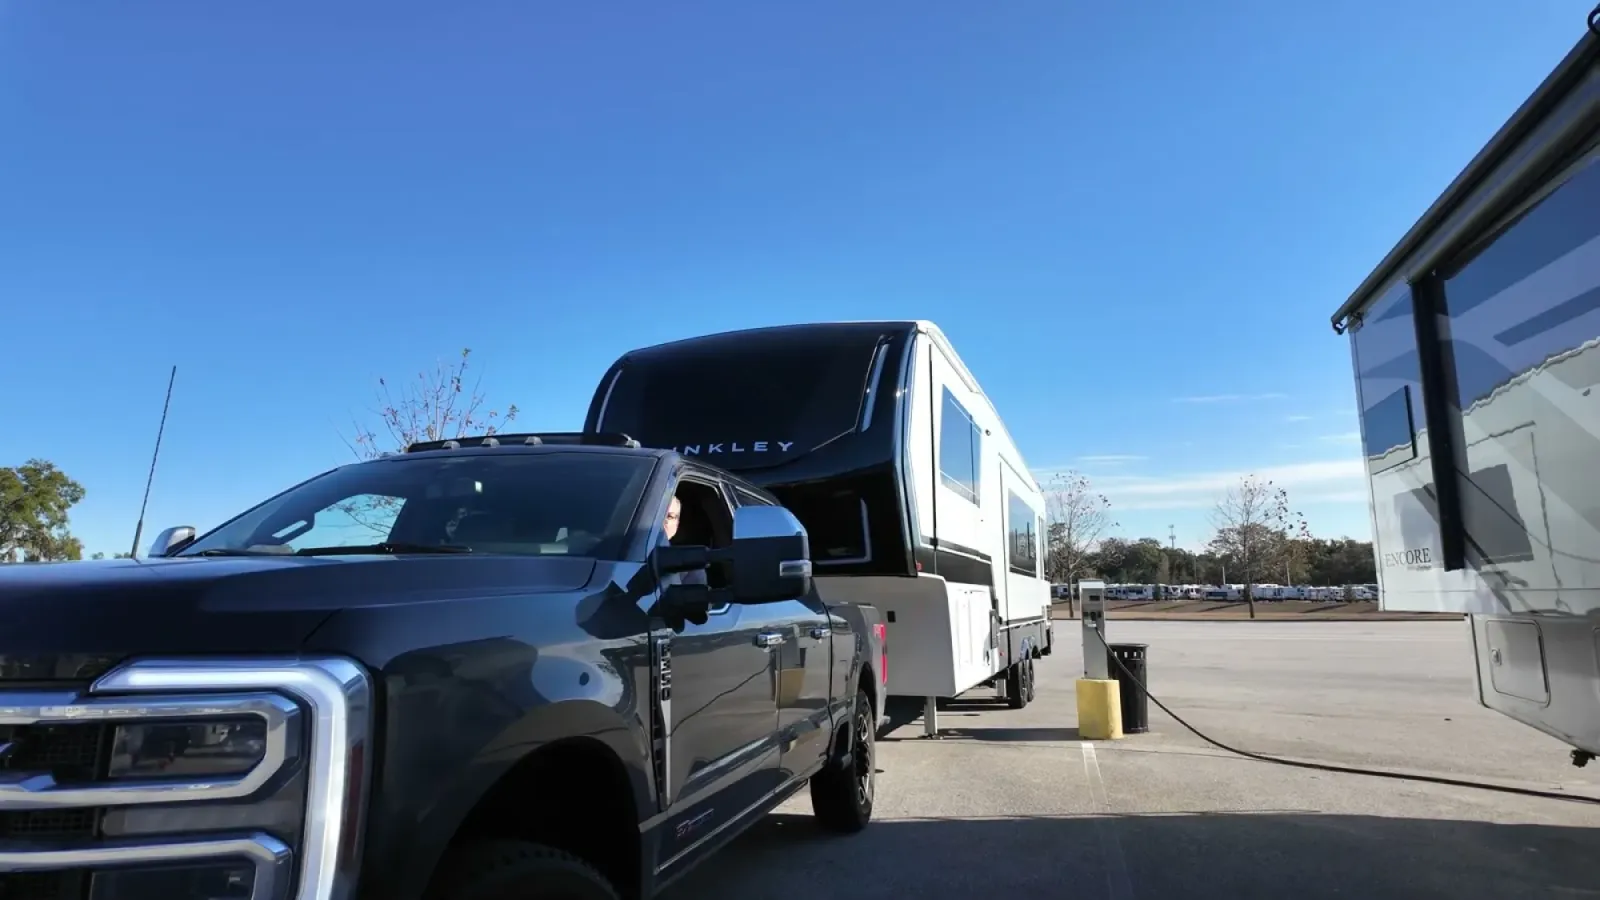
Step 1: Set the ball and check your heights before anything else
If your truck has a factory puck system, the GoosePuck drops straight into the gooseneck pocket: pull the spring-loaded T-handle up, give it a quarter turn to hold it open, seat the ball, turn the handle back to lock, and put the safety pin back in. That pin is not decorative. The 5-inch offset version moves the ball rearward, which is what gives a short bed truck enough turning clearance for a big fifth wheel nose.
Height matters just as much. The pin box mounts to the trailer with holes spaced in 2-inch steps, and etrailer's fitment advice is to aim for about 6 inches of clearance between the trailer overhang and your bed rails, with the trailer sitting level. Set this once, on flat ground, before your first trip. A nose-high trailer overloads the rear axle; a low one can meet your bed rails in a dip.
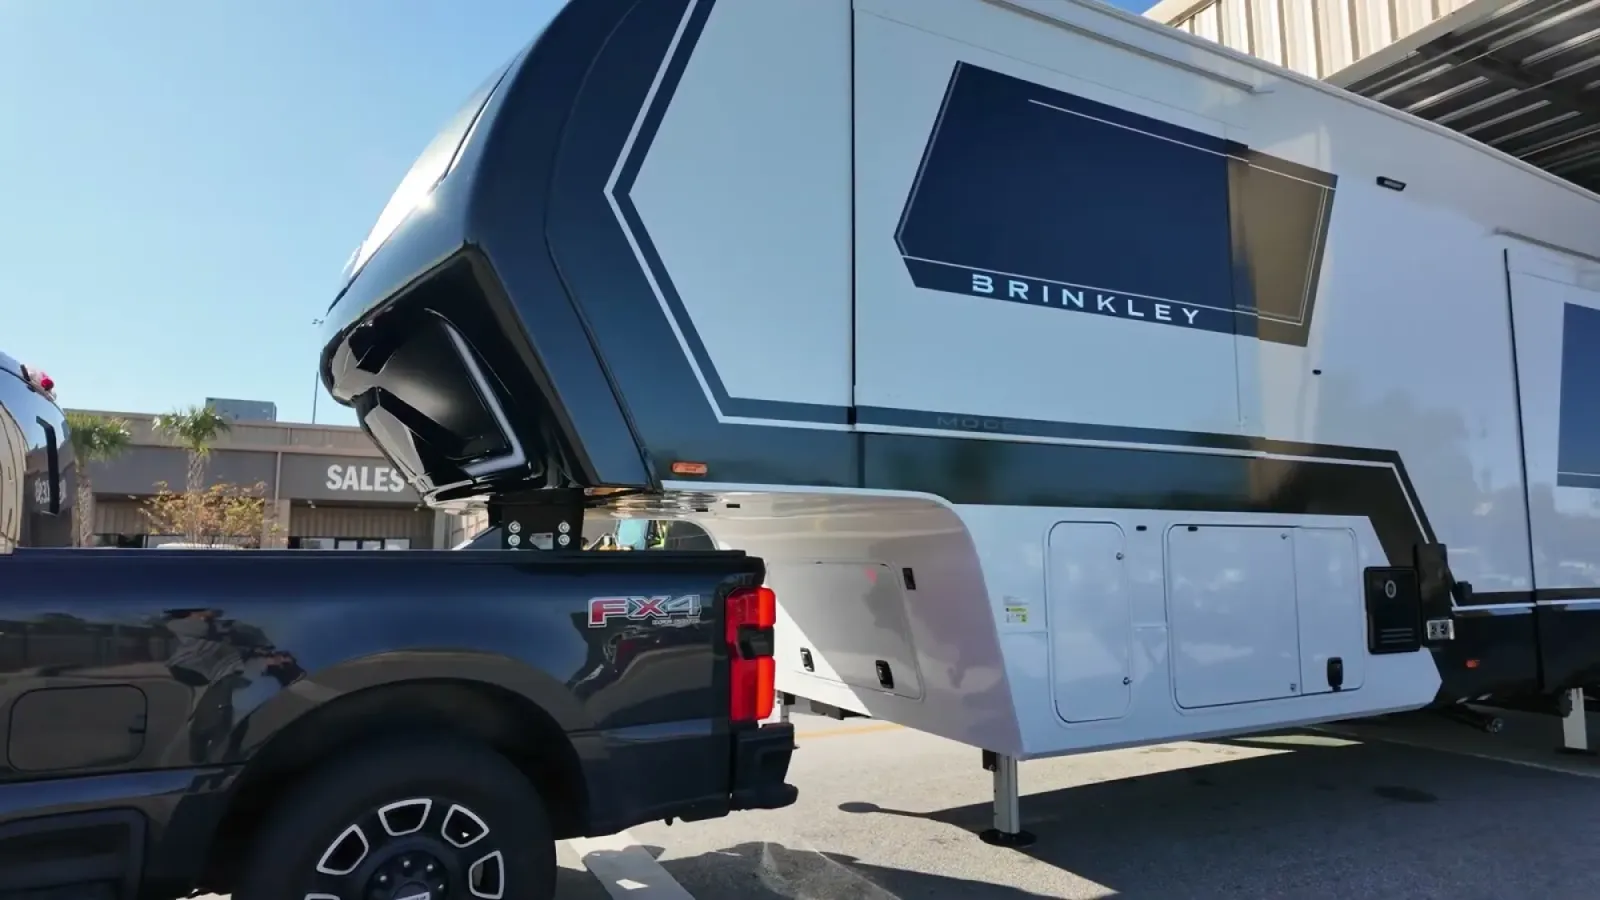
Step 2: Line up the ball under the coupler
Drop the tailgate if it doesn't clear the coupler, then back up slowly with a spotter on the driver's side where you can actually see them. Use the trailer's landing gear to set the coupler an inch or two above ball height so you can drive the ball under it, not into it. The target is small and you cannot see it from the seat, so agree on words that mean something ("driver, six inches") before you start. Our night attempt failed here: headlights washed out the backup camera, our directions to each other were "come a little bit more," and after about an hour we quit.
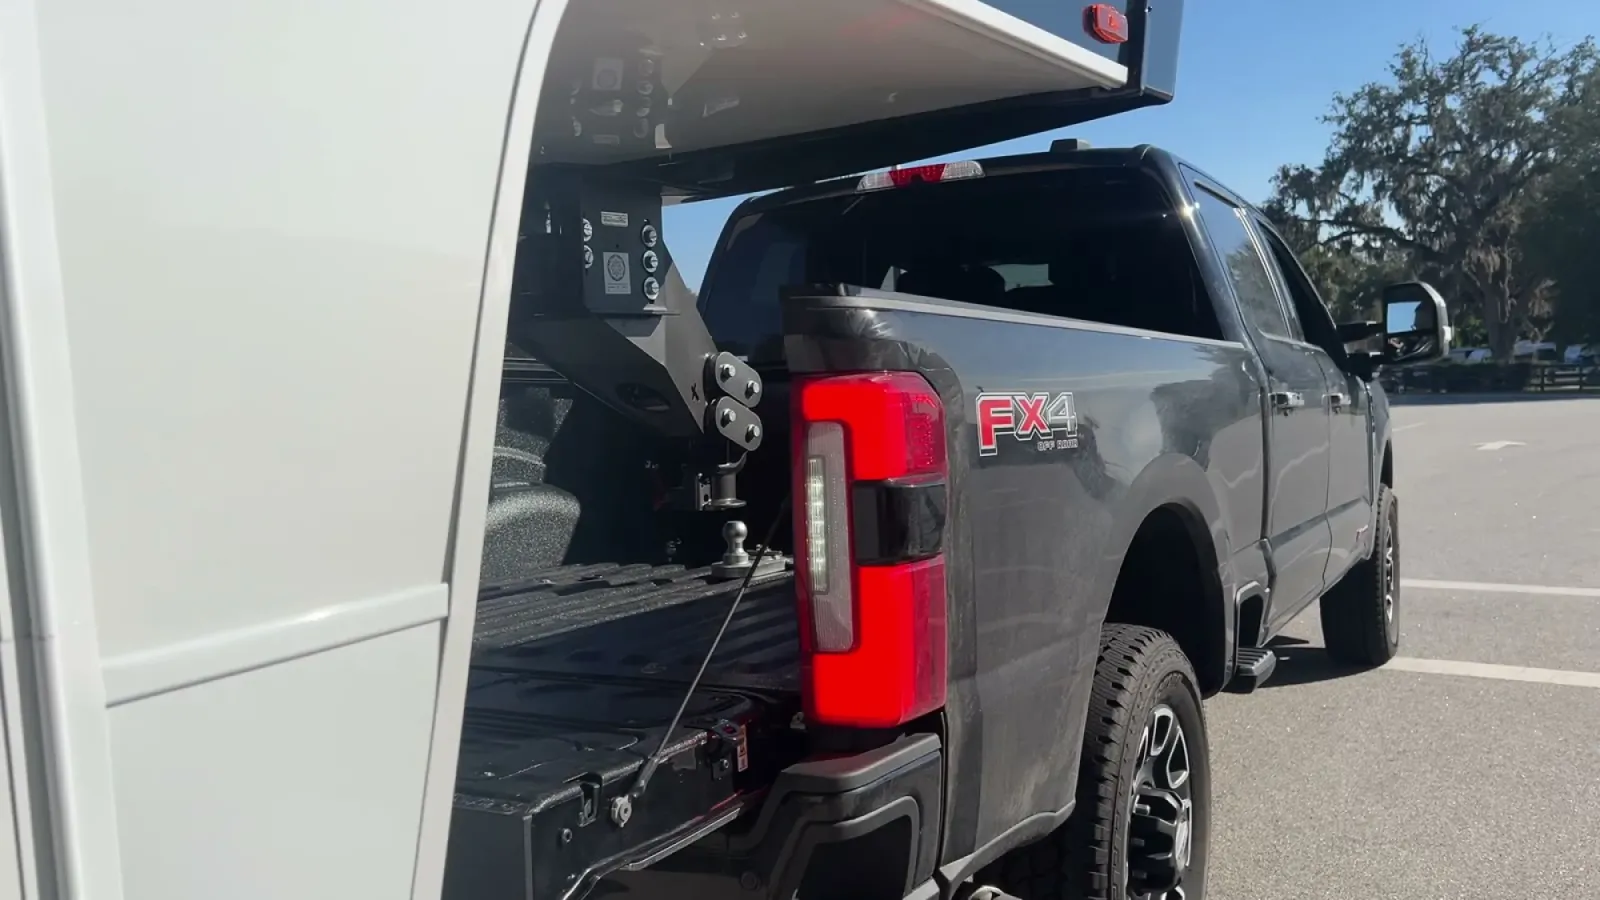
Step 3: Lower the coupler onto the ball and confirm the latch
With the ball under the coupler, run the landing gear down until the coupler seats over the ball. Ours is the SnapLatch version of the Executive coupler, which snaps closed by itself as it drops over a 2 5/16-inch ball; older versions use a manual latch handle with a lock pin. Either way, do not trust the sound. Get eyes on the latch and confirm it is fully closed around the ball, and put the pin or a coupler lock in so it cannot walk open. This is the one connection holding 15,000 pounds to your truck.
Step 4: Chains, breakaway cable, and the 7-pin plug
Gooseneck connections legally require safety chains, and they do not come with the pin box. Ours hook into anchor points on the hitch and run down to the factory anchors in the truck bed, which you can reach from the ground. Then clip the breakaway cable to a fixed point on the truck, never to the chains themselves; its whole job is to slam the trailer brakes on if the trailer separates, and it can't do that if it departs with the trailer. Plug in the 7-pin cord last and have your spotter confirm brake lights and turn signals.
Step 5: Tug test, then walk around
Raise the landing gear until the feet are just off the ground, but don't stow them yet. Hold the trailer brakes with the manual override on your brake controller and pull forward gently, the way Lippert's beginner towing guide describes. If the truck strains and the coupler holds, the connection is real; if it pops off, the trailer falls a couple of inches instead of onto your bed rails. Only then retract the gear fully, raise the tailgate if it clears, and do a slow walk-around: latch, pin, chains, breakaway, cord, and nothing left under the trailer.
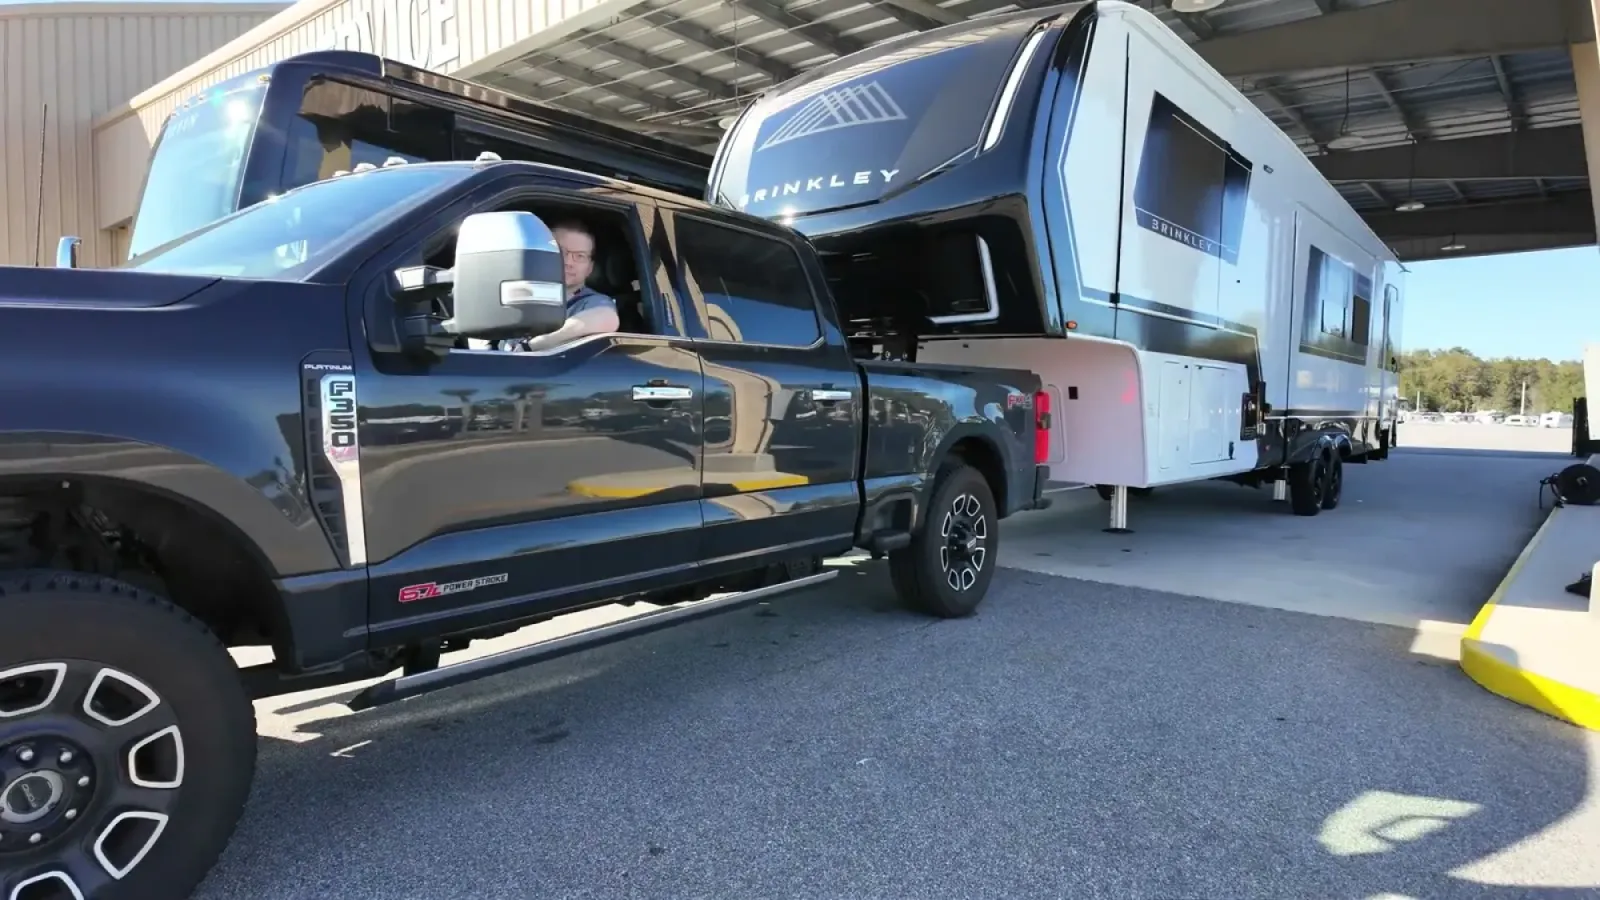
What we got wrong
- We let the dealer do the first hookup and nodded along instead of writing the steps down. To be fair to us, the walkthrough never really covered how to line the truck up under the coupler, which turned out to be the hard part. That same night, on our own, we couldn't even complete Step 2. Practice the full sequence yourself before your first travel day, while someone who knows it is still nearby.
- Our first solo attempt started in daylight but ran so long that we finished it in the dark. Backup cameras white out against headlights, and hand signals don't work when your spotter is a silhouette. Start early enough that you're not learning this after sunset. For what it's worth, our second try, on the actual travel day, came together far faster: the hour of nighttime frustration taught us more than the dealer demo did.
- Our pull test was improvised. Fabiola stood outside "to see if it disconnects" while Nathan pulled forward, with no particular plan. The real version uses the brake controller override and legs an inch off the ground.
- We didn't verify the latch ourselves. The tech confirmed it and we believed him. He was right, but the habit of personally looking at the closed latch is the whole game, and we only built it later.
The full day, including the hour we spent failing to line up a ball in the dark, is in our post about the first time our F-350 hauled the Brinkley. We cover what broke and what we fixed each week in our newsletter.
This guide describes how we did it on our own rig. We are not RV technicians, and this post may contain mistakes or steps that don't apply to your setup. Proceed at your own risk, and double-check anything safety-critical with a professional.