
A portable waste tote solves one specific problem: your tanks are full but you don't want to hitch up and move the whole rig. You drain the tanks into the tote, take the tote to the dump station, empty it, and come back. We learned this routine after two weeks parked on family property in Michigan, when our Brinkley Model Z 3515 hit full tanks and the 36-gallon Rhino tote we'd been hauling around finally had to earn its keep.
We were figuring it out on camera, so this guide leads with the way Camco's Rhino tote manual says to do it, and flags where our first attempt went sideways. Fair warning: that first run took most of a day.
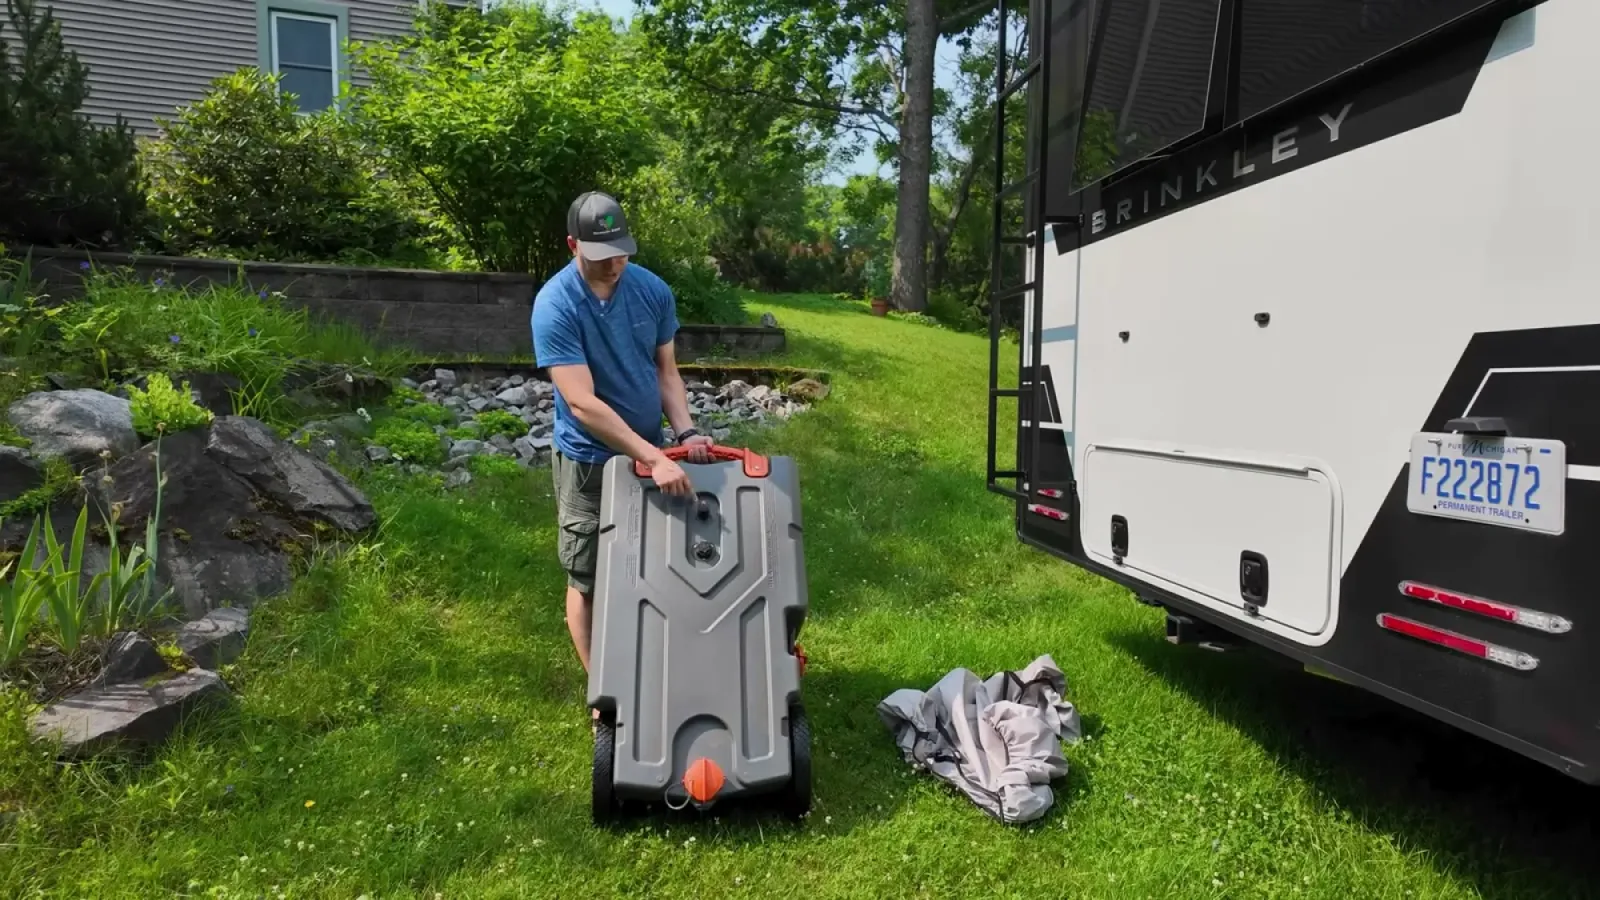
Step 1: Hook the tote to your rig's outlet
Set the tote next to your sewer outlet and uncap two things: the 3-inch sewer hose connection on the side of the tote, and the small cap on the rinse connection up top. That second one matters more than it looks. The manual says removing the rinse cap is what lets the tank vent while filling; if air can't escape while liquid comes in, the flow chokes to a dribble. We didn't know that, stood around confused while nothing flowed, and only got moving once we sorted out the venting.
Connect the sewer hose to the tote's side connection, then connect the other end to the rig's waste outlet. And check that hose first. The cheap starter hose that came with our rig leaked at the fitting, and this is the one job where a leak is unacceptable. We swapped mid-job to a heavier Rhino hose kit with locking fittings.
One addition the manual doesn't mention that we'd never skip again: a shut-off valve on the hose. Close it before you disconnect and the hose stays sealed instead of dumping whatever it's holding. Nathan borrowed ours from another spot in our water system and it earned a permanent place in this kit.
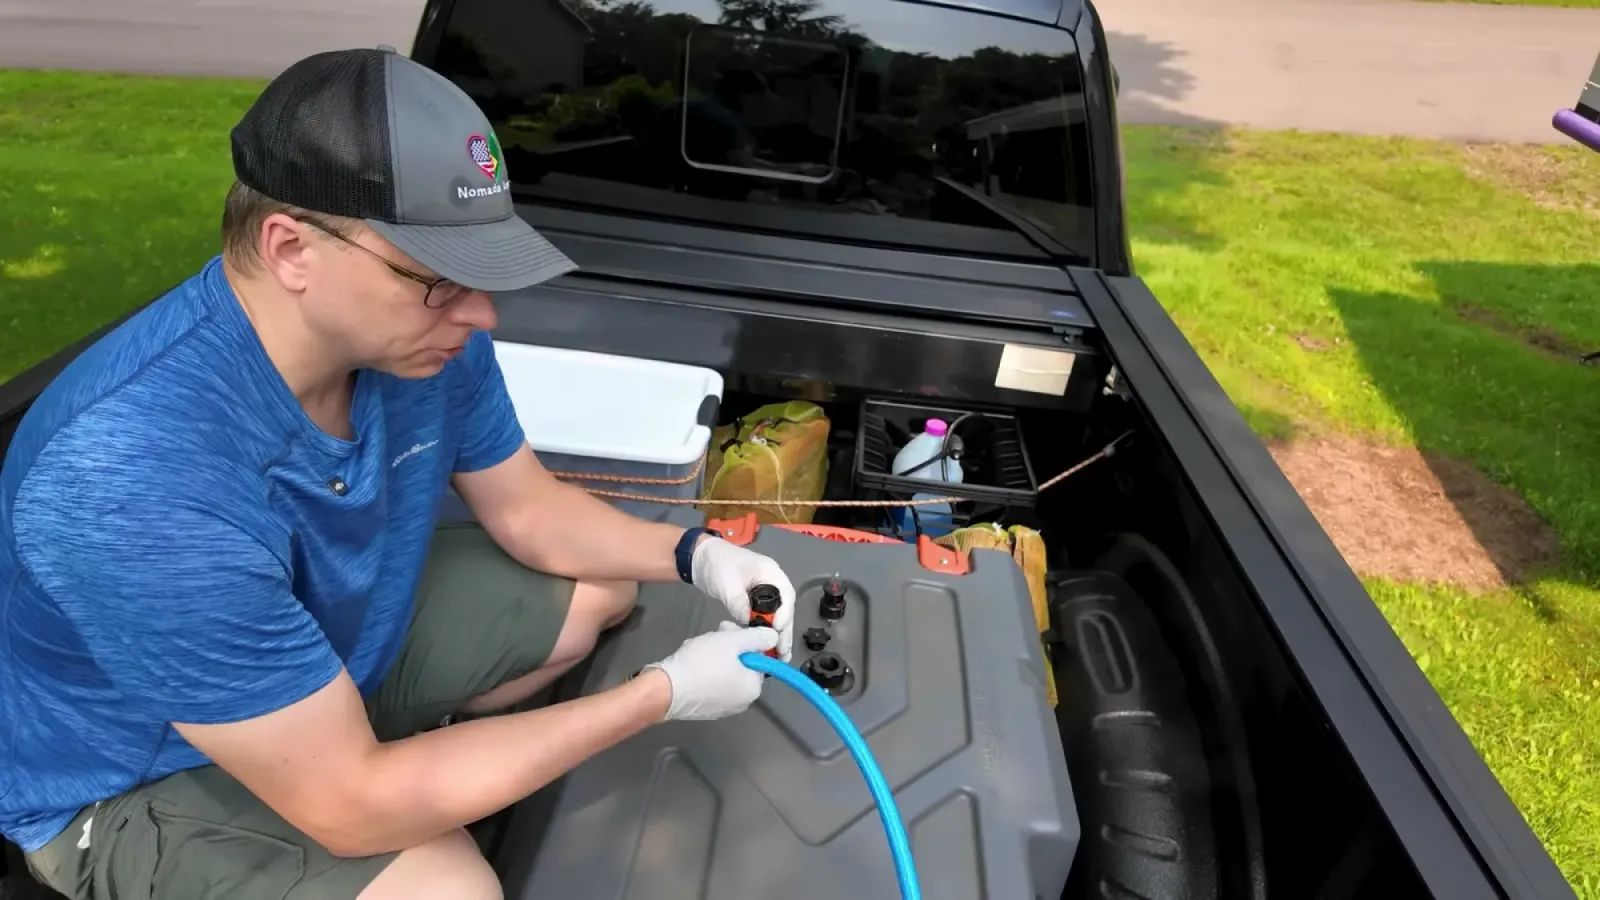
Step 2: Fill the tote without overfilling
Open the rig's gate valve and let the tank drain into the tote. Camco's one bolded warning in this section is simple: take care not to overfill. Watch the tote, listen to it, and shut things down before it reaches the top. A tote with no air space is heavy, sloshy, and has nowhere to put the excess when you open it at the station.
Don't trust the tank sensors to tell you what's coming. Ours kept insisting the black tank was full when the actual flow said otherwise. And start with a gray tank as a warmup: we did the kitchen gray first on purpose, so that if a connection failed it would be dishwater and not black tank proving the point.
Plan on multiple trips. Camco's advice is to size the tote to your RV tank; ours didn't quite cover two weeks of full-timing, and emptying everything took three loads.
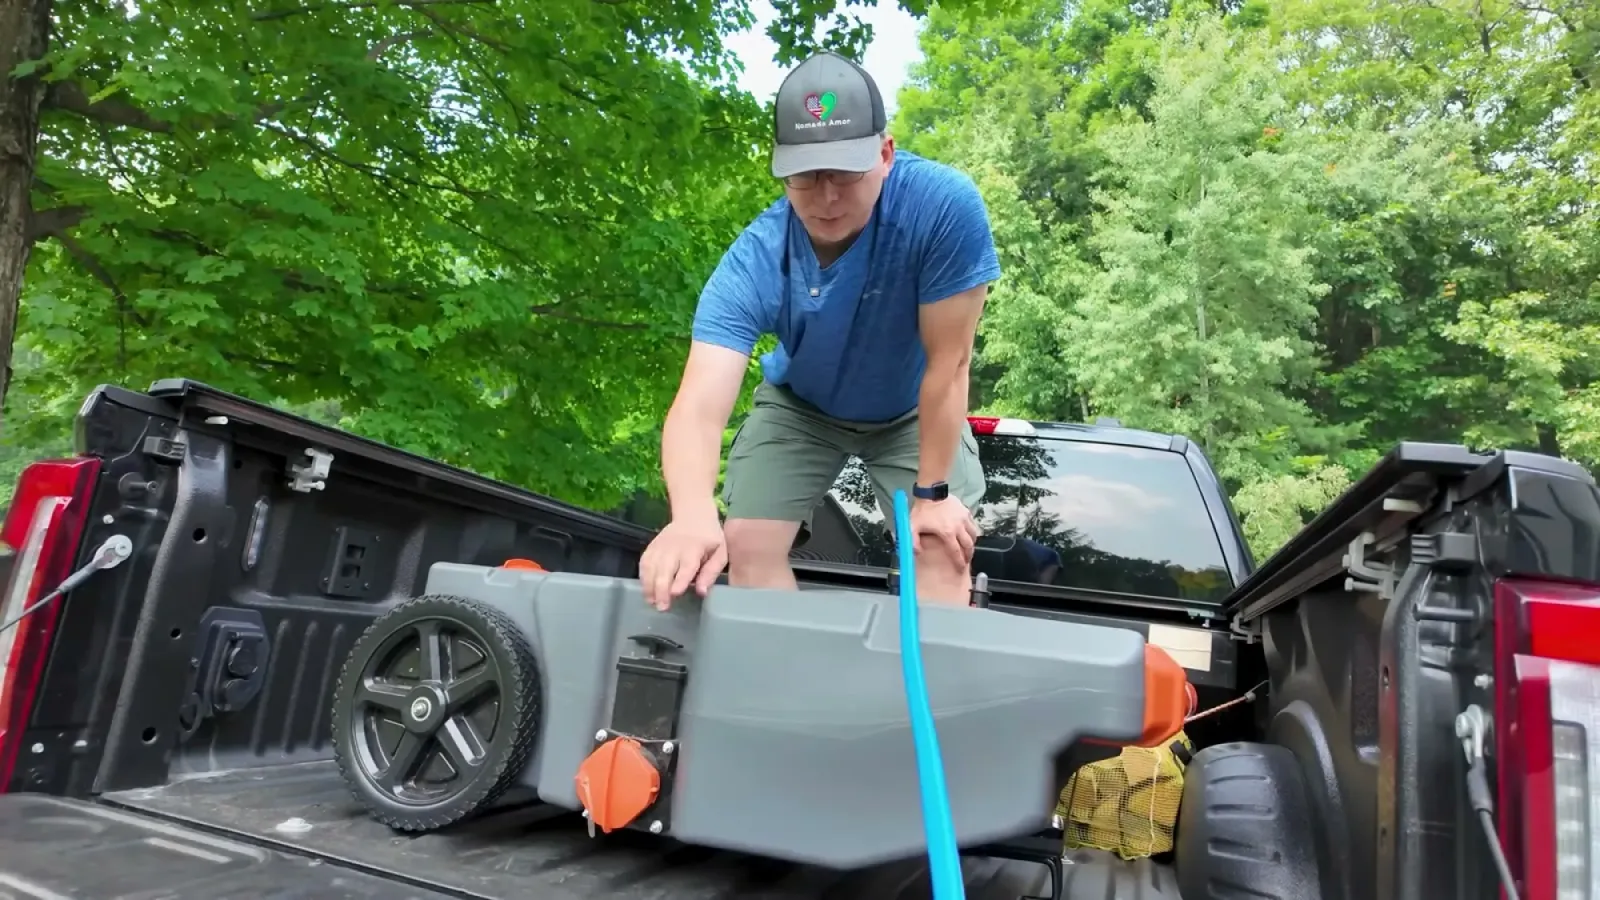
Step 3: Tow the tote to the dump station
The manual's towing steps: disconnect the hose from both ends, install and tighten every cap (capping fittings before moving is one of Camco's general warnings), then put the tow bracket loop over your truck's ball hitch and tow very slowly, never over 5 mph. Bring the sewer hose with you, because you need it at the other end. Don't plan on dragging a full tote by hand either: 36 gallons of black water weighs around 300 pounds, and the small wheels sink and stall in soft ground.
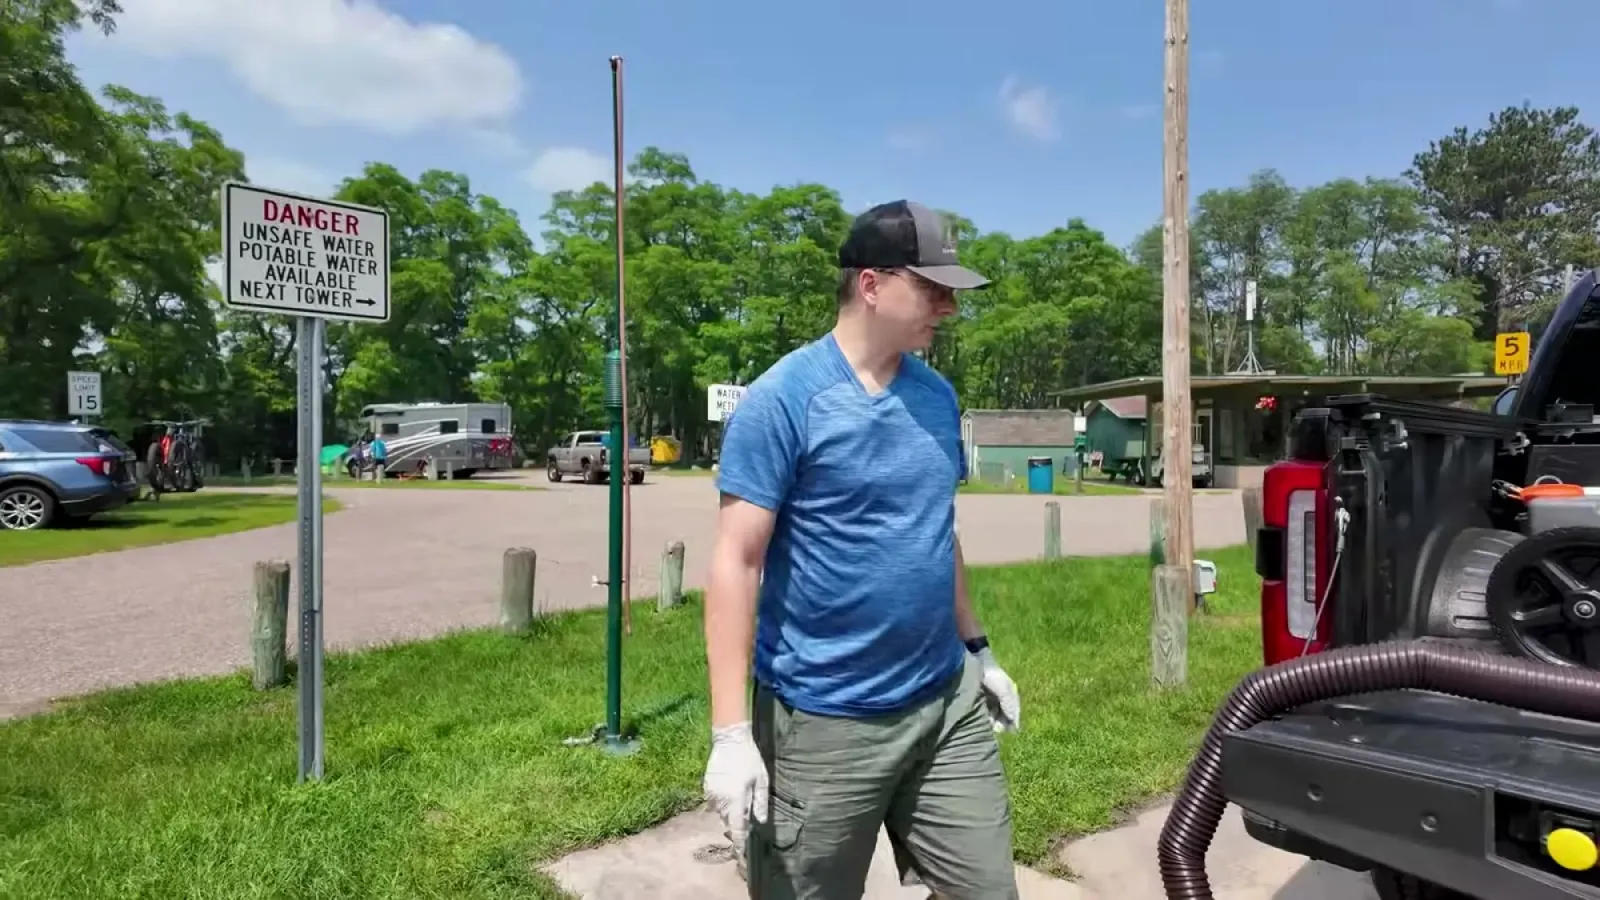
Here's where we deviated: our dump station was across town, and you can't tow a tote at 5 mph through traffic. So the tote rode in the truck bed, and we filled it up there rather than lift 300 pounds over a tailgate. If you do the same, load the tote empty, strap it, and fill it in place.
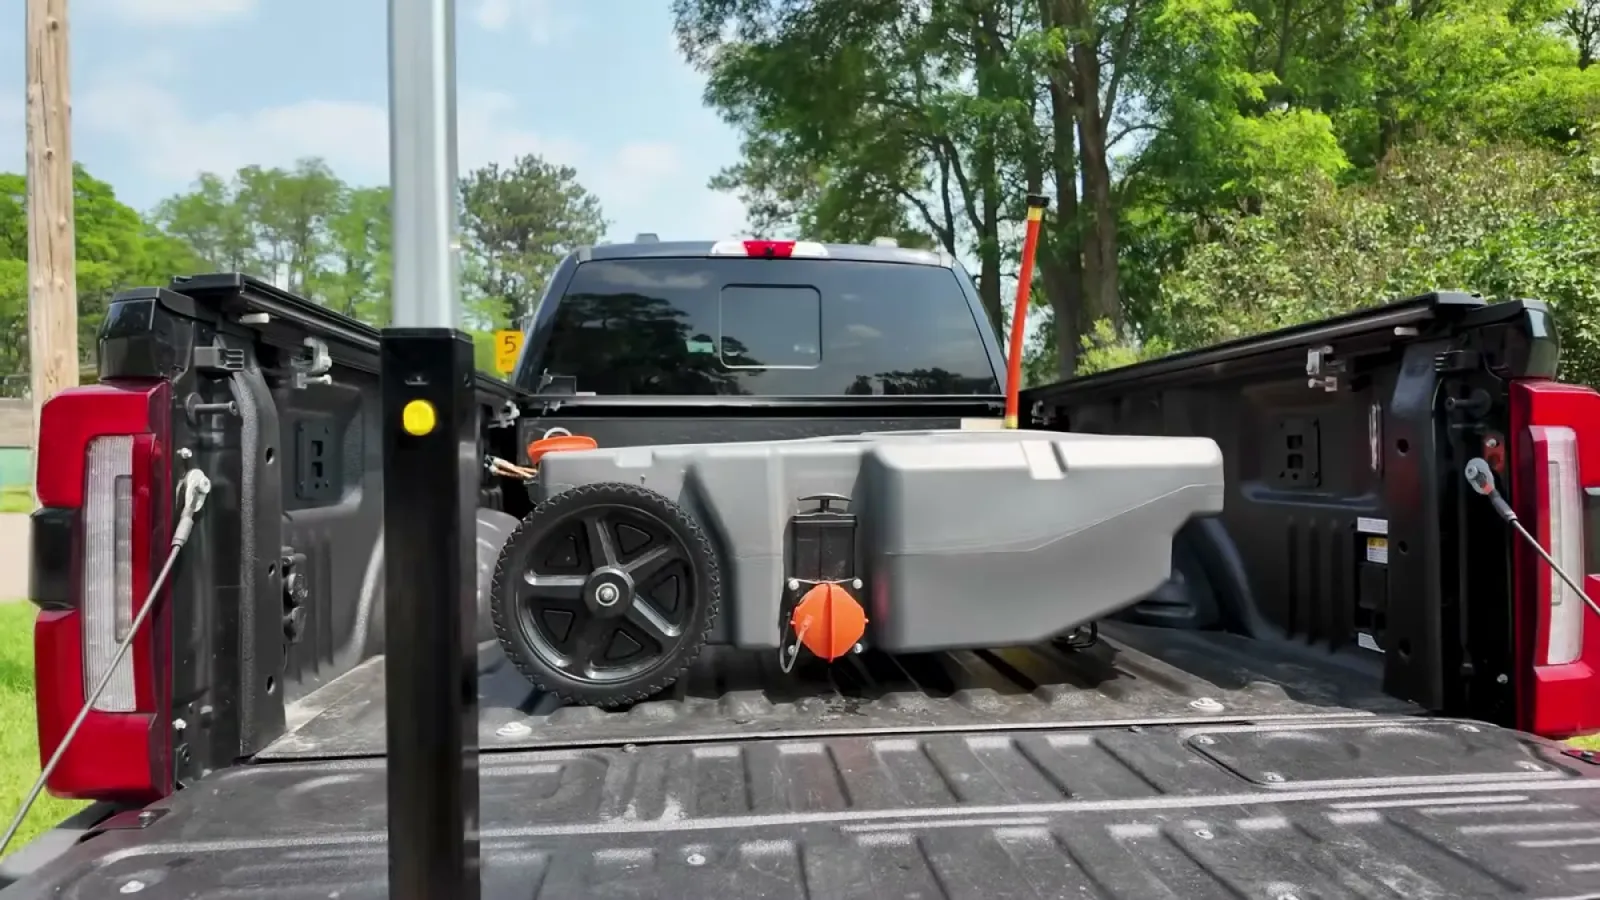
Step 4: Empty it at the dump station
At the station, insert the adapter into the dump inlet, connect the sewer hose between the dump inlet and the tote's side connection, and pull the rinse cap again so the tank vents while it drains. Then lift the tote by the handle so it empties all the way down through the side outlet.
The manual's cleanup step is worth doing every time: hook a garden hose to the tote's flusher connection (it has a backflow preventer built in), rinse the inside thoroughly, and tip the tote to empty the rinse water. Cap everything, stow the hose, and head back for the next load. We paid five dollars at the station and ran the loop three times in one afternoon.
The macerator option
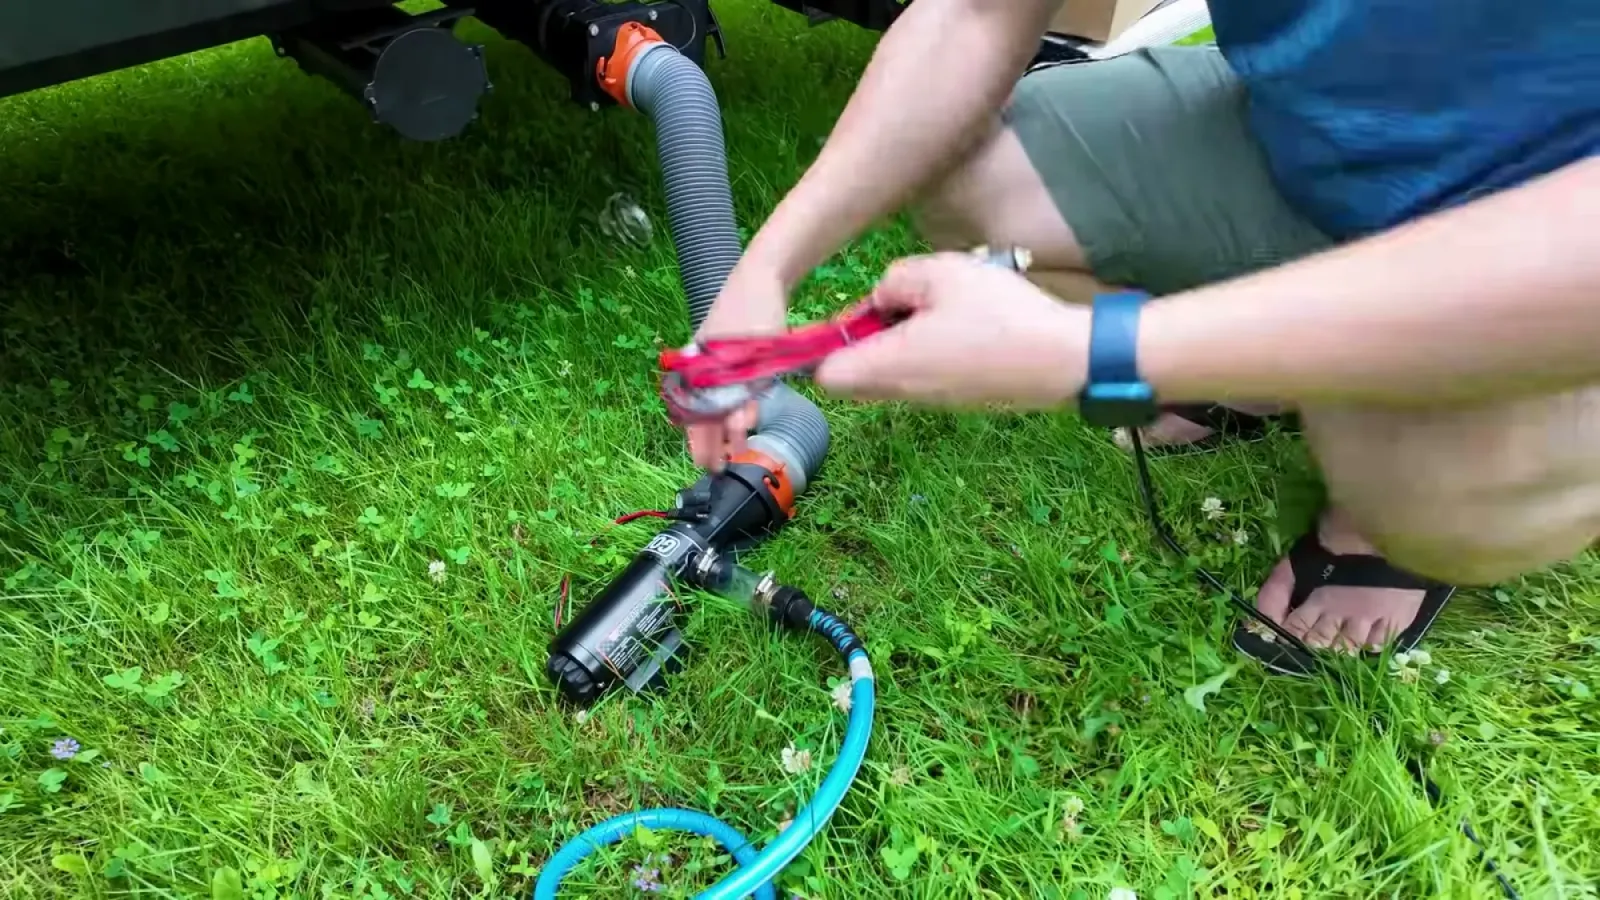
A 12V macerator pump is what made our truck bed setup possible. It attaches to the rig's sewer outlet, grinds the waste, and pushes it through a small-diameter hose instead of the 3-inch gravity hose, which means it can pump uphill into a tote sitting in a truck bed. Two care rules from Mortons on the Move's macerator guide that match our experience: don't let the pump run dry for more than about 30 seconds, and rinse it thoroughly after every use. Keep the tote vented while you pump, too. Camco says never to pressurize the tank, and a sealed tote with a pump pushing into it is exactly that.
If your dump station is close and the ground cooperates, skip the pump and let gravity do it. If the station is across town like ours, the macerator is what makes the tote system work at all.
What we got wrong
Everything here happened to us on day one.
We skipped the venting step. The manual says to remove the rinse cap so the tank vents while filling; we didn't, and spent a chunk of the morning wondering why nothing flowed.
We trusted a cheap hose. It leaked at the fitting mid-job, gave us a mess we now call the Poopsie, and sent us to the store for a proper hose. Buy the good hose before you need it.
We disconnected without a shut-off valve, once. Whatever is in the hose comes out when you pull it. The valve we added afterward turns disconnecting into a non-event.
We believed the sensor panel. It said full when the flow said otherwise, every time. Watch what actually comes out.
We budgeted five minutes. Venting confusion, a hose swap, and three full loads ate most of the day. Next time we think it's under an hour, because the workflow is dialed and the surprises are used up.
We wrote up the full story of that first messy day, Poopsie and all, in our tank dumping hacks post, and you can watch the whole thing happen in the video on YouTube.
This guide describes how we did it on our own rig. We are not RV technicians, and this post may contain mistakes or steps that don't apply to your setup. Proceed at your own risk, and double-check anything safety-critical with a professional.