
We went a year and a half of full-time RVing with no real water filtration. What finally fixed that was a sign taped to our door at a campground warning us about lead in the water supply. Lead, in the water we had been drinking and cooking with. Within a few weeks we had a Blu Tech AR3 three-stage system installed on our Brinkley Model Z 3515, and this guide walks through that install step by step. We filmed the whole thing in June 2026, and where our on-camera attempt differed from what the manufacturer actually recommends, we say so.
The AR3 is a portable canister system, so "install" here means hooking it into the water line between the campground spigot and your city water inlet. No cutting pipes, no tools beyond a flathead screwdriver. Ours lives permanently in the water bay, but you can also keep it in its carrying case and set it up at each stop.
Step 1: Understand the three stages and their order
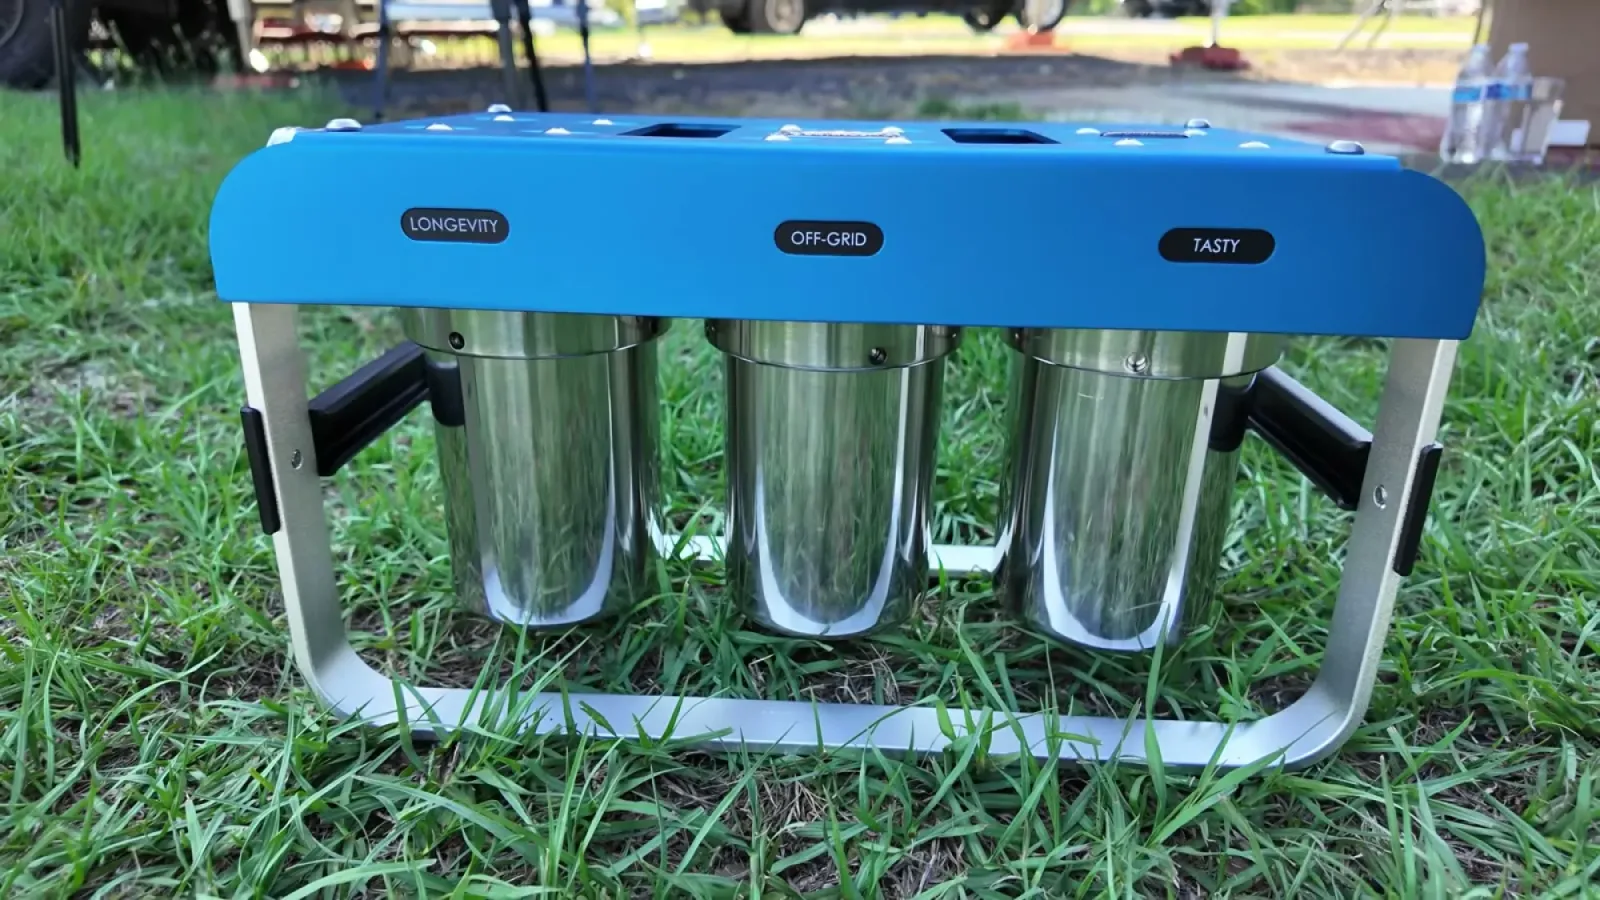
The system filters in a specific sequence, and it matters. Water enters through the Stage 1 "Longevity" filter, a 5-micron pleated sediment filter that catches dirt, sand, and rust before they reach the finer stages. Stage 2 is the "Off-Grid" filter, which takes particles down to 0.2 micron, fine enough to catch bacteria and cysts. Most standard RV inline filters stop at 5 microns, so this stage is what separates a system like this from the blue canister you screw onto your hose. Stage 3 is the "Tasty" filter, granular activated carbon that pulls out chlorine and the chemicals behind bad taste and smell.
The canisters arrive with the filters already installed in the right order, so mostly you just need to not mix them up later when you change cartridges. The labels on the housings tell you which is which.
Step 2: Shut off the water and pick a spot
Before you disconnect anything, turn off the water at the spigot. We almost learned this the wet way. Some water will still drain out of the open hose ends, so give the fittings a minute to dribble out.
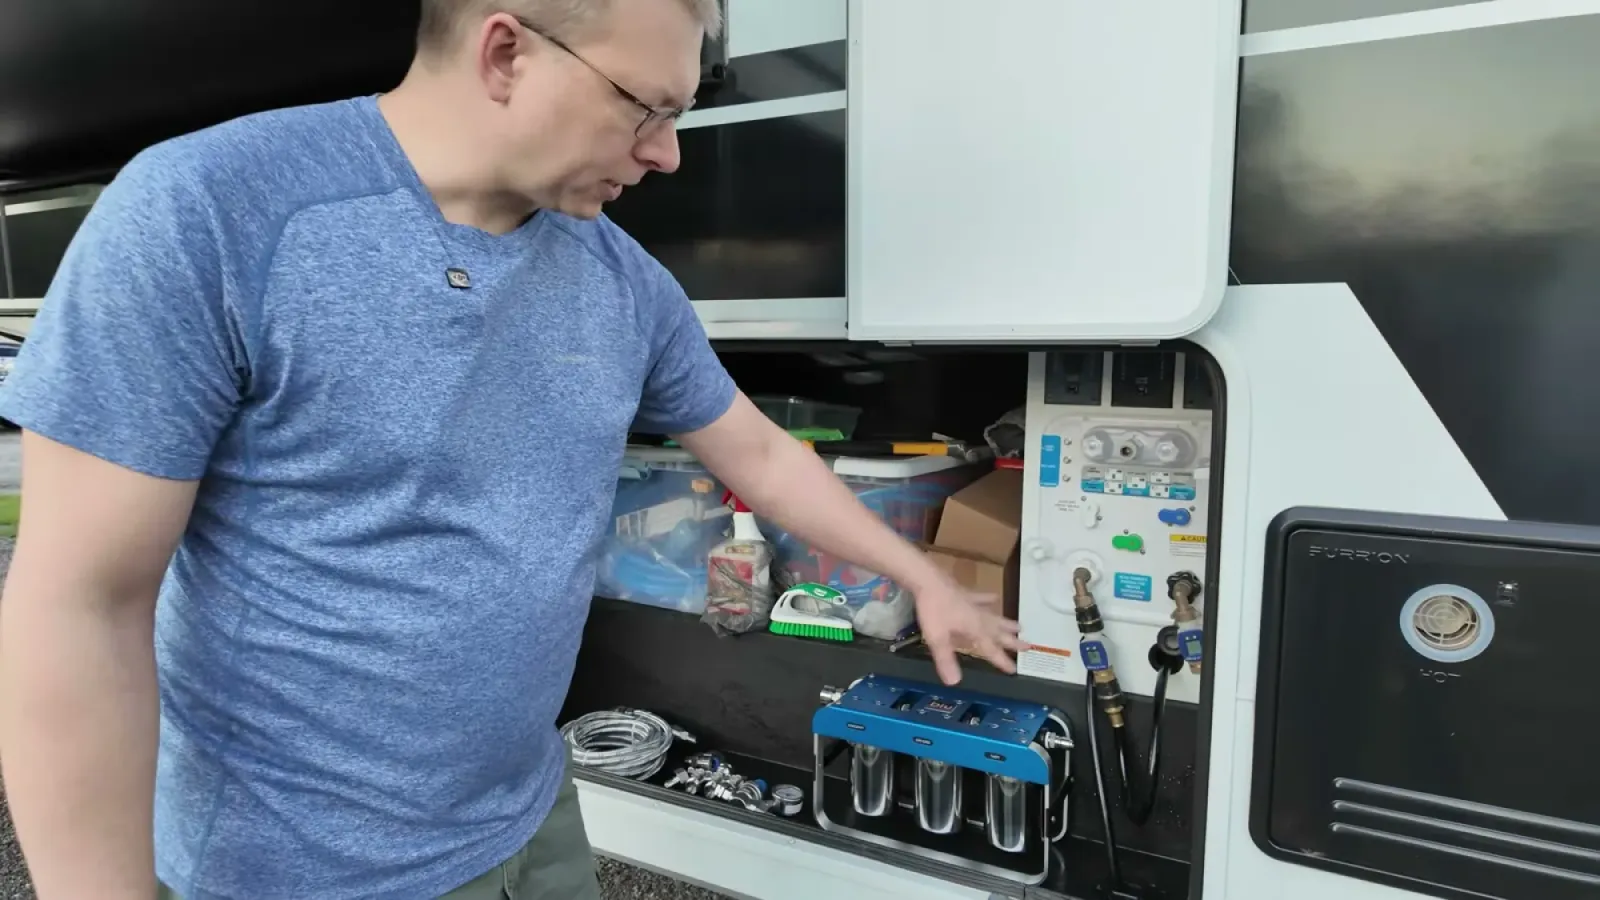
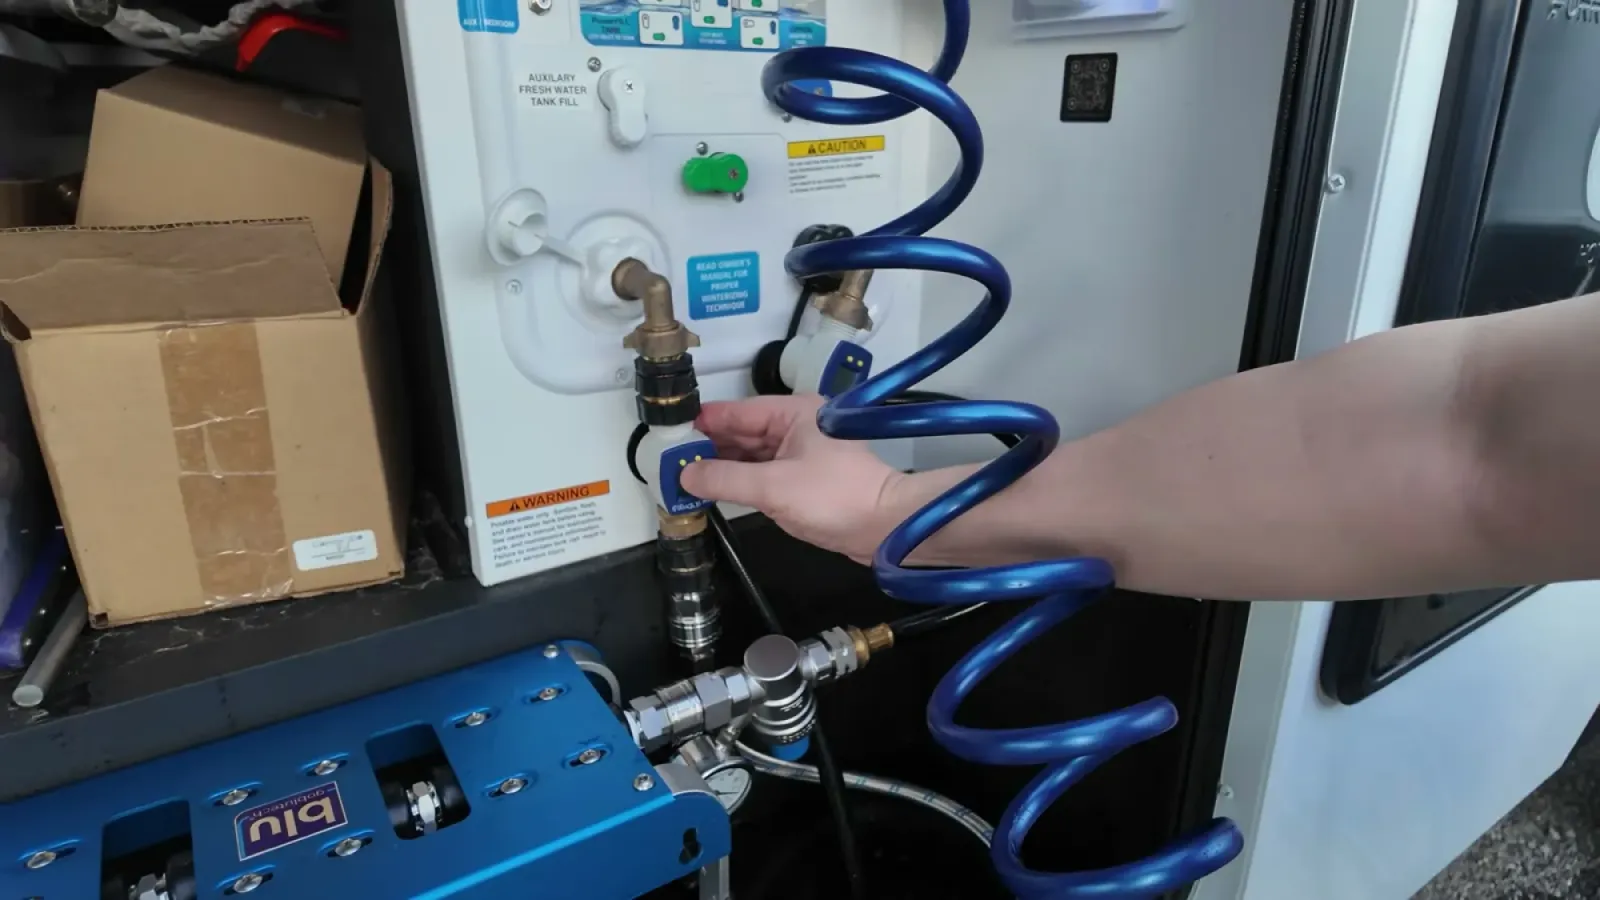
Then decide where the unit goes. We mounted ours in the water bay of the Brinkley, right next to the city water connections, because the rig has a self-reeling hose built in and we wanted to keep using it. The unit sits between the incoming hose and the point where water enters the RV's plumbing. If your water bay does not have room (the AR3 is about 7.75 pounds and three canisters wide), setting it up on the ground next to the spigot works exactly the same way.
Step 3: Connect the inlet and outlet
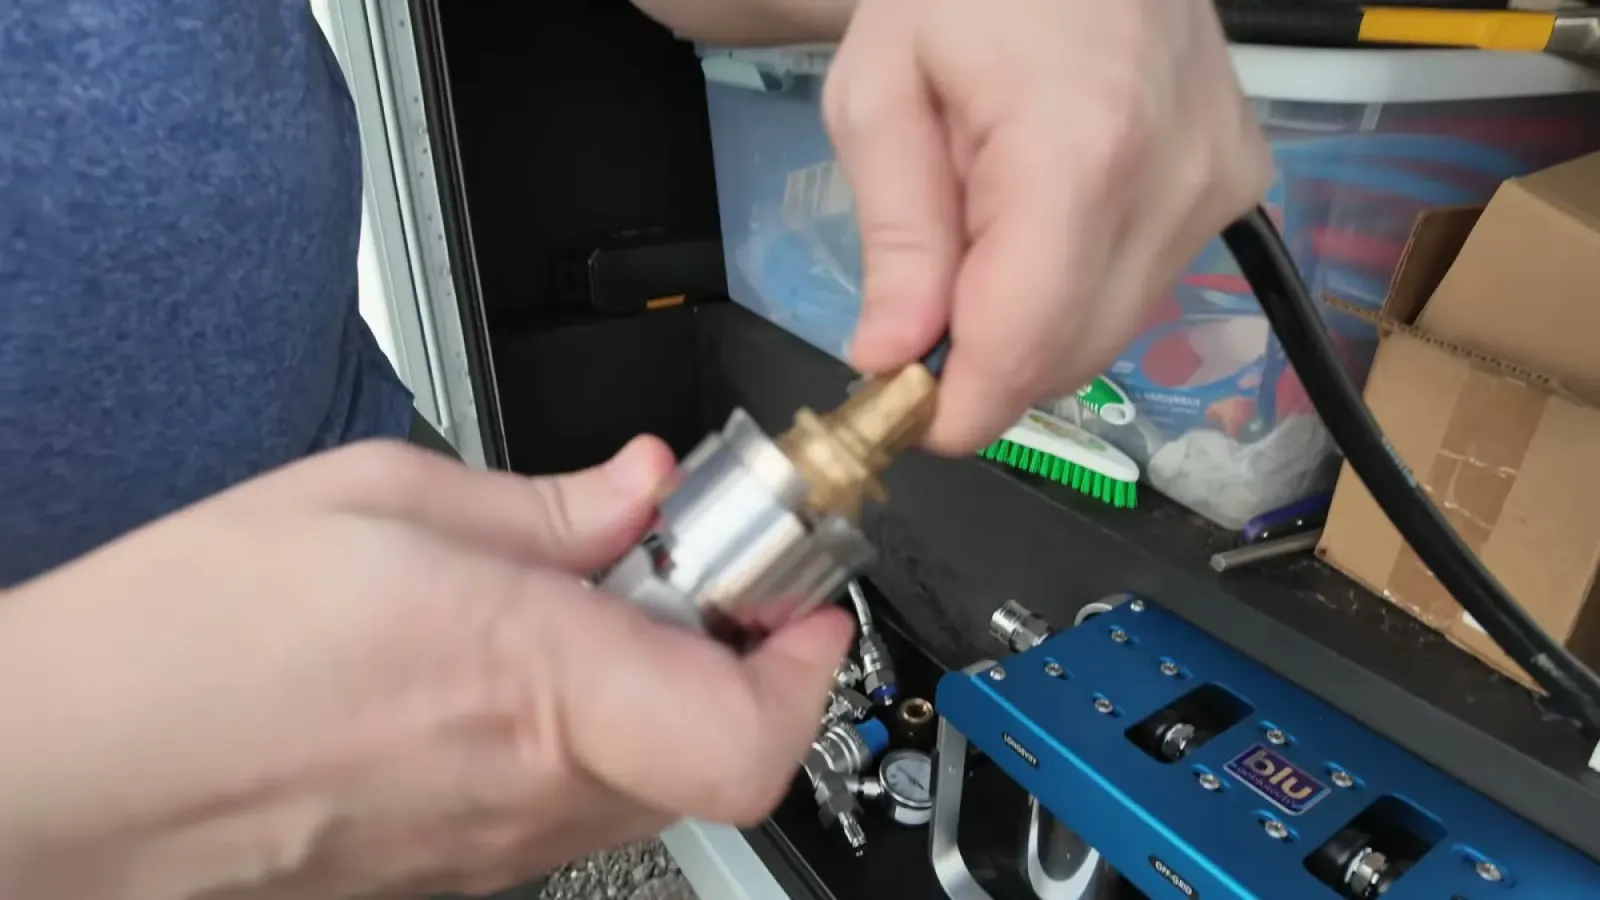
The bundle comes with stainless steel quick connects and two hoses. The connections are quarter-turn fittings: push the fitting on, turn it a quarter turn, done. After a year and a half of fighting cheap plastic hose fittings, these were honestly the nicest surprise of the whole kit.
Water from the spigot goes into the unit's inlet, and a second hose runs from the outlet to your city water inlet. That is the entire plumbing job. We rotated our unit so the hoses ran cleanly in our bay, which means our stage labels face backwards, but the flow direction is what counts, so double-check that water enters on the sediment end.
Step 4: Add the pressure regulator and set it to 40 to 50 PSI
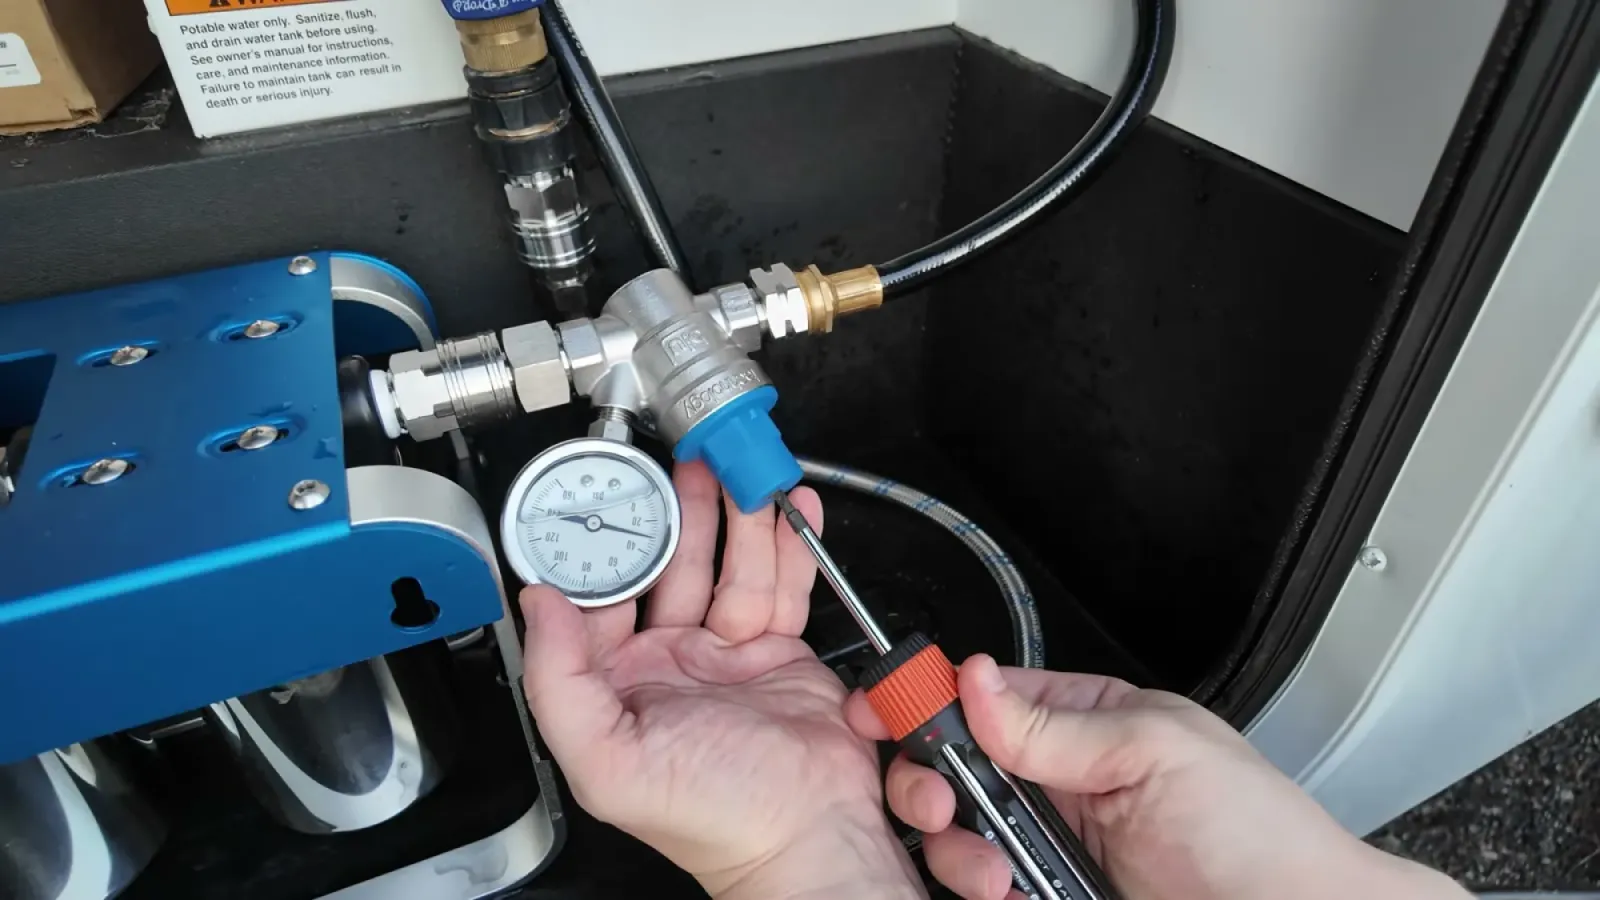
The Essential Bundle includes an adjustable pressure regulator with a gauge. Blu Tech's setup guidance puts the regulator at the water supply, ahead of the filter, so the regulator protects both the filter housings and your rig. We deviated here: we mounted ours inside the water bay after debating it on camera, because regulators sitting outside at the spigot can freeze in cold weather. If you camp in freezing temps, that trade-off is worth thinking about; otherwise, follow the manufacturer and put it at the spigot.
Adjusting it takes a flathead screwdriver. Turn toward the plus while watching the gauge. Blu Tech recommends 40 to 60 PSI for the AR3, and we set ours to 40 to stay on the safe side of the Brinkley's plumbing. One thing we learned at our site: if the campground pressure is low to begin with, turning the screw does nothing. The regulator can only reduce pressure, not create it.
Step 5: Flush the system before you drink anything
Do not skip this. New filters need to be flushed before the water is ready to use. Depending on where you read it, Blu Tech's guidance mentions a few gallons or several minutes of flushing so the canisters fill, pressurize, and rinse out; when in doubt, run it longer. New carbon filters can shed dark water and small black flecks at first, which looks alarming and is completely normal. We ran roughly three gallons through the outlet quick connect onto the ground before connecting the outlet hose to the RV, then checked the first glass inside for floaties. Ours came out clear.
While the water runs, inspect every fitting for leaks. This is much easier to fix now than after you have buttoned up the bay.
Step 6: Mark your calendar for cartridge changes
Filters do not last forever, and an expired carbon filter is worse than none because it stops telling you anything about your water. Blu Tech rates the AR3 cartridges for three to four months of typical use, or roughly 3,000 to 4,000 gallons. Full-timers should plan on the shorter end. Replacement three-packs swap in with the included housing wrench, and this is where keeping the stages in order (sediment, 0.2 micron, carbon) actually matters.
What we got wrong
Being honest about our own install:
- We waited eighteen months to do this at all. It took a lead warning on our door to act. If you drink your rig's water, filtration should be a week-one project, not a year-two project.
- We flushed about three gallons and called it good. That may well be within Blu Tech's guidance, which mentions both a few gallons and several minutes depending on where you read it, but a longer flush is cheap insurance on brand-new cartridges.
- We put the pressure regulator in the water bay instead of at the spigot, where the manufacturer's setup order places it. Our freeze reasoning is defensible, but it means the filter housings see unregulated campground pressure before the water reaches the regulator. Ours sits close enough to the inlet that we accepted it; at a high-pressure park, regulate at the spigot.
- We guessed at the pressure setting on camera, debating 40 versus 50 without checking the Brinkley manual first. Look up your rig's rated plumbing pressure before you touch the adjustment screw.
- We left a mix of old plastic fittings inline at first, which made our pressure readings confusing until we pulled them out.
If you want the full story, including the midnight toilet flood that opened this episode and the one-week taste test from a Renaissance festival, watch our install video post: There Was LEAD in Our Campground Water. Blu Tech's own tutorial videos cover filter changes and maintenance, and MobileMustHave publishes a helpful getting started guide for the same system. We also send a short weekly newsletter about where we are and what broke this week.
This guide describes how we did it on our own rig. We are not RV technicians, and this post may contain mistakes or steps that don't apply to your setup. Proceed at your own risk, and double-check anything safety-critical with a professional.