
A new Blackstone does not come ready to cook on. The cooktop ships with a factory coating, and if you throw bacon on it straight out of the box, the food will stick and taste like the factory. We learned the whole routine on camera the day we unboxed our 17 inch model at a campground: one wash, three rounds of oil burned onto a hot surface, then burgers. The steps below follow Blackstone's official seasoning guide, and where our first attempt strayed from it, we say so.
Before you start, gather what we had on the table: cooking oil, a big roll of paper towels, tongs, and propane you have actually tested. That last one matters more than you think, and we will get to why.
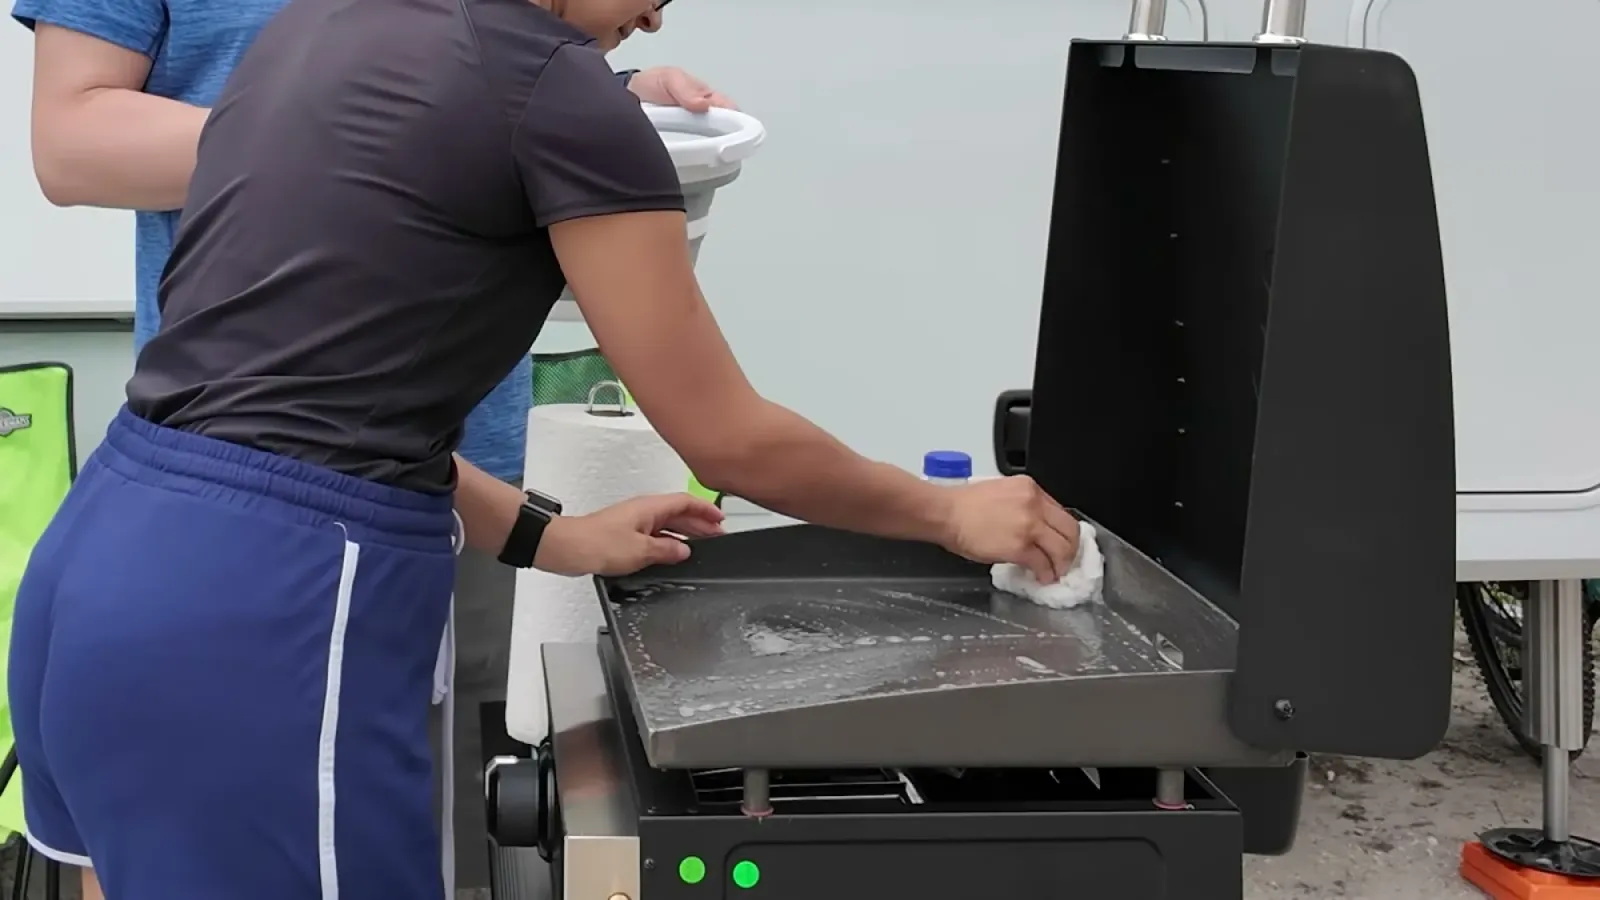
Step 1: Wash it once, with soap
This is the only time soap ever touches the cooktop. Blackstone says to mix dish soap into a bucket of water, scrub the whole surface to remove manufacturing and shipping residue, rinse, and dry it completely. Fabiola read the same warning out loud from our instructions: after you season, no more soapy water. Soap on a seasoned griddle is unnecessary and can leave residue that flavors your next meal. The only reason to bring it back is if you wreck the seasoning someday and want to reset the surface from scratch. Any regular cooking oil works for the next steps; Blackstone lists canola, vegetable, flax, olive oil, and their own conditioner. Ours was a bottle of cooking oil Nathan bought a year ago, and it did the job.
Step 2: Heat it until the surface changes color
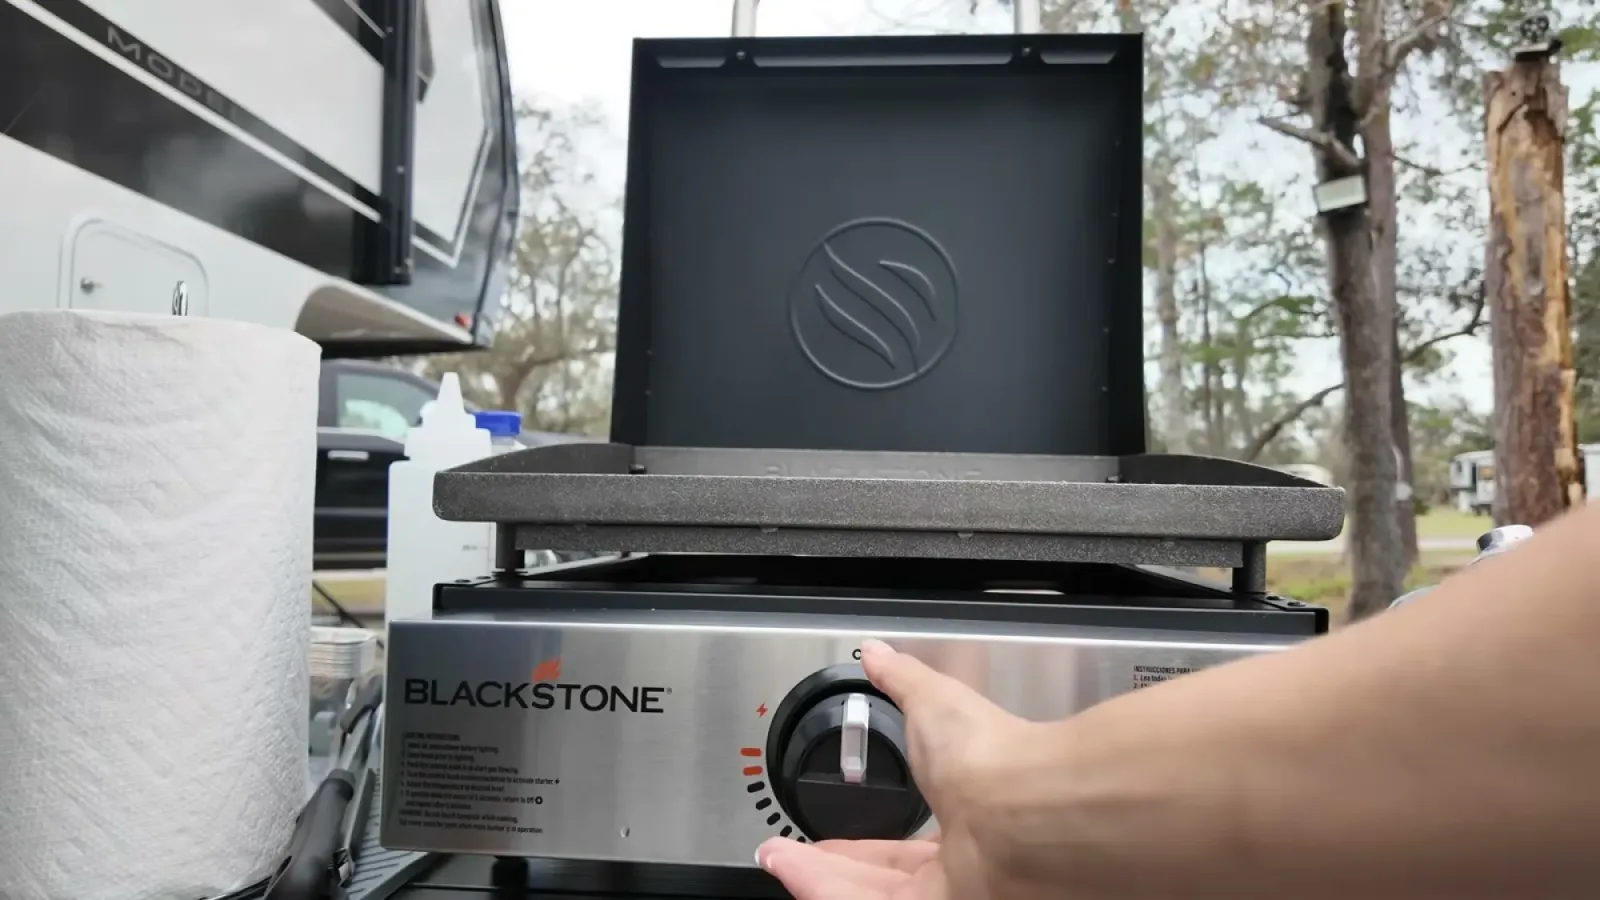
Connect your propane, do a leak test, and light the burner. Turn everything to high and wait 10 to 15 minutes until the surface visibly darkens. That color change means the metal is hot enough for oil to bond to it. For us it took about ten minutes. Blackstone's guide says to turn the burners off at this point while you wipe the first coat of oil on, then fire it back up. We will be honest: we wiped ours onto the running griddle. It worked, but it is hotter and smokier that way, so do it the official way.
One thing we noticed: the heat is not perfectly even. The burner is an H shape under the middle of the cooktop, so the center darkens first and the edges lag behind. That is normal on the 17 inch, and with a single burner and one knob there is no dialing it out. What works instead: give it a longer preheat at medium so the steel equalizes, keep wind off the griddle (a breeze chills one side faster than the burner shape ever will), and then use the zones on purpose, searing over the hot center and sliding food to the cooler edges to finish or hold. If you want real zone control with separate knobs, that is what the bigger multi-burner Blackstones are for.
Step 3: Thin coats of oil, three to four rounds
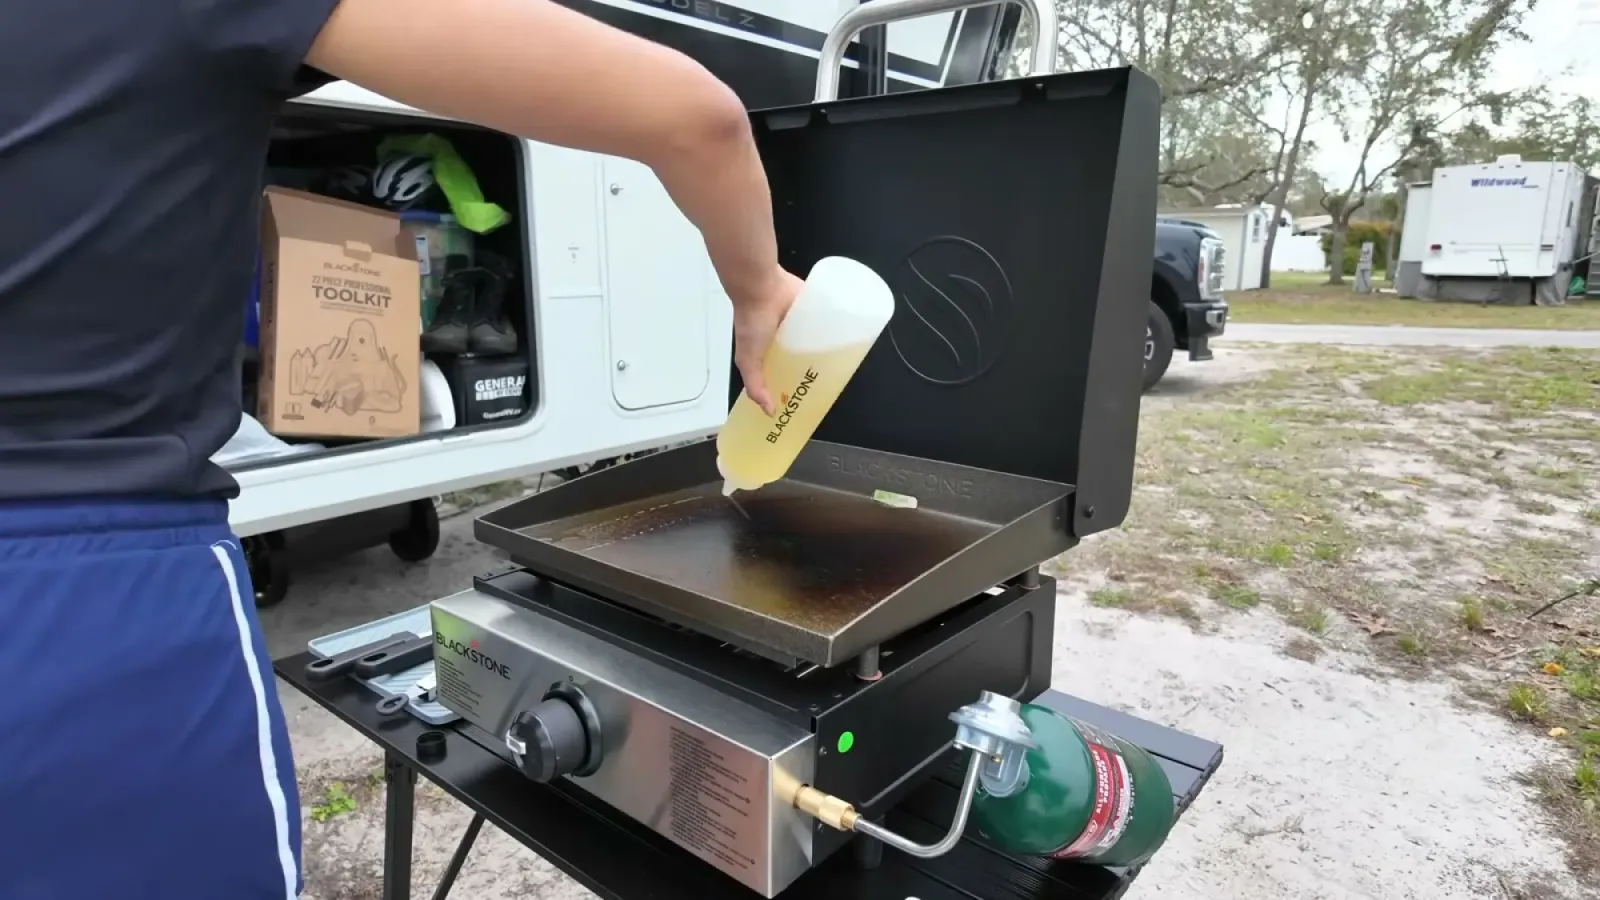
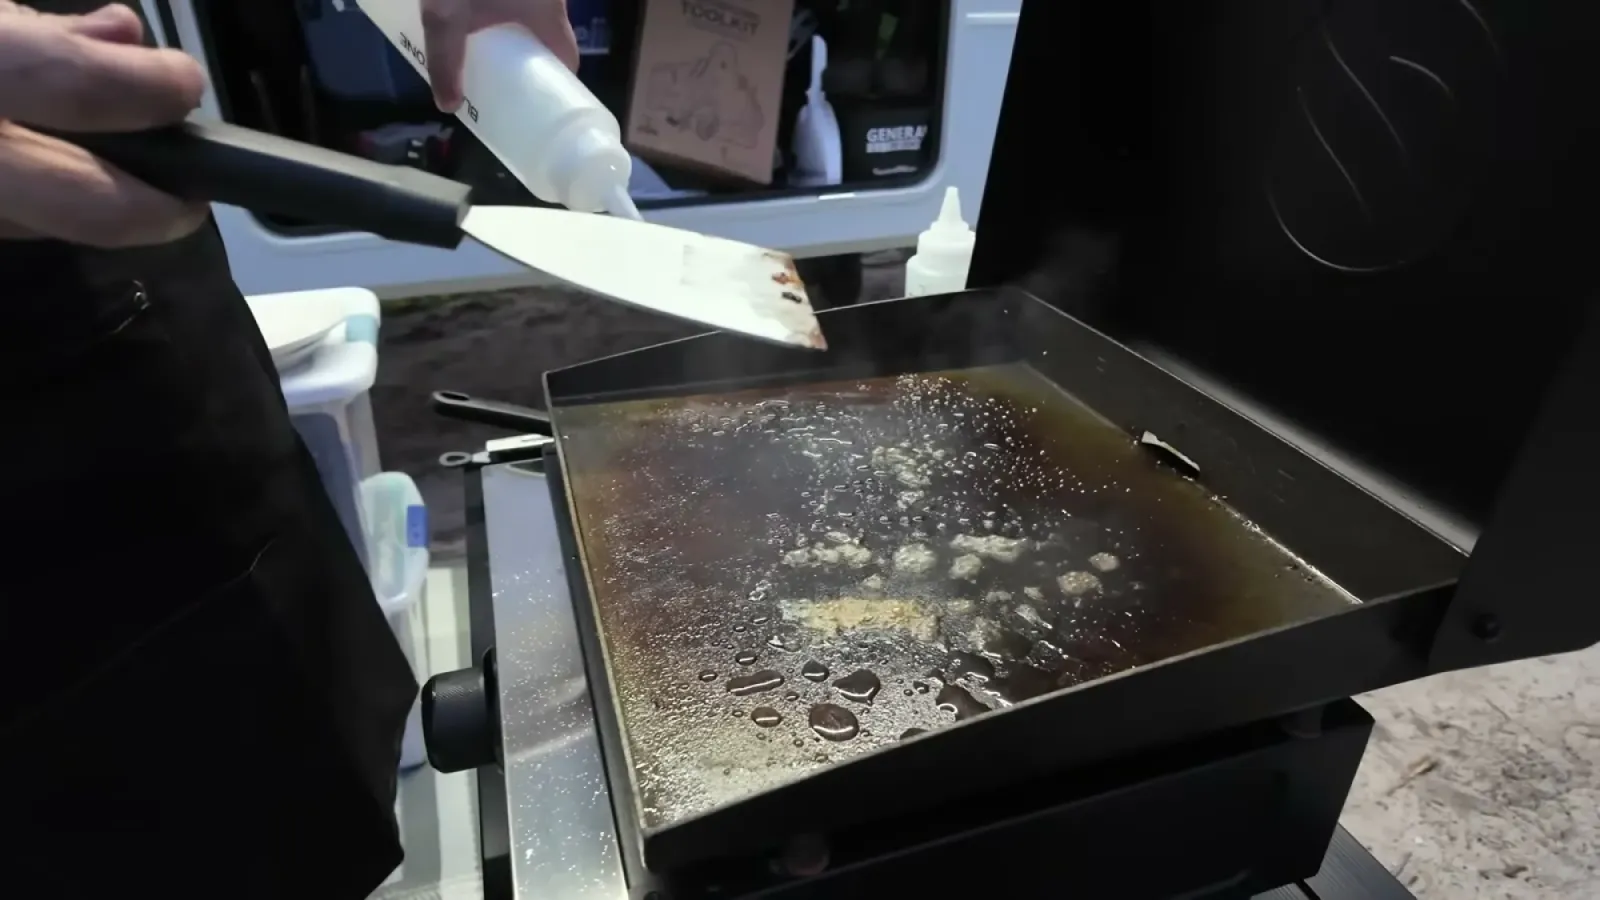
Now the actual seasoning. Put 2 to 3 tablespoons of oil on the cooktop and spread it with a wad of paper towel held in tongs, covering every inch, sides and back included. The one rule Blackstone repeats over and over is thin: wipe as if you were trying to remove all the oil. Thick coats chip later and leave sticky gunk. No puddles, no dry spots.
Then turn the heat back up and let it smoke. The smoke is the oil polymerizing into a hard, slick coating, and a full round can take up to half an hour. When the smoke stops, that round is done. Repeat until the surface is dark: Blackstone says 3 to 4 rounds on a new griddle. We did three, and ours came out darker but a little blotchy rather than showroom black. That is fine. Every cook adds to the seasoning, and the surface keeps getting blacker and slicker with use. A fourth round would have gotten us closer on day one.
Step 4: The first cook
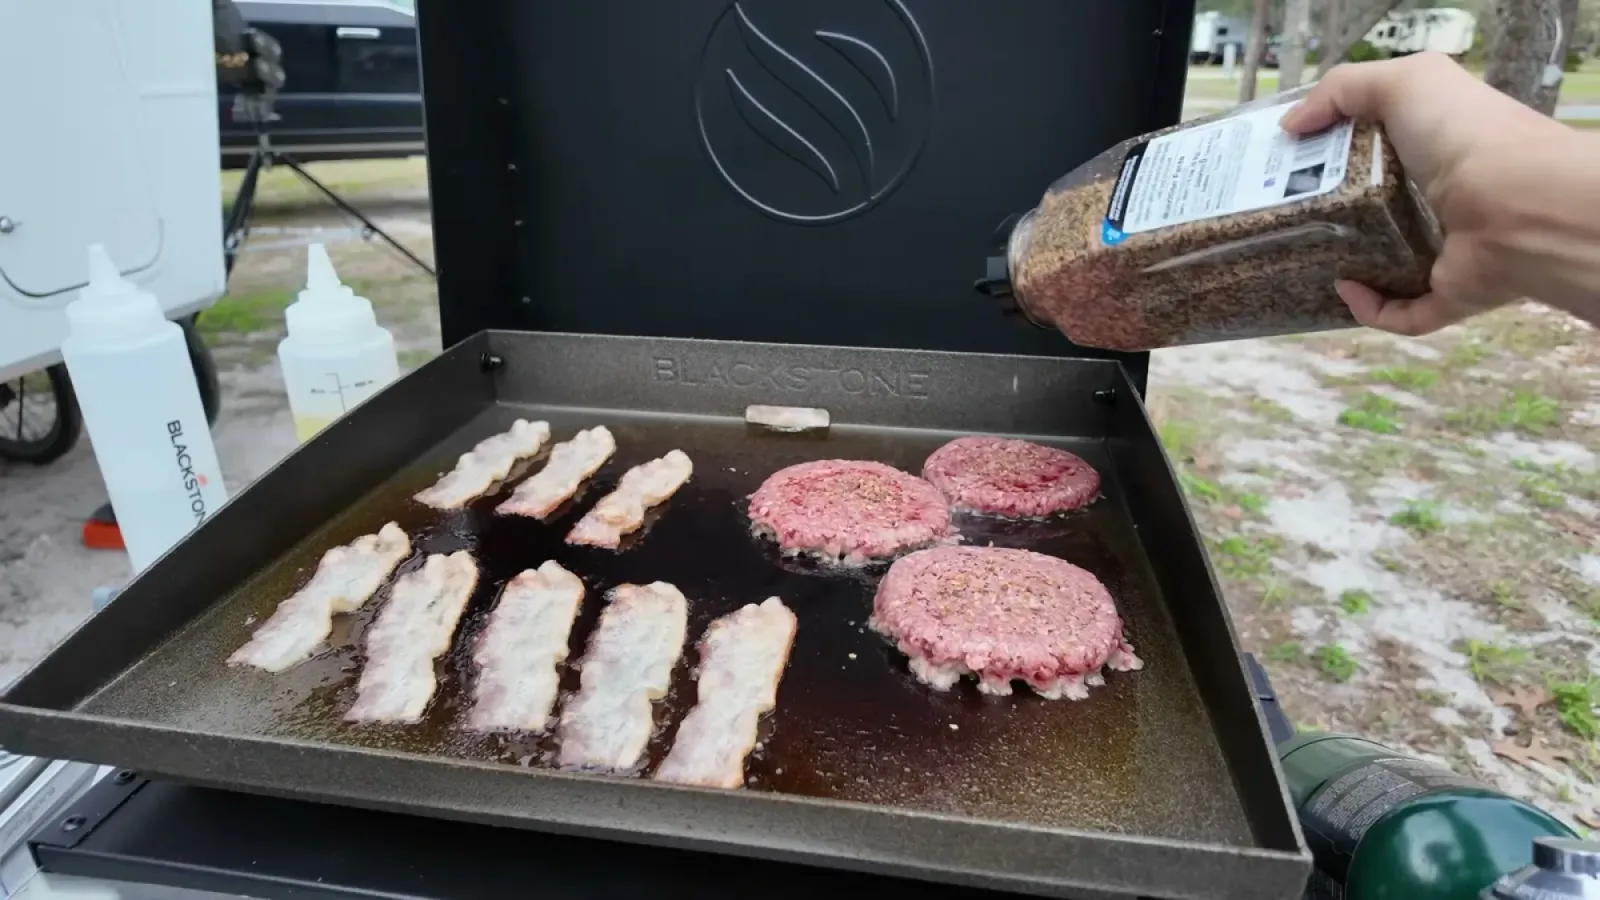
For the inaugural meal we did burgers, bacon, and eggs on the griddle, with fries in the air fryer inside the rig running off our solar setup. Preheat for a few minutes, then cook like you would on any flat top. The fresh seasoning handled everything: the eggs did not weld themselves to the surface, and the bacon fat actually helps build the coating. Cooking greasy food is the best thing you can do for a young seasoning, so a first cook with bacon is not just a treat, it is maintenance.
Then, mid-cook, the flame died. We spent a few minutes convinced we had broken a brand new griddle before figuring out we had simply emptied the propane bottle. A 1 pound camping bottle got us through the full seasoning and about one burger. Keep a second bottle within reach, or better, run a hose to a bigger tank. We eventually bought a hose for our 40 pound tanks because the little bottles run out too fast to be worth it.
Step 5: The two minute cleanup and oil
This routine is why griddle people never stop talking about griddles, and it matches Blackstone's griddle care guide almost exactly. Let the surface cool a little, then scrape the leftovers into the grease cup. For stuck food, pour a little water on the still-warm surface; it steams and loosens everything, and another pass with the scraper clears it. Wipe the surface dry with paper towels, then rub a fresh thin coat of oil over the whole cooktop and wipe off any excess. That coat protects the seasoning against rust until the next cook.
Let it cool, put the cover or storage case on, and you are done. No sink full of pans, no scrubbing, about two minutes of actual work. Scraping metal on the cooking surface felt wrong to both of us after years of babying nonstick pans, but on a seasoned griddle the scraper is the correct tool. This surface gets better the more you use it, not worse.
What we got wrong
Everything on this list happened to us on camera, so consider it field tested.
- We never sorted out propane ahead of time. The plan was to run off the RV's onboard propane, we could not find the right adapter, and we ended up buying 1 pound bottles at Walmart mid-project. Sort your fuel out before the griddle is unboxed and the meat is thawed.
- We ran out of gas mid-cook. One small bottle is not enough for seasoning plus a real meal; three rounds of high heat drink propane. Have a spare.
- We oiled with the burner still running. Blackstone says to turn it off while you wipe each coat on, then relight. Ours worked, but the official way is safer and less smoky in your face.
- We stopped at three rounds and got a blotchy surface. Blackstone's guide allows 3 to 4; if yours is not evenly dark, do the extra round.
- We ordered a camp table without checking the height spec. It arrived roughly knee high, and cooking on it was a stooping exercise until we upgraded.
If you want to watch us fumble through all of this in real time, including the propane debugging session, the full video is in our post about our first cook on the Blackstone.
This guide describes how we did it on our own rig. We are not RV technicians, and this post may contain mistakes or steps that don't apply to your setup. Proceed at your own risk, and double-check anything safety-critical with a professional.